

21) Shoot close (and medium if necessary) and far versions of scenes which allow it. Although a good large image file with plenty of space to crop small parts if necessary is the holy grail of stock, in practice thumbnails do this type of file no favours. If you have other images which are likely to be shown as a set, including zoomed-in or closer views of key elements may either win you a sale of the close view or help sell a more distant one. Comps are limited in size, and having closer shots may serve in place of a zoom function which libraries don’t support. Ideally, on-line libraries would allow a 100% view of a section of every shot but that is rare. Certainly different crops into a scene are more useful as ‘similars’ than pictures taken with the same angle of view from viewpoints a few yards apart.
22) Use local contrast enhancement in combination with wide radius soft masking. All the controls necessary to do this are present in Photoshop, but some of the off-the-shelf solutions can save you a great deal of time. Use Highlight and Shadow control with Clarity in raw processing. There are Photoshop Actions and effects in other editing programs like Serif Affinity Photo, Skylum Luminar, Anthropics Landscape Pro and more. Taken to an extreme, it can give pictures an otherworldly look, rather like HDR but with a metallic desaturated feel. The overall effect is to boost the visual impact of textures, details and zones of lighter or darker tone in a way which improves thumbnails greatly. You can base your entire shooting style on this kind of post-processing to achieve a ‘look’ but you may lose sales as well as gain them.

23) Rescale significant elements which are too small to work. I don’t like dropping fake Moon images into scenes, though this produced great sales for past masters of slide montage like Chris Alan Wilton and Ed Nagele. However, I don’t mind selecting that circular Moon in a real live shot, and carefully rescaling it by 30% or 50% upwards in size. This can work for other elements in images, especially against white or plain backgrounds. Sometimes you can emphasise using very short or long lenses, but don’t forget, digital has given us the ability to make very subtle changes to images.
24) Remove distractions like wires or intruding irrelevant detail. Simply retouch them out on a version of your image, even if you offer both the original (no digital alteration) and the retouched version. State if you have retouched. It’s up to you what you think might deserve removal. Two cases where I’ve done so have been a Barbados street scene with local women, but an ugly power meter on the wall right next to them; and a 16th century castle with twin power lines neatly strung all the way in front of it.
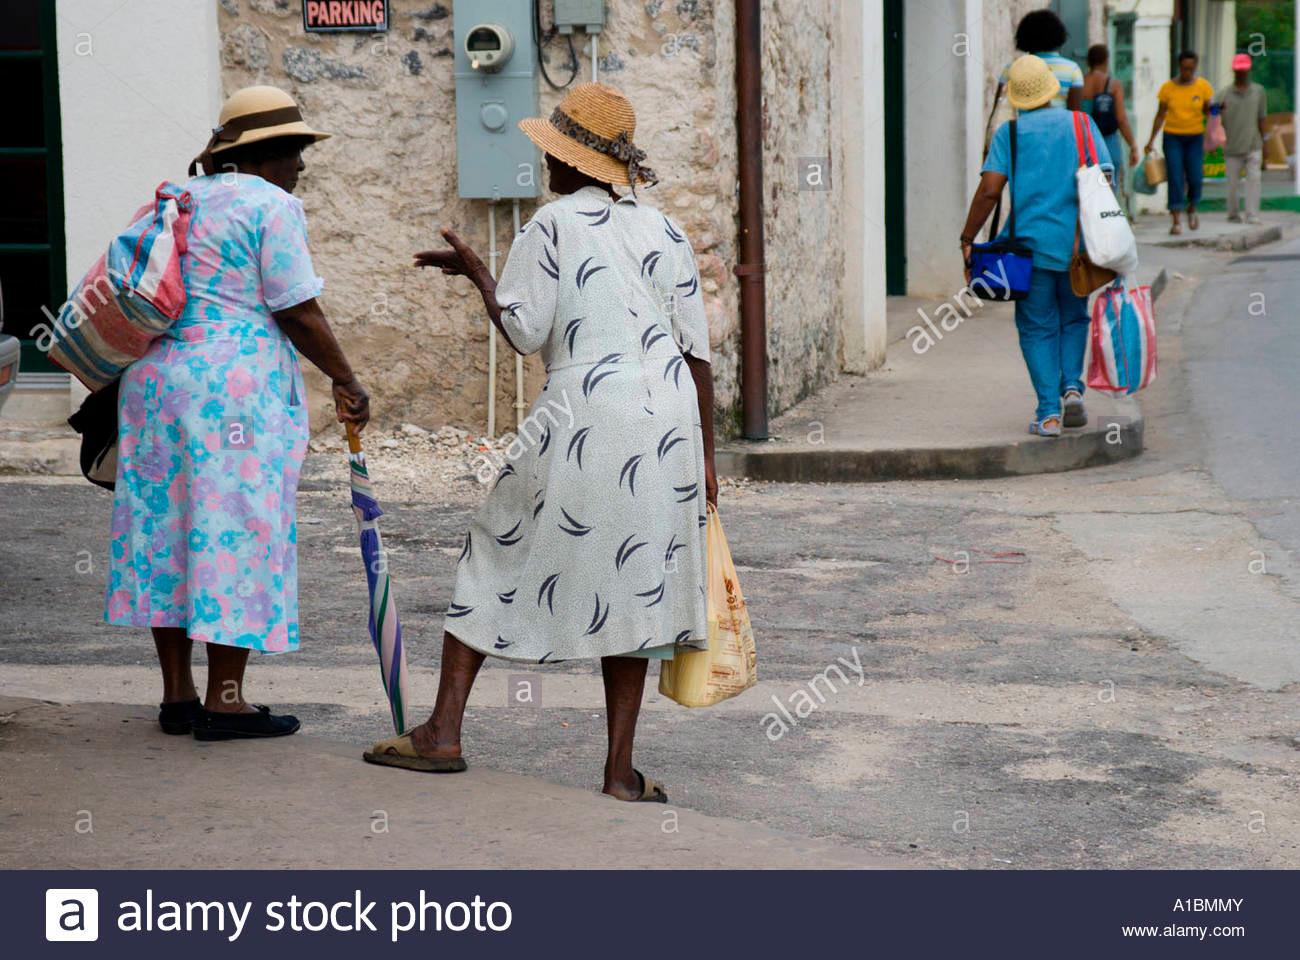
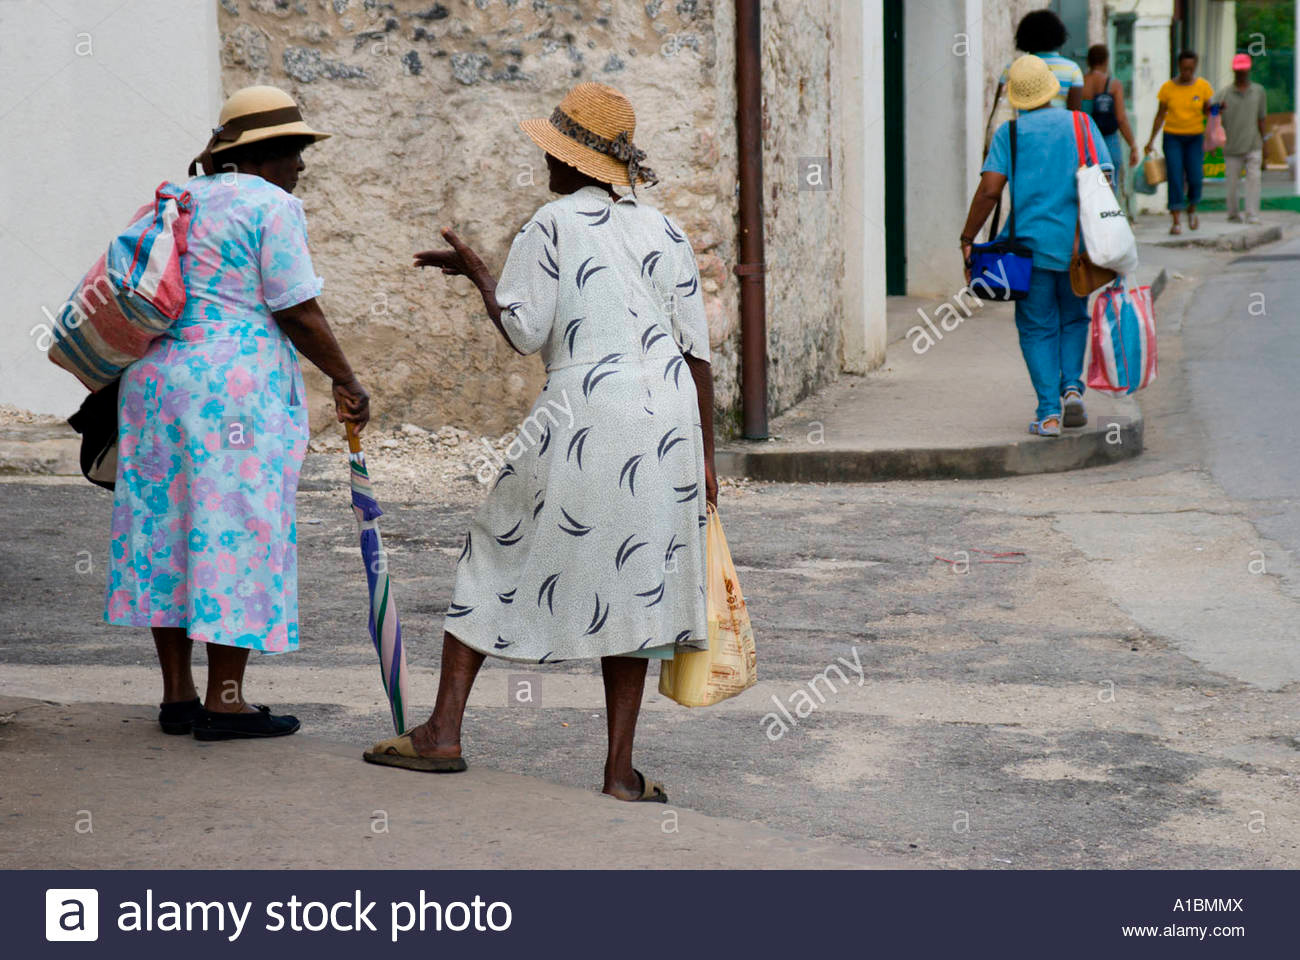
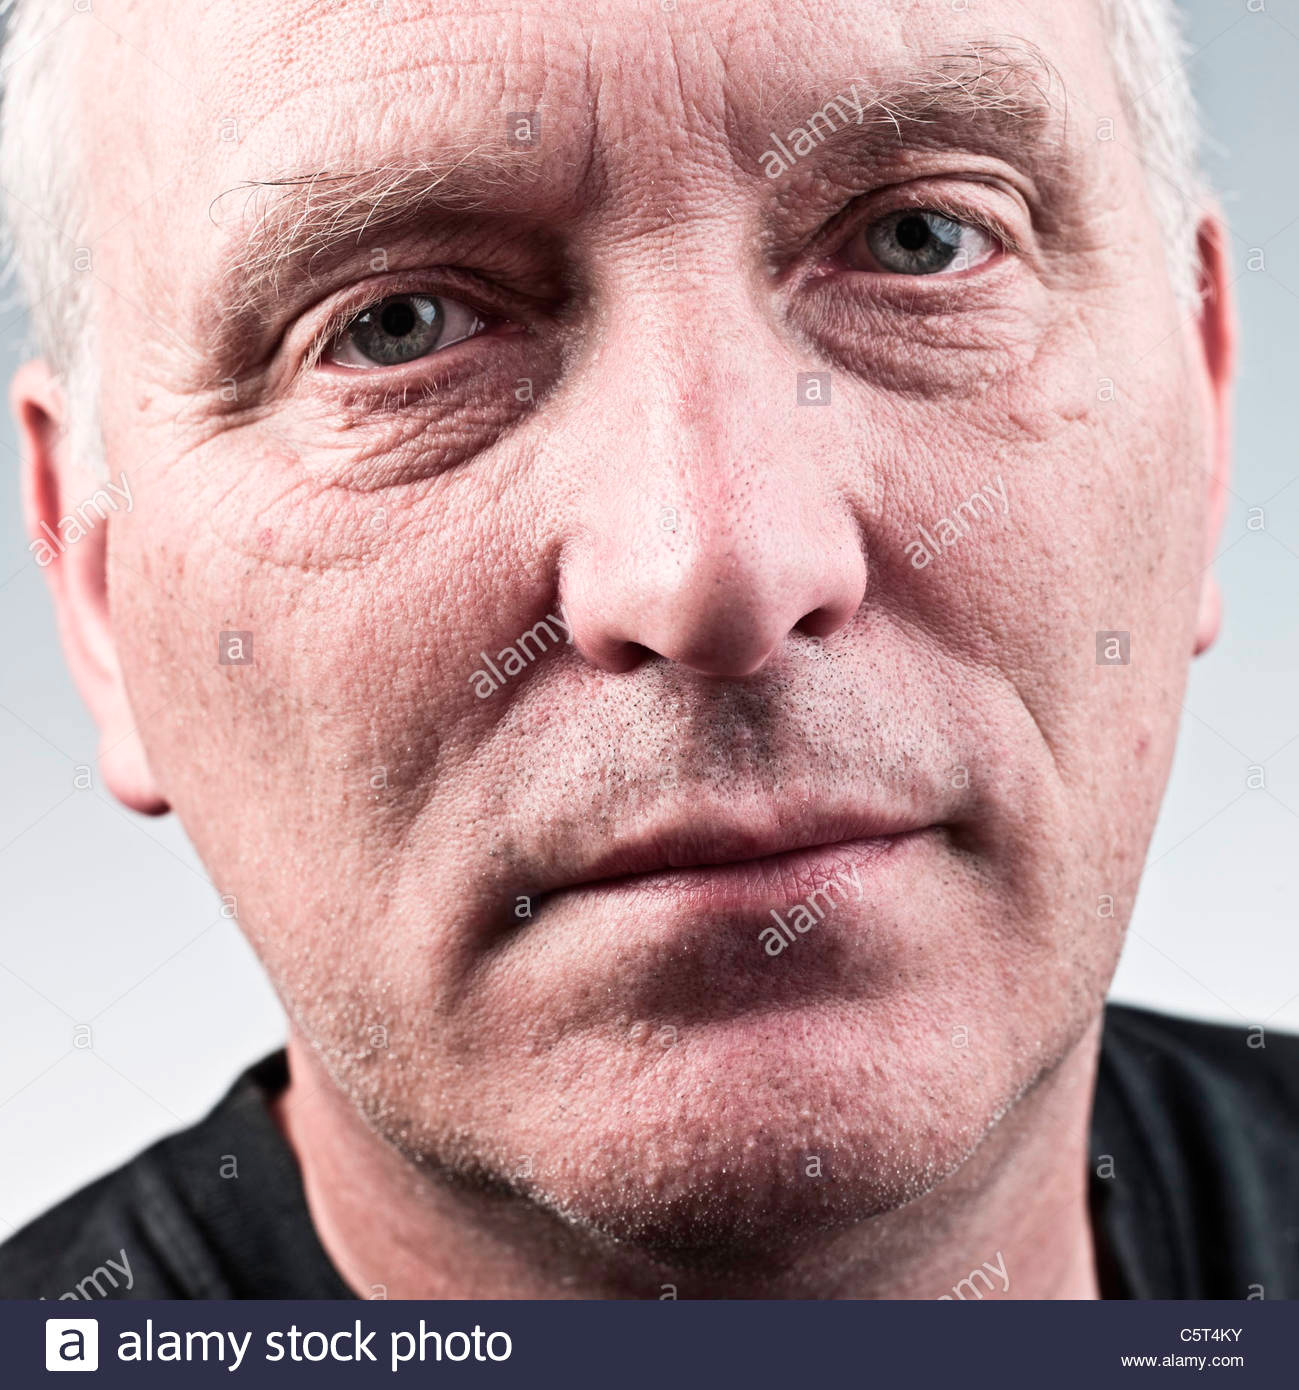
25) Reshape people distorted by wide-angles! Whether you use a lens correction plug-in, a remapped utility like PTLens, simple Photoshop scaling controls or a ‘warp’ type reshaping function, do the best you can to correct the fattening of figures or stretching of face shapes created by far too many modern zooms and ultrawide lenses. Sometimes, in photojournalism, it’s not important and may enhance the image (Henri Cartier-Bresson’s famous first use of a Leica wide-angle 28mm Hektor, ‘Picnic on the Banks of the Marne’, is a great example where the distortion has made the picture what it is). But most of the time it simply looks wrong, and may prevent the image from being cropped as needed. You may say, don’t use the lenses involved, but that can mean sacrificing far more impact and creative control. Just try to make sure nothing looks WRONG or ODD in your shots.
Apart from point 21, which perhaps belongs with the arbitrary grouping of five points before it, these last considerations have more effect at comp/scamp download or view stage when the image is seen beyond thumbnail size.
Leave a Reply
You must be logged in to post a comment.