Alpha 550: sky noise, exposure and Auto ISO
My review of the Alpha 550 has caused controversy because of the blue sky noise. I might as well say that over the last week, I’ve used the 550 in a wide range of conditions – some very bad conditions included – and its failure to match ISO 100 finesse would not worry me at all. The performance at higher ISO settings is so much improved it’s worth putting up with the minimum of ISO 200, and a touch more noise than the best ISO 100 results from the Sony CCD sensors.
Even so, something was clearly happening during the period of sunnier weather used for my earlier A550 tests. I used Auto ISO initially, because I had not realised how readily the camera will select settings right up to 1600. Auto ISO has thrown up some surprises. Here’s something to consider:
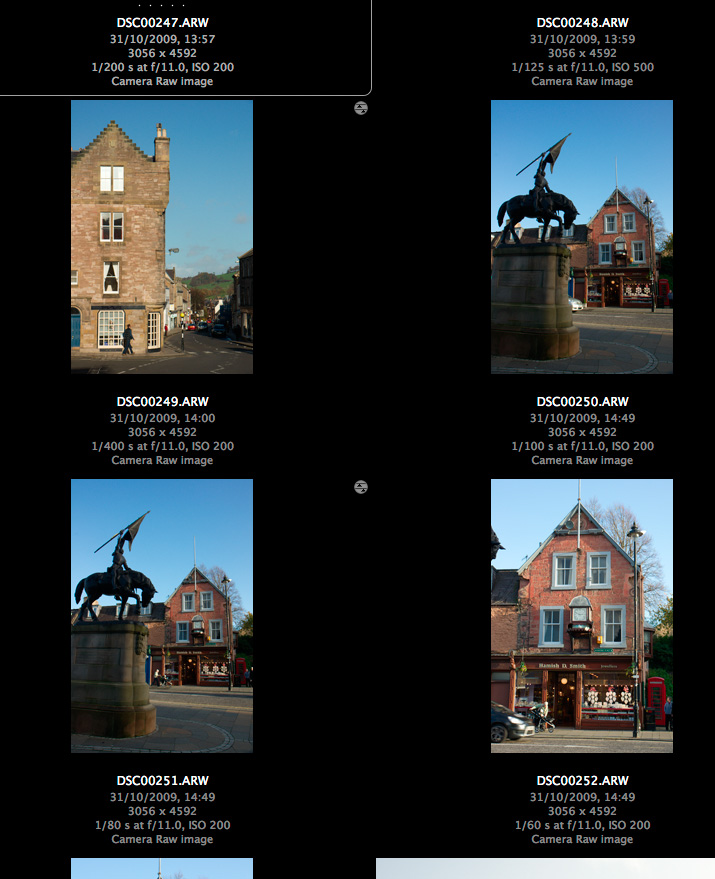
Please note that although ‘process’ symbols are shown with these Adobe Bridge/ACR images, the defaults were restored and then each picture was set back to defaults. They are all shown relative to each other in density, the image preview built by ACR. There is no question of DRO or any other tonal setting interfering with the apparent exposure – DRO does not affect the .ARW file, ACR discards any DRO generated embedded preview in my setup prefs, and DRO was not being used anyway.
It has already been noted by other reviewers that the A550 has considerably more headroom without clipping, even compared to the A350 which was already a top-ranking camera for dynamic range. This is what I meant when I compared its default images to Canon with Highlight Tone Preservation switched on, or KM/Sony older models using the Hi200 setting. This can mean that the A550 is really ISO 100 at its lowest on-sensor gain setting, but the exposure system is programmed to underexpose by a stop and the post-processing (BIONZ) is set up to boost the gain.
Why would Sony do this? Perhaps they read the many posts referring to the Alpha 900 and 700 ISO settings. The on-sensor gain controls the main ISO steps, but a rather cleaner post-process gain adds the 1/3rd step intervals. Experienced Alpha 900 users set ISO 320 manually because the sensor is at its optimum at roughly ISO 160 (DxO tests bear this out). The standard ISO 200 setting can produce more noise than ISO 320 because two different digital stages are used to produce the gain.
In search of superior high ISOs, they may have realised that the early gain stage (on the chip assembly) is inferior to the later BIONZ processor, and you can indeed get better high ISO by underexposing a lower ISO setting, then processing it with clipped blacks. That’s a Nikon technique, which has served them well. It’s also a technique used by experienced DSLR owners.
Now consider the four shots above. They are all taken at ‘ISO 200’ but the camera was set to auto ISO. Other shots in the same set show ISO 250, 500 etc confirming the auto ISO was in operation. They are taken in the afternoon in Scotland, so it is fairly near to the end of the day for sunshine by 14:49hrs, around an hour away. But the two locations at 50 minutes apart, 14:00hrs and 14:49hrs, should not have the extreme variation in exposure shown here.
Just what is going on for an exposure of 1/400th at f/11 to look correct at ISO 200, with the dark sandstone buildings of Jedburgh at the end of October? 1/400th at f/11 is the ISO 200 exposure for full sunshine in midsummer (aka f/16 light). You hardly ever find f/16 light in Britain unless you are on the beach, surrounded by pale concrete, in a field of golden corn or out on a lake.
50 minutes later, exposures range from 1/60th at f/11 to 1/100th at f/11 – that is, more or less, from two to three stops more. In fact these exposures are in line with what I would expect, it’s the 1/400th at f/11 which is the odd one out. I have no evidence to suggest that my CZ 16-80mm has an aperture which fails to stop down consistently.
Now look at some sky samples:
Here is an in-camera JPEG version which shows less noise – the in-camera process is equal to using much stronger NR in raw conversion than I would normally choose for ISO 200:
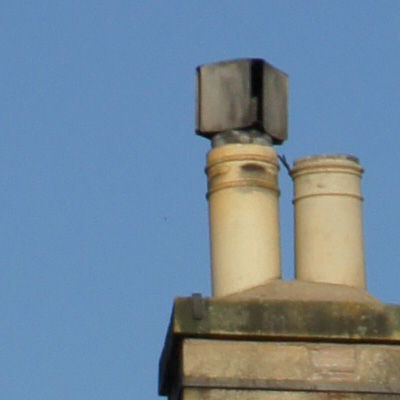
Now for the same processed from raw – notice that despite the noise, it is slightly more detailed or sharper:
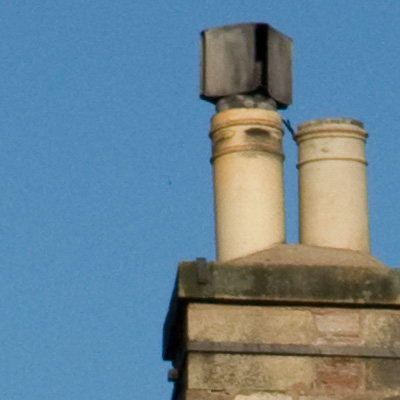
This is a reprocessed second version of the original noisy sky instance. Here, I have used Adobe Camera Raw 5.6r1 defaults, which include some basic sharpening and also 25 on the chroma NR scale. No exposure adjustment is made at all. This view, by the way, looks more or less due north and it is not a case of a brighter sky underexposed; also, the stone and the chimney pots look normally exposed.
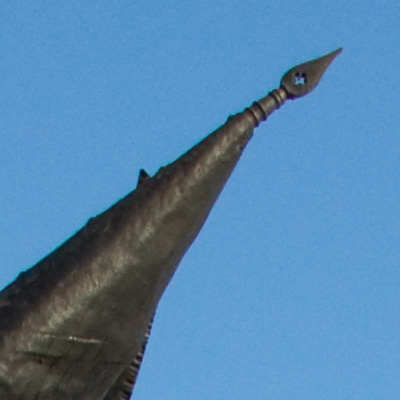
This is the 1/100th at f/11 shot, processed exactly the same way. It’s interesting in that I expected to see much lower noise, but in fact it’s much the same. The sky density is similar as well. The view is slightly more towards the east. While my Alpha 380, 200, 100 and even 700 shots are capable of showing blue sky noise at ISO 100 and as much as this as 200 it’s not as obtrusive.
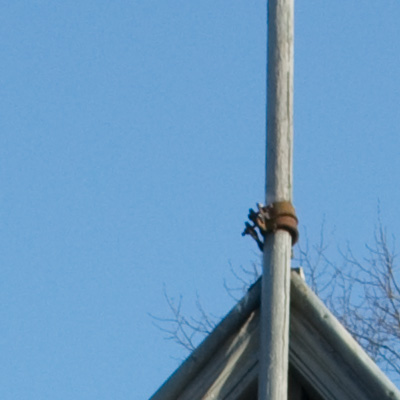
Finally, this is the 1/60th exposure – perhaps more what would be expected at ISO 100 in this light with f/11. Here, I have set -1 EV exposure reduction in Adobe Camera Raw to get much the same final sky tone density. The noise is lower.
Checking other images I’ve taken since, I am now suspicious about the Auto ISO function in the Alpha 550, and whether it reports the gain applied to each shot accurately. It’s hard to reconcile the same ISO 200 setting shown in EXIF with the range of exposures encountered, and the actual exposure of the raw file. Yet ISO 250 was also selected for this shot taken a few minutes before the chimney shot:

This is also included in the main report (click image to view full size on pBase). If I darken the sky as much as the other examples, I get noise similar to the 1/60th ISO 200 clip, or better.
Since making these tests, I’ve started using the Alpha 550 only on fixed ISO settings, with some misgivings as intermediate gain like ISO 250 or 320 might possibly be yielding better results. I just feel something is happening in the BIONZ stage, perhaps involving analysis of the Auto ISO images and compensation for deviations from the reported EXIF Auto ISO setting. This is just a hunch. Fixed settings seem to be equal to the worst case from Auto ISO. Here’s a textbook example, 1/125th at f/16 for a blue sky on November 3rd, facing due north, at 14:19hrs, ISO 200 fixed setting, ACR 5.6 defaults as above:
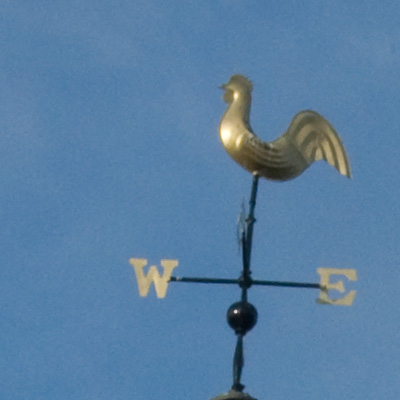
The answer seems to be to overexpose your manual ISO 200 shots by not simply one stop, but as much as two stops when shooting raw. At least if Adobe Camera Raw is used, recovery of normal tones (not burned out highlights) will fully restore the exposure from 1 or 2 stops over depending on the subject.
Here is an overexposed image, taken at 1/80th at f/10, ISO 200, in mid-day sunshine:
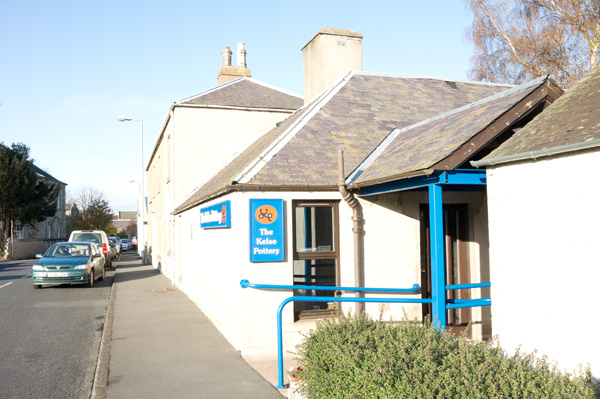
Below is what the sky looks like in a normally exposed image (1/250th at f/10), processed using Adobe Camera Raw defaults (including sharpening at 25/1/25/0 and NR at 0/25), looks like:
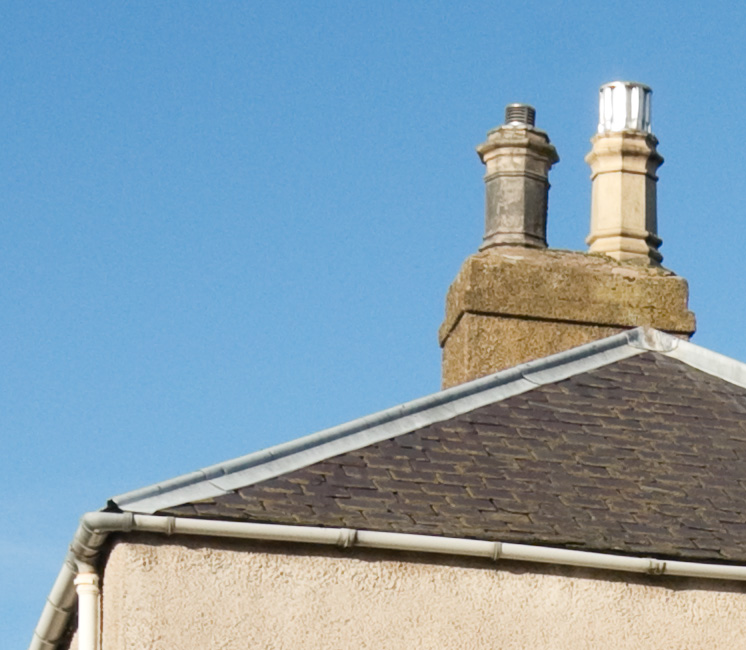
And here, finally, is what an adjusted ACR process from the overexposed image looks like with sharpening turned off, NR set to 25/50, exposure and brightness determined by the simple process of using Auto (which can be set as a default in ACR if you want to consistently make generous – over – exposures ‘to the right’):
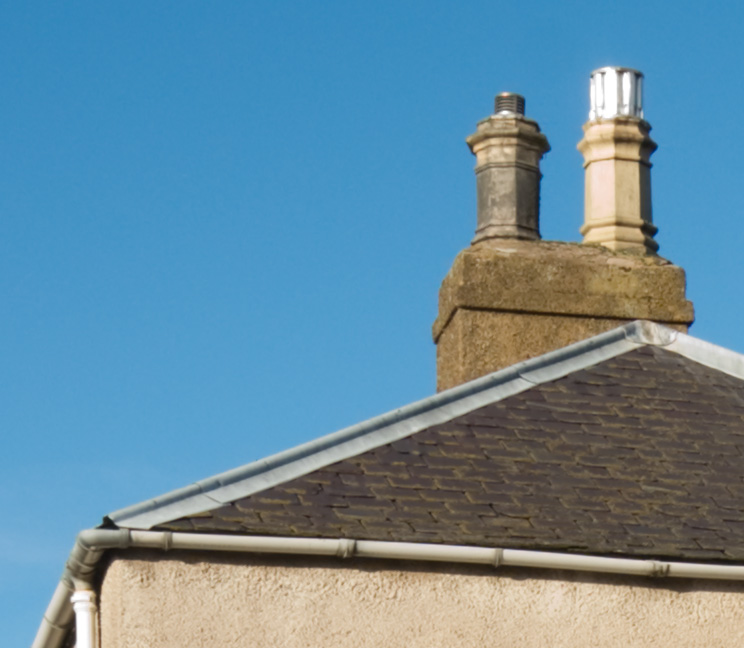
This is much more how I expect to see a sky looking from the base ISO of a 2009 DSLR release, viewed at 100 per cent. From this stage, different types of sharpening can be applied to suit resized versions for different purposes.
Results with other raw converters, as more become available for the Alpha 550, may be finer in noise structure than ACR or may offer less scope for overexposing – ACR is well known for its ability to recover highlights. I do not intend to go much further into this with tests of converters, but I hope I have shown how the ‘true ISO’ of the A550 is difficult to pin down especially in Auto ISO mode, and how it is possible to benefit from the great high ISO performance of the camera (just use it!) and at the same time secure good low ISO results for travel and landscape shots where a clean blue sky is important.
It’s important to note that in-camera JPEGs will not necessarily show similar noise levels. If they do it’s not so easy to fix without using NR software. I prefer to shoot raw for many reasons.
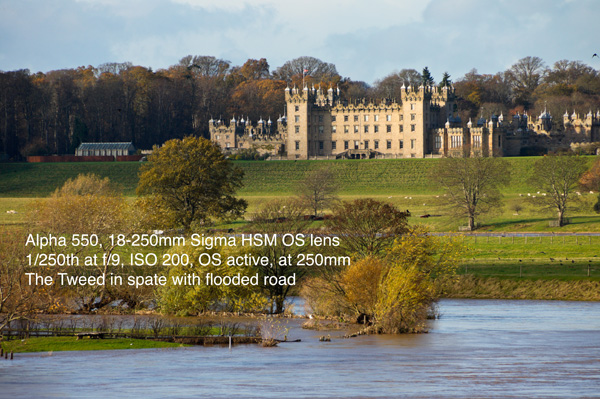
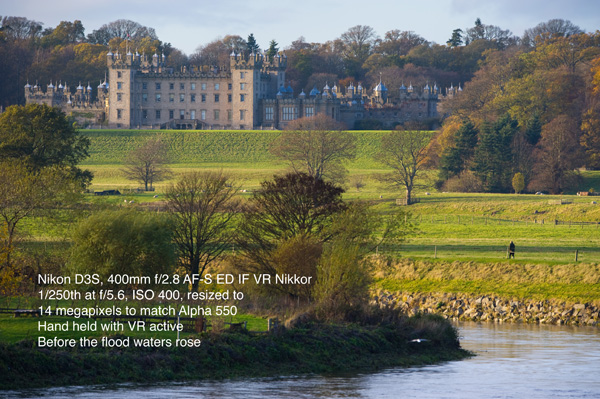
So, why not be very happy with the Alpha 550 as a choice? Here are two pictures. You can view the full size Alpha image, and the Nikon D3S image resized to match 14 megapixels, by clicking on the smaller size here. Of course the Nikon image is better, though 1/250th at f/5.6 and ISO 400 is more of a step away from 1/250th at f/9 and ISO 200, and I’m not sure the light was SO different on the two occasions:
– DK

I’m a little confused. First you talk about getting better results by deliberately UNDERexposing, so that more of the gain is generated via the BIONZ circuitry and less from the inferior sensor gain, but the recommendation for less noise with the A550 is to OVERexpose then adjust in post. This seems contradictory, although I am probably being thoroughly dense.
I would add that I really can’t imagine the typical purchaser of a mid range camera like the A550 being the sort likely to mess around with exposure tweaks + post-processing etc to “trick” his/her camera into producing cleaner skies. In fact I can’t see many professionals having the time or inclination to mess with this kind of thing, let alone real ordinary folk.
David
Sorry about the confusion. As I understand it now you over exosed the image by two stops and processed in ACR by (amongst other things) clicking on Auto. That latter process simply returned the image to a normally exposed image and eliminated the sky noise. For some reason you then avoided Auto’s “inbuilt” tendency to over expose. As I said I never use Auto because of that tendency and I must confess I do not have the “courage” to over expose by two stops and then come home and discover I cannot recover all highlights. Maybe the wider dynamic range of A550 is more accommodating than my A350/700.
I am actually more interested in hearing your latest views on the usefulness of A550 at ISO200. Do you still maintain that the quality of ISO200 shots are variable and the image quality is inferior to such cameras as A350 and A700 at low ISO? I did contemplate the purchase of this camera and could even live without P shift etc. if ISO200 quality was consistent, resolving power on a par with A350 and the “flat” images could be made to look a bit like A350 through ACR & PS.
The Nikon was not a deliberate comparison, I just happened to shoot a similar view some days apart with the two cameras. The Nikon full sized image is a little sharper as it should be from a lens costing £6000; I showed the comparison because the Alpha 550 does surprisingly well, it interested to notice this when editing the images for other purposes.
I still don’t know what you mean about Auto in ACR brightening a light picture. It doesn’t. Auto will brighten a dark picture, or darken a light one. It will correct exposure errors. The result is exactly the same as doing it manually, though it tends to raise the Black Point a bit high and can sometimes add unwanted Recovery which changes the colour of reds and yellows. If I click Auto I nearly always fine tune the result.
Auto will often over-brighten a normally exposed raw (which is why it is not a good idea to use it as a default). This does not mean it will do the same with either a badly overexposed or underexposed raw.
On dPreview I seem to have caused confusion, one person thinking I am putting the Nikon image there to show it’s better than the A550 – not so, it is there to show how very close the A550 with an 18-250mm superzoom comes to the quality of roughly £10k of professional kit. And all of my comments about noise ONLY apply to raw file capture and processing. I am therefore adding an in-camera JPEG clip to the report.
David
David
I simply did not understand your statement above “brightness determined by the simple process of using Auto.” You have over-exposed by two stops as you say & you then use Auto to determine normal brightness. I simply opened an old RAW file from my A350 and applied Auto resulting in a very over-exposed image thinking that Auto is no good to return an over-exposed image to normal brightness. I never use Auto in ACR. I find it totally useless. I always do manual adjustments. I do not understand from your description how you achieved normal brightness by using Auto on an over-exposed image and thus removed sky noise. I would have thought that the only way to return the over-exposed image to normal brightness would be through manual manipulation in ACR and then PP. Maybe I am simply missing something.
As stated above the A550 picture looks better (in my opinion) as the D3s castle looks without contrast and a slightly “funny” colour. I am sure that a touch of the shadow slider would have greatly improved on the looks of the A550 image.
Auto certainly doesn’t make an overexposed raw two stops brighter! In fact, Auto leaves the exposure entirely untouched in any of the filetypes I’m currently able to look at – which is most of the current DSLRs available. It adjusts brightness and contrast by default, leaving exposure at 0.0 unless there is a clear exposure error. Can’t work out what you are doing which makes Auto appear to brighten all shots. I would never actually use Auto as a default, it’s so quick just to click in the settings window and you can then see exactly what changes it has made (and over-ride them as you want).
David
Not sure if I understand this statement: “And here, finally, is what an adjusted ACR process from the overexposed image looks like with sharpening turned off, NR set to 25/50, exposure and brightness determined by the simple process of using Auto (which can be set as a default in ACR if you want to consistently make generous – over – exposures ‘to the right’)”
Using Auto in ACR on a RAW file switches exposure around two stops brighter. So you take an over exposed image and apply Auto. I would suggest we get a wash-out instead of a well exposed image if this is applied to the above over-exposed image.
I prefer the A550 image to the D3X.