- 66.7 megapixel back illuminated partially stacked full frame sensor
- Bionz XRII processor with AI subject recognition and tracking over 94% of the frame
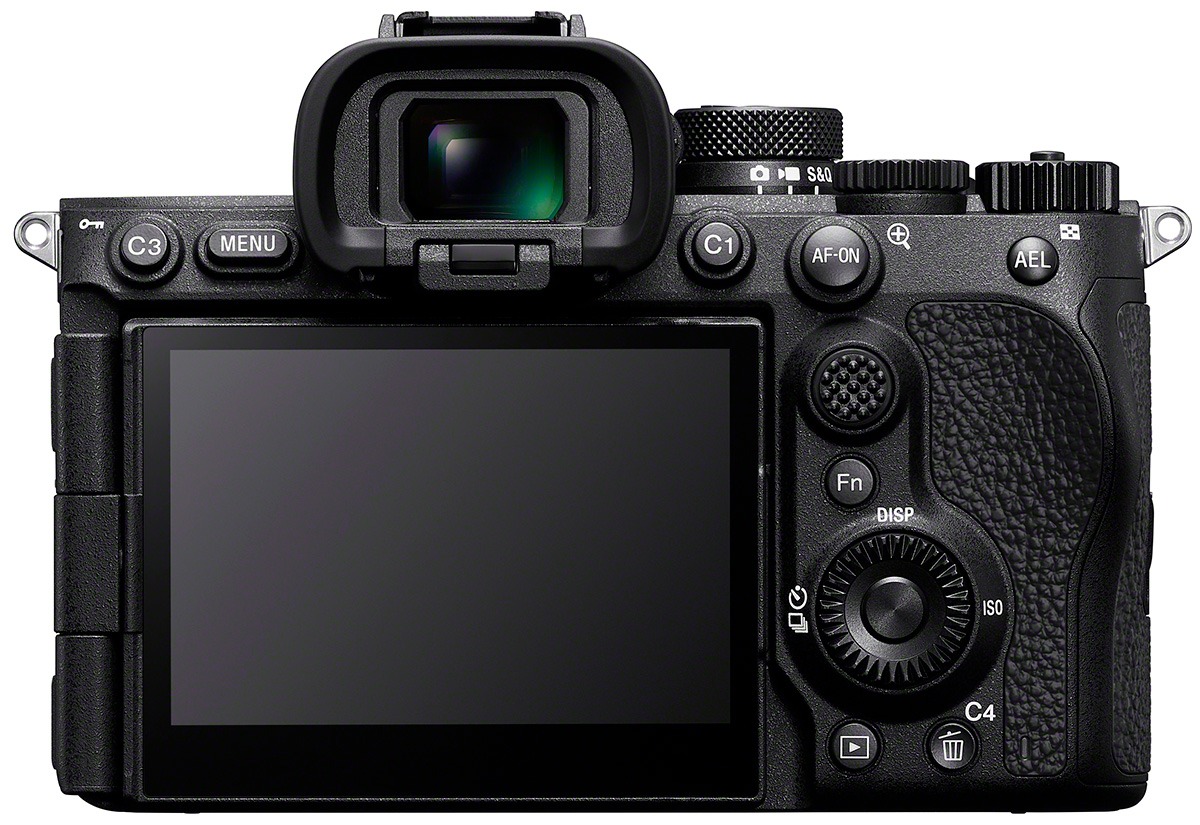
- 3X brighter OLED viewfinder with better than sRGB colour
- New battery for 15% more stamina
- Dual SDII/CFExpress Type A card slots
- Illuminated buttons for low light operation
- 8.5 stops sensor-based image stabilisation
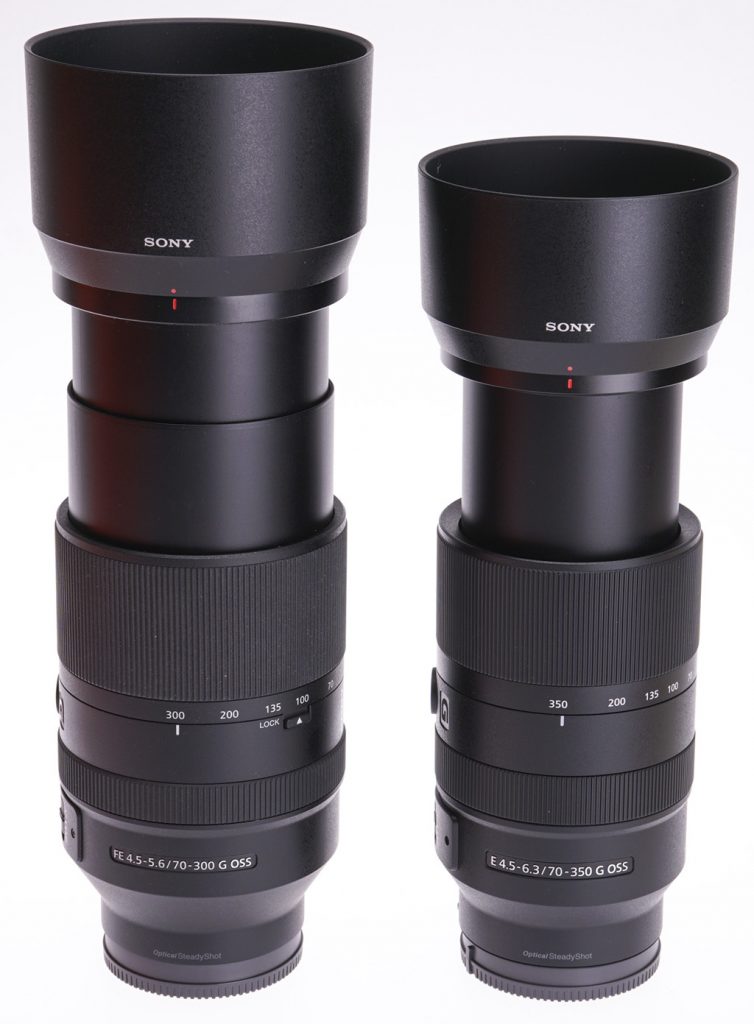
- New 100-400mm constant f/4.5 optically stabilised zoom with 3X faster AF
- £4,400 launch price already on pre-order from dealers such as Clifton Cameras and WEX
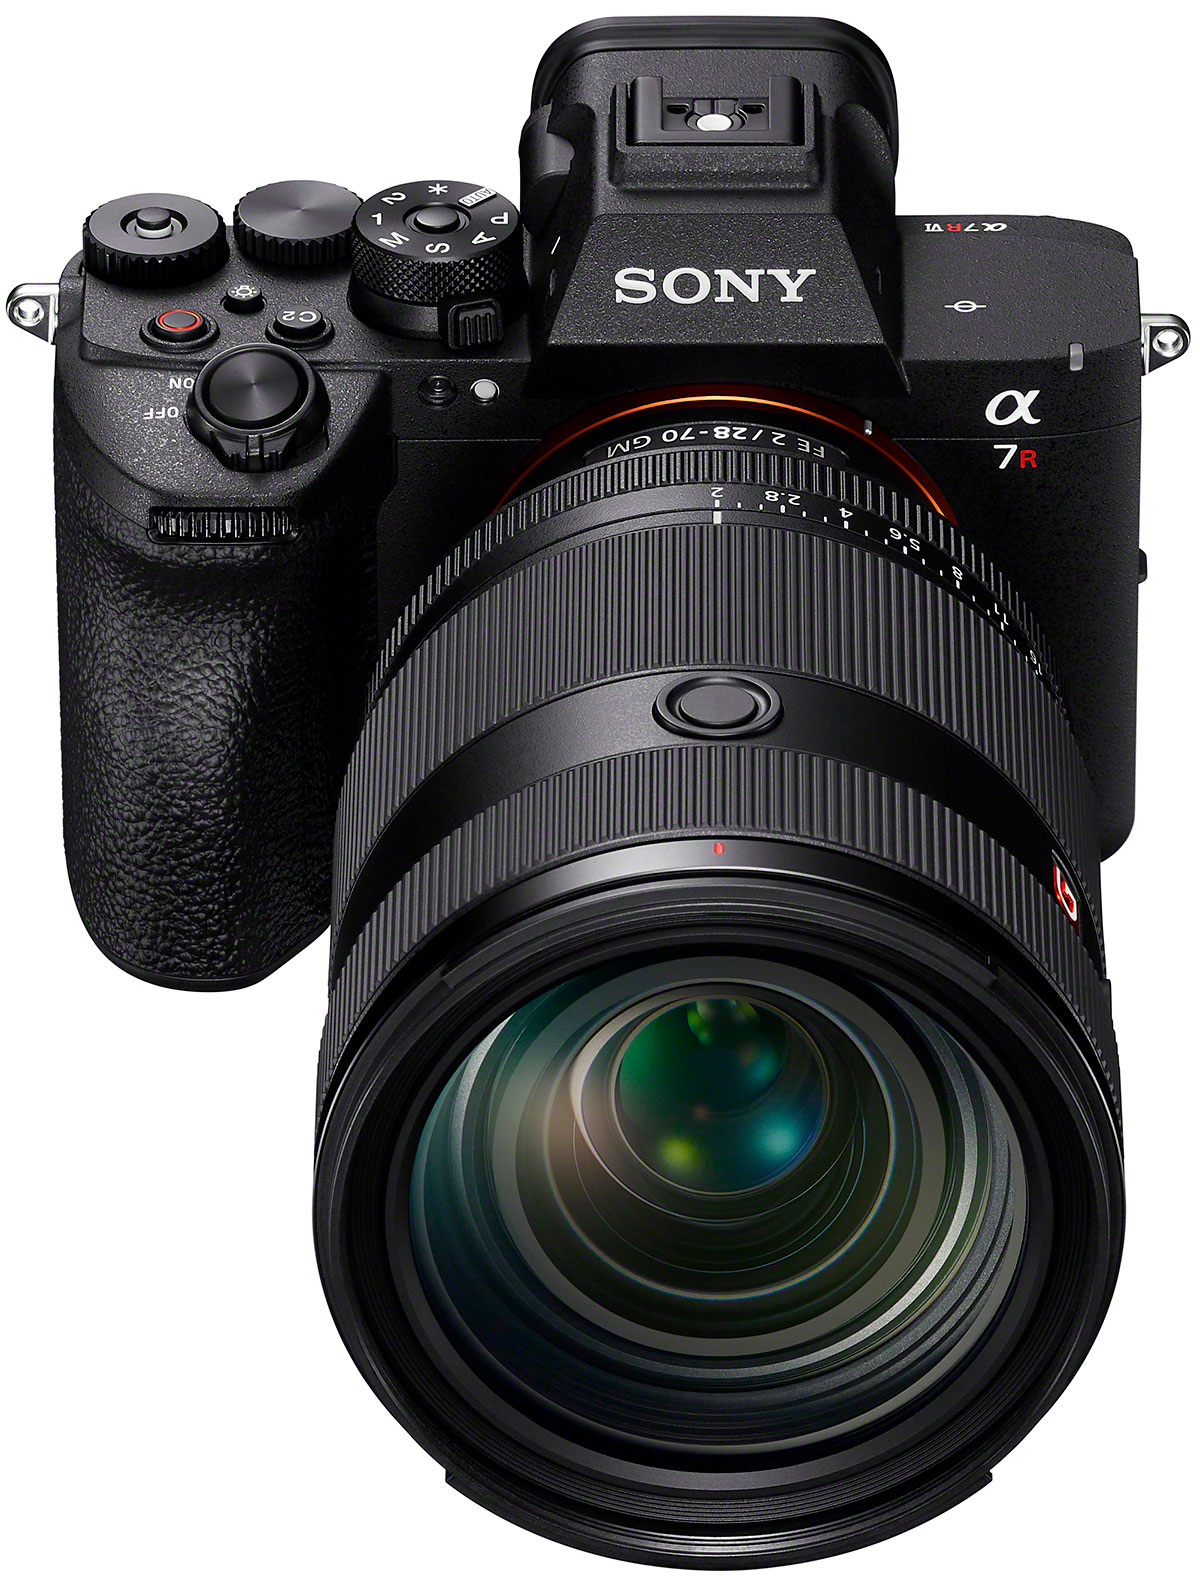
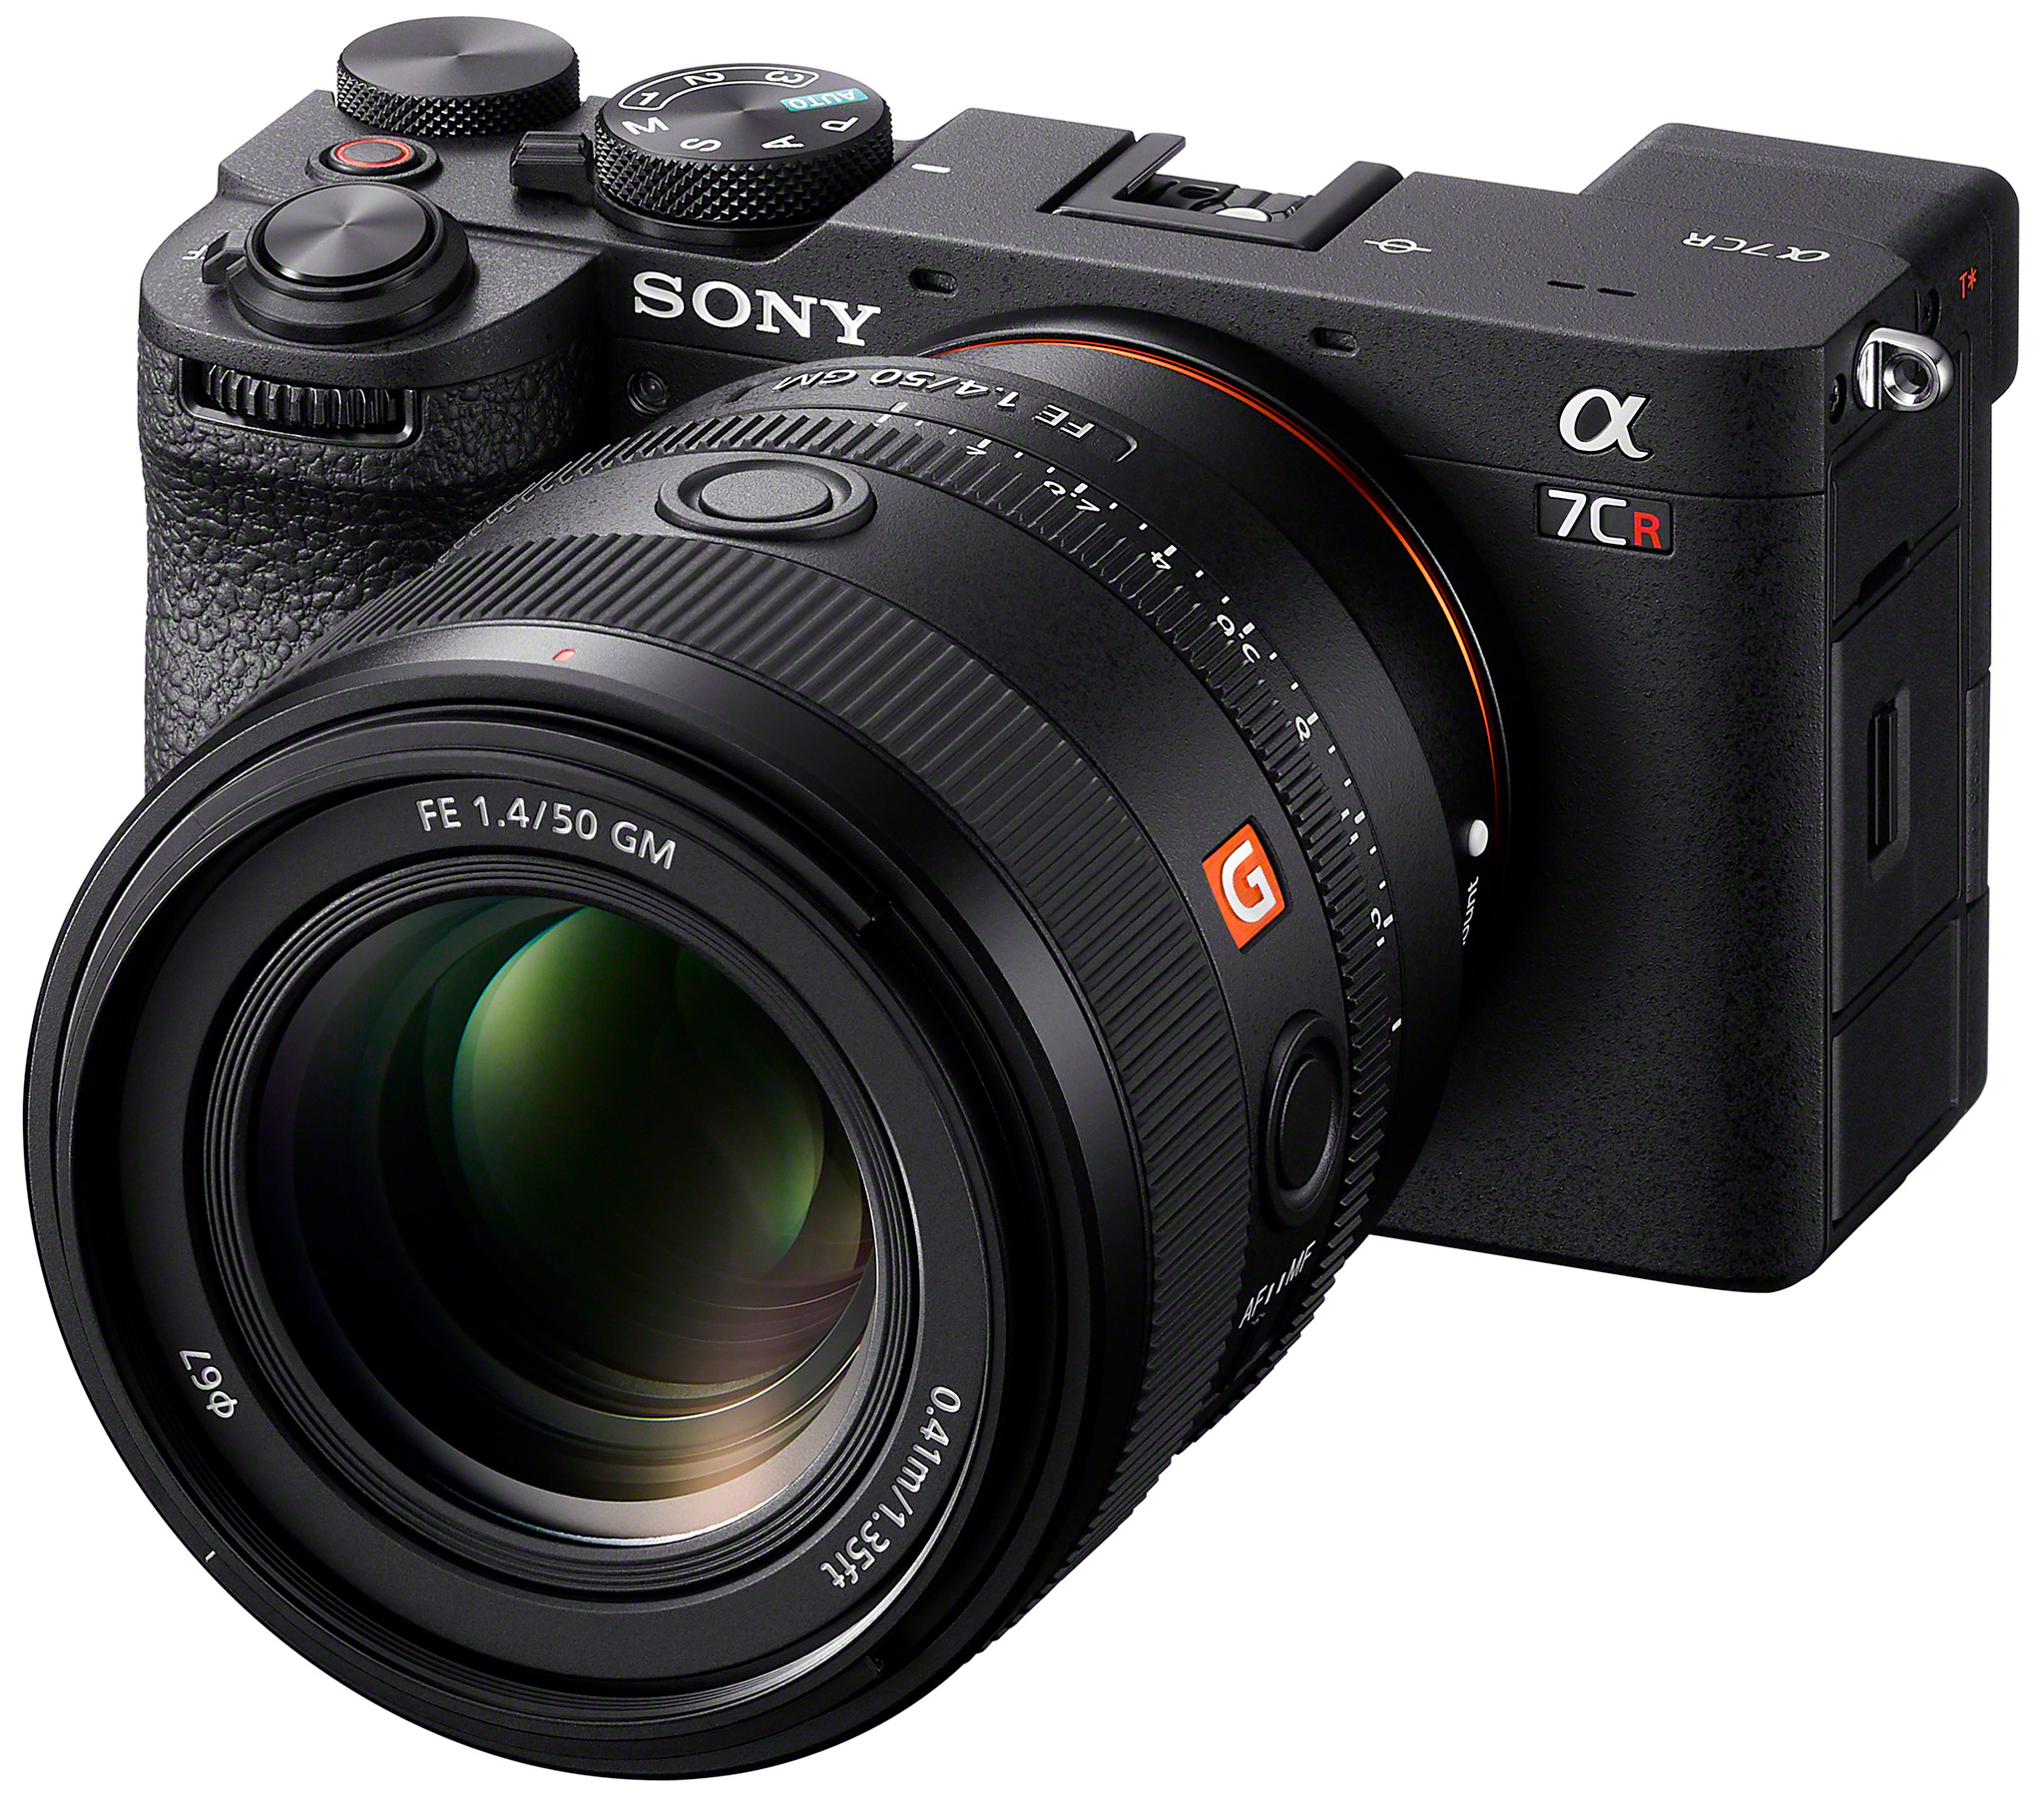
Sony’s new A7RVI hit the news desk – though the UK company no longer appears to issue press information and relies on a website little different from anything they provide for dealers – on the same day we ordered a replacement deep eyecup for our A7RV. Evening sunshine had made the otherwise superb EVF hard to see, and the silicon surround of the original eye-pad had split at one corner.
Sony doesn’t make a deeper eyecup but others such as JJC and Smallrig do, alongside regular replacements. But for those buying the A7RVI in June, its EVF has a boost to make it three times as bright as the V, while the otherwise similar near-10-million dot OLED gets better than sRGB colour and increased dynamic range.
If you do not need the other improvements such as 30fps blackout-free continuous shooting, up to 5 seconds of pre-capture frames, four times faster readout from the new stacked 66.7 megapixel sensor greatly reducing silent shutter action/pan distortion and video rolling, the EVF enhancement might well be your main reason to upgrade to this £4,400 body.
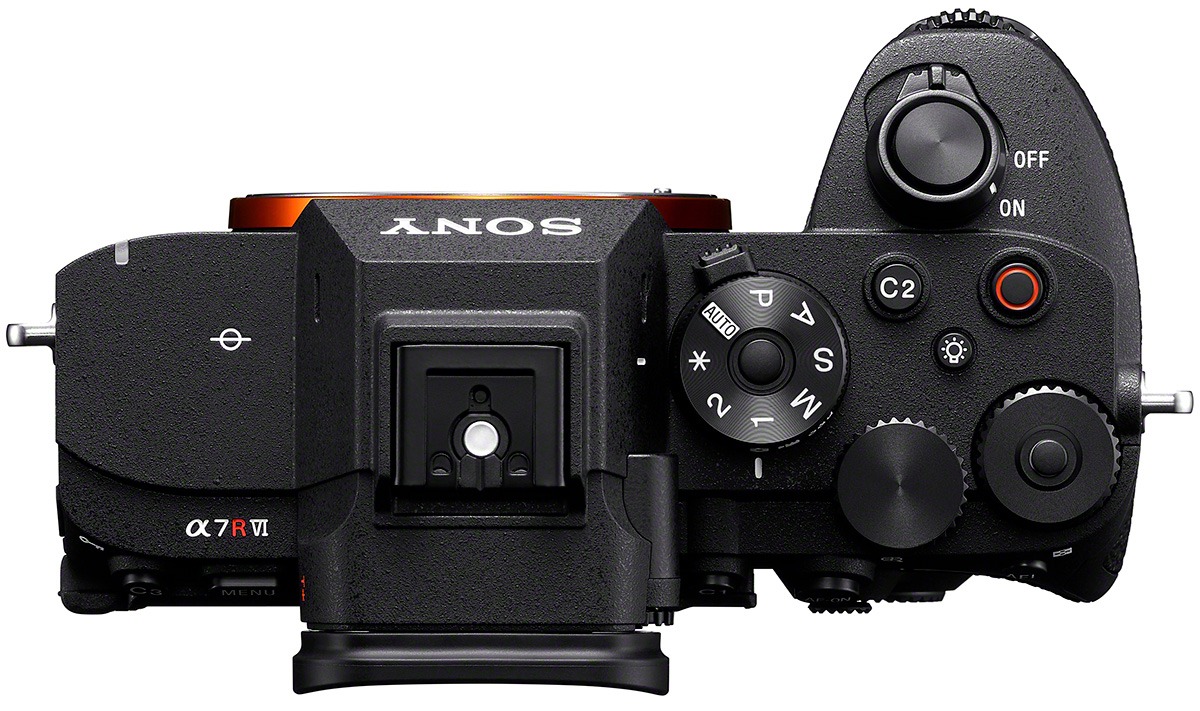
It also has a new mode dial with 1-2-* instead of 1-2-3 for Memory recall of complete setups – the * opens rapid access to many saved setups previously needing menu diving. And when you need buttons, there’s another button to light them. Give me one which instantly puts on my reading specs and it would have more use!
The additional pixels in the image are of little importance. Mark Galer (one of the better ambassador/influencers) states repeatedly in his blog post that it’s ‘twice the resolution’ of the A7V. Well, 66MP is not twice the resolution of 33MP because resolution is and always has been a linear not area measurement. It’s actually 1.41X the resolution, twice the megapixels.
The increase from 9504 x 6336 pixels to 9984 x 6656 is not insignificant but not game-changing. For astro and wildlife or any kind of tele photography where the pixels capturing a subject with a specific lens are what counts, the OM-Systems 20MP MicroFourThirds sensor is like a crop from an 80MP full frame, Fujifilm’s X-Trans 40MP matches 94MP on the same basis. The APS-C crop on the A7RVI is 28MP, compared to 26MP on the V.
Relative to the A7RIV/V the VI has a 5% increase in resolution and does become the highest resolution 24 x 36mm sensor camera, and to this Sony add marginally better in-body stabilisation, improved dynamic range to 16 stops depending on capture format and hopefully some improvements to noise levels across the entire low to high ISO range.
As with other recent R series models having no low pass filter, the A7RVI offers 4-shot (true RGB for every pixel) or 16-shot (2X pixel dimensions) multi-shot high resolution. There is no upgrade to in-camera processing (as used by OM-Systems) and it’s a strictly static subject tripod mounted option. This isn’t surprising as creating a 240MP image from 16 70MB raw captures demands much more than OM’s 50 or 80MP generated from 16 20MB raws.
Extending the AF point grid to cover 94% of the full frame as feasible will help deal with lenses that have curvature of focus field when used for action photography with a subject relatively small in the frame.
Sony’s colour has always been good but Auto White Balance far too variable. The Bionz XR2 processor (introduced with the A7V) adds AI-derived image analysis which can give much more consistent skin tones in changing light and settings. It’s a something wedding, portrait and fashion/lifestyle photographers need.
A new XLR digital microphone module with four channels has also been announced, fitting the multi function accessory shoe as for previous mics and preamps. The second USB C socket has a screw thread beside it to accept new lockable cables without needing a clunky tether-anchor assembly.
Battery with more ammo
The one change most likely to frustrate existing owners of A7*III and later bodies, including even A9III, is that a new larger battery priced at £99/$120 is used to solve the problem of the poor performance of the NP-FZ100 with its 2280maH rating. The NP-SA100 (already listed by dealers – see Clifton Cameras) offers 2670maH at the same nominal 7.2V with an expectation of 600 shots. While Sony has never attempted to improve the FZ100 third parties like Mathorn (sold by WEX) offer 2600maH already and it might have been reasonable to think Sony could have improved their now ageing battery to at least this spec without having to change to a brand new shape and fitting.
Here’s an interesting 2600maH third party – Llano brand from Amazon with a neat power level display which lights up at a touch. It is not biometric as they claim, just plain old touch-sensitive inductance. But it’s half the price of some third party cells.
However, if the NP-SA100 battery after moderate use doesn’t do the now familiar FZ100 trick of showing over 30% charge in the finder display then dying completely after half an hour taking just a couple of dozen frames, it may save newcomers to the system experiencing an urgent need to buy two more.
Twin USB 3 connections do make it possible to chargenot only while shooting, but also while using a tethered display or video SSD recorder. Power banks work well – here’s a very good Ugreen deal which is also a magnetic wireless charger for iPhone. There is also a new battery grip accepting the usual two to double everyday stamina, £399 on pre-order.

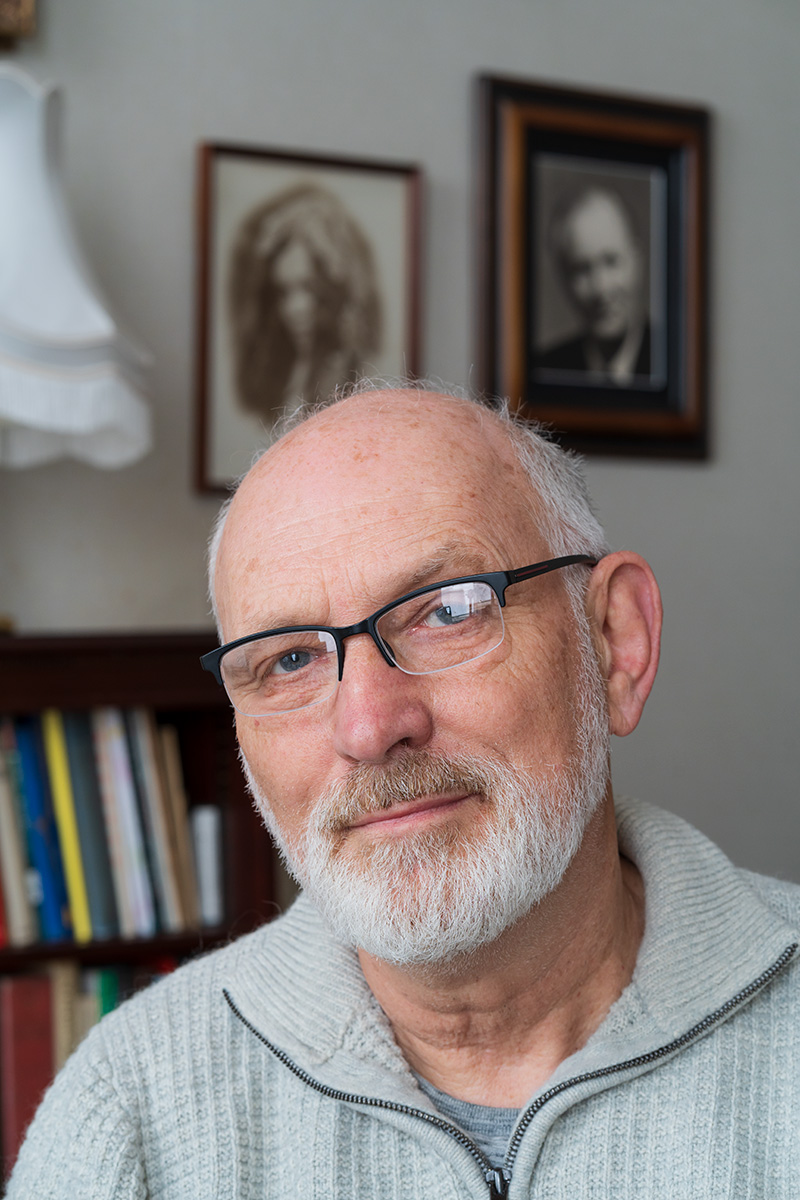
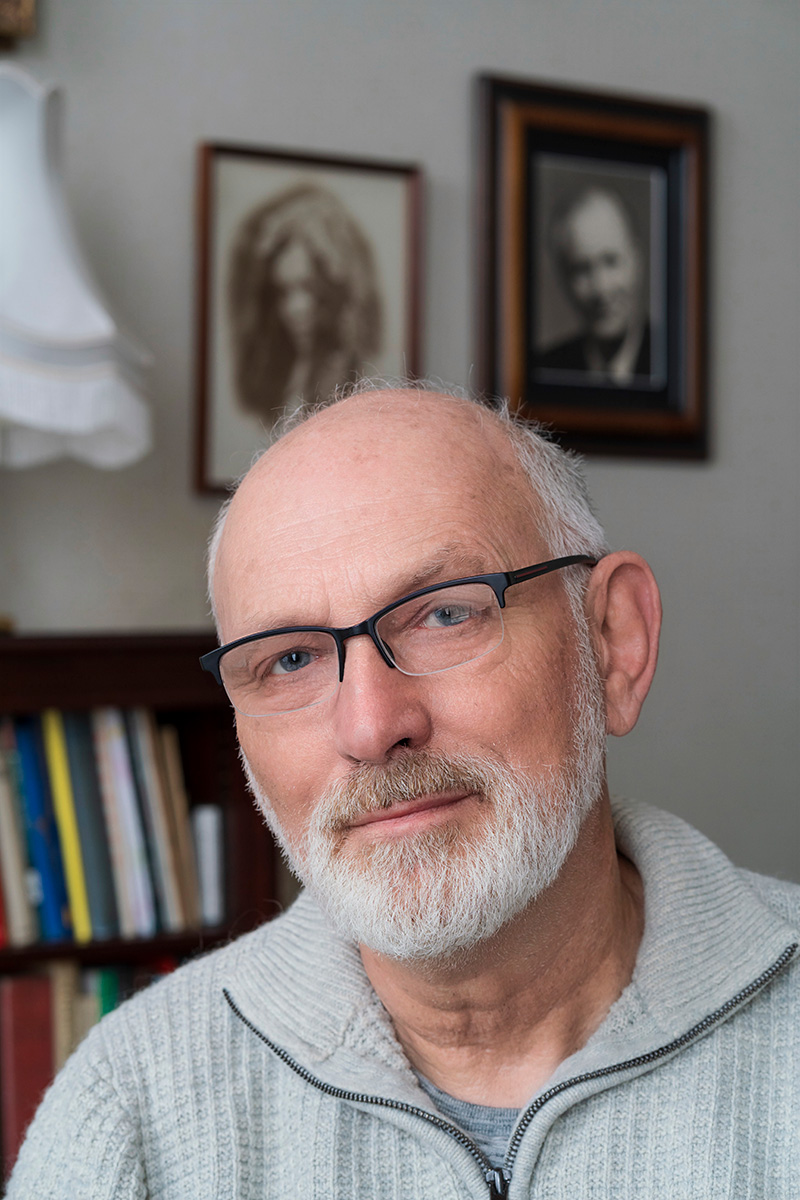
The one full size sample image (above, click for link) provided by Sony on the press site is shot at ISO 400 and is fairly noisy as well as not ultimately sharp – no doubt there will be many more which prove the A7RVI can at least match the V if not all rival brands or models using sensors in the 40-50MP range.
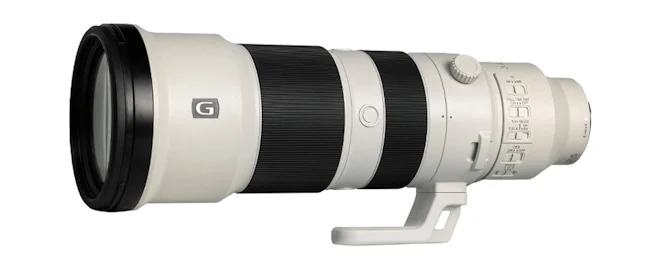
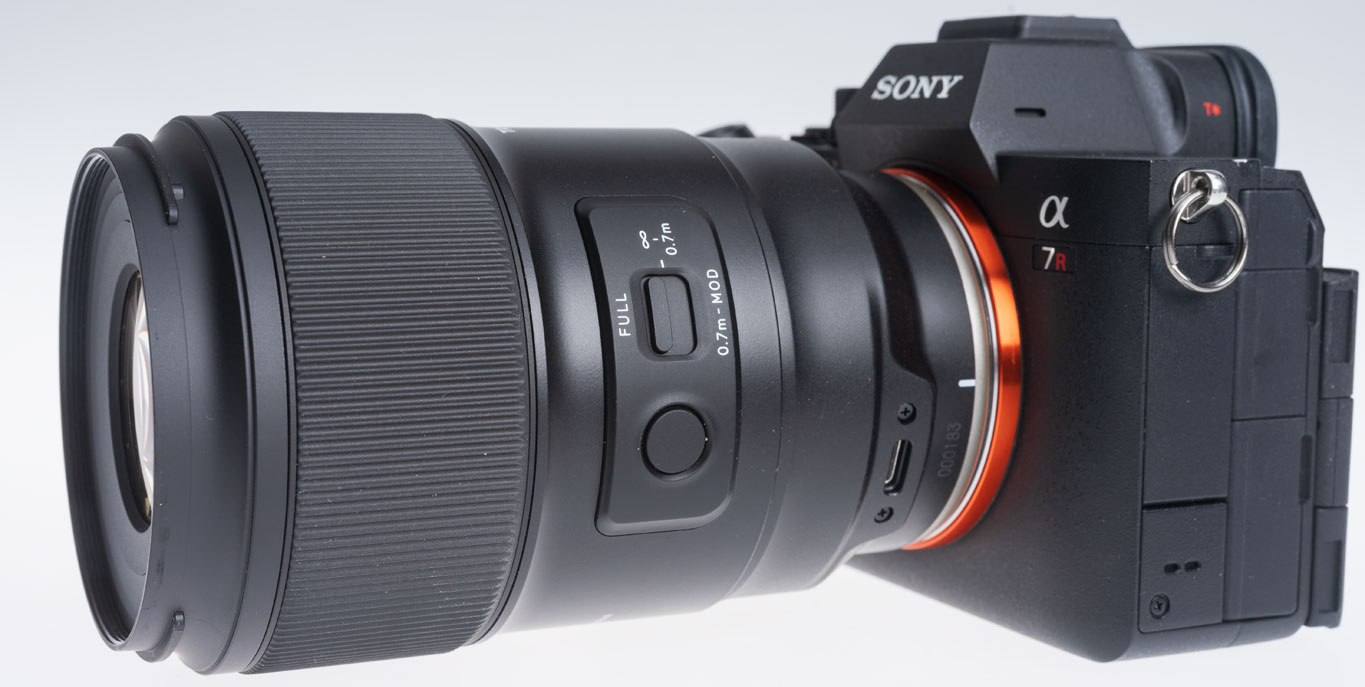
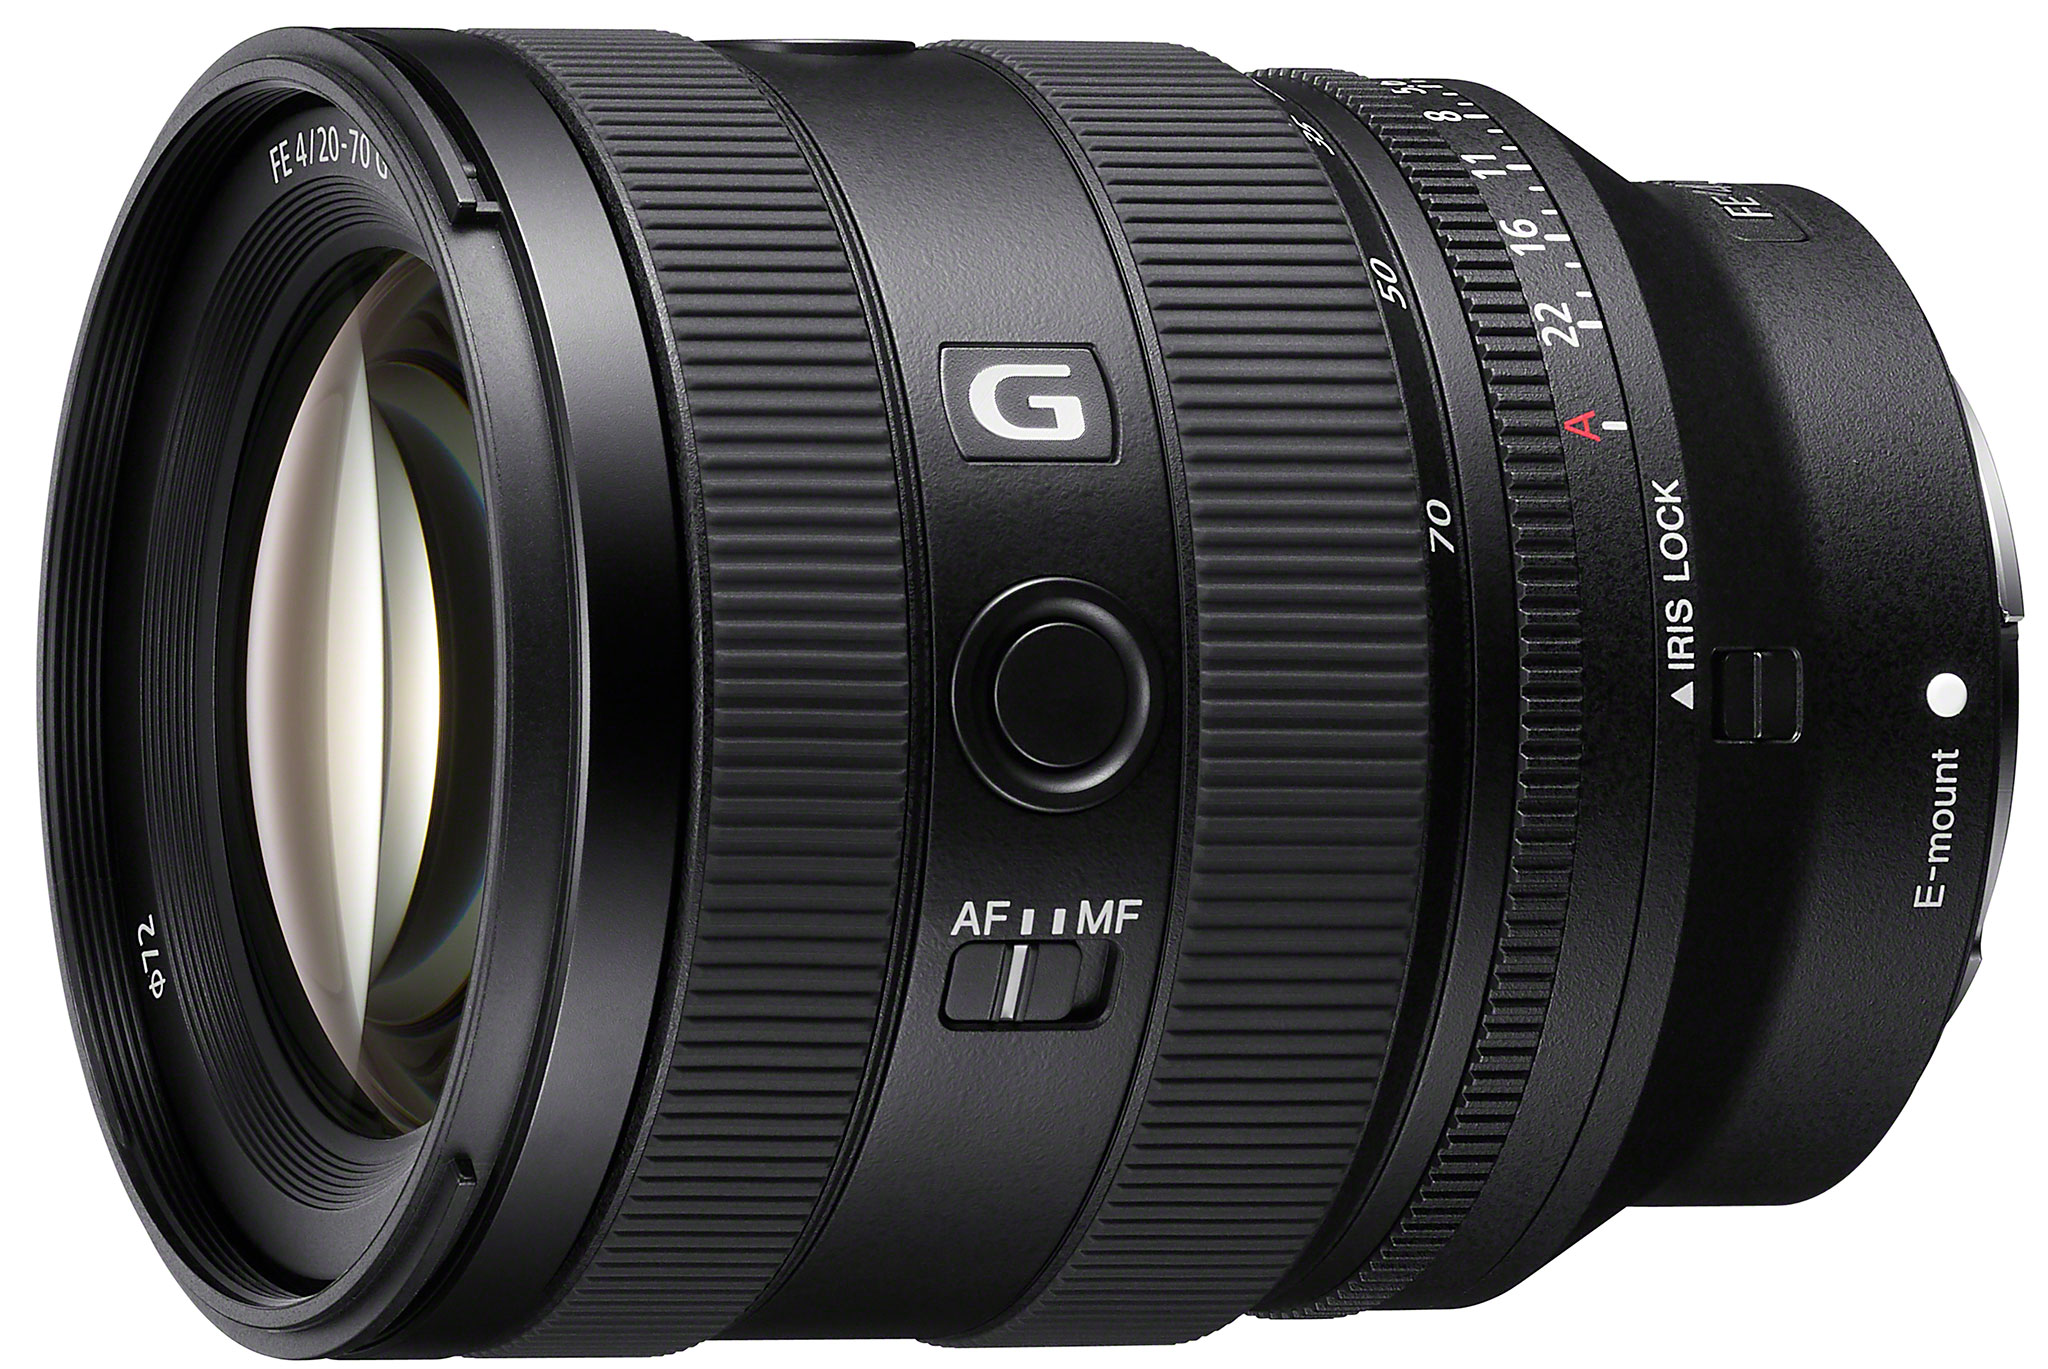
100-400mm f/4.5 GM OSS
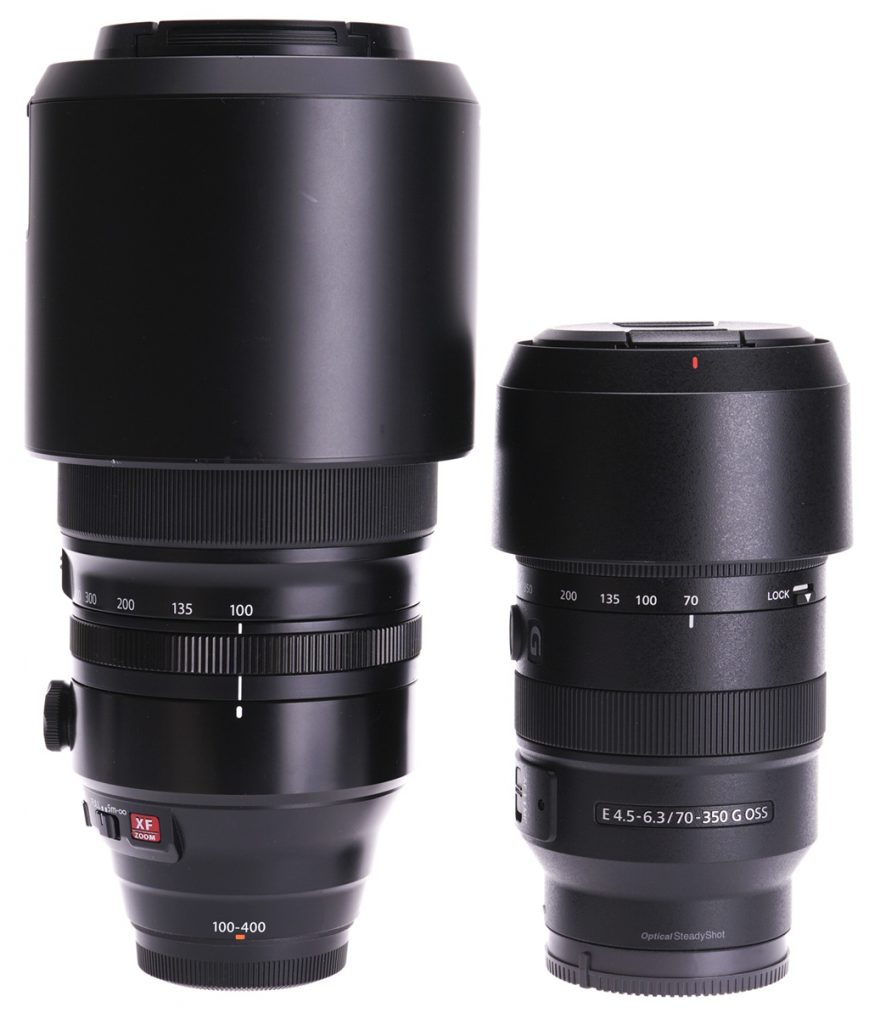
Alongside the A7RVI Sony have launched an alternative to existing long tele zooms, a new 100-400mm f/4.5 constant aperture GM OSS. The existing GM OSS is 100-400mm f/4.5-5.6, weighs 1395g, is 205mm long and focuses down to just 98cm with a subject scale of 0.35X, takes 77mm filters and costs £2,149. The new model claims 3X faster AF and better optical performance as well as 2/3rds of a stop extra light on to the sensor at 400mm.
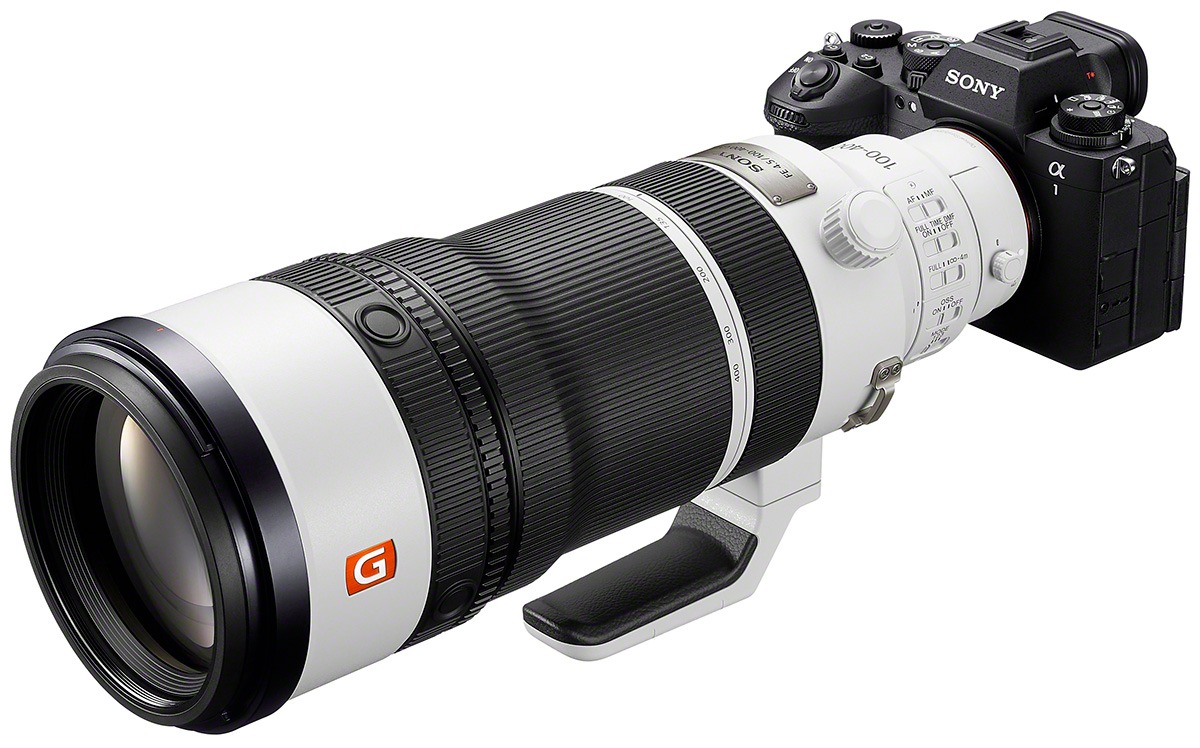
It is however over twice the price at £4,400 and weighs 1840g, is 328mm long (this is a huge difference) taking 95mm filters though with a rear slot-in option, and its minimum focusing distance is variable from 64cm to 1.5m with a maximum image scale of 0.25X. You can buy two or even three Sony G long tele zooms for the price but not one them will give 400mm and f/4.5 – you can get the 400mm f/2.8 for over ten grand, or use a 2X converter on the 70-200mm f/2.8 and get f/5.6. So there’s a definite place for this lens.
Pre-order now open from most dealers including WEX and Clifton.