Using Adobe Bridge/ACR for ‘film looks’ controlled by your Alpha
It’s now easy enough to find camera profiles – image looks created by independent photographers, as Adobe and Sony do not provide any – which make a big difference to raw processing using Adobe Camera Raw or Lightroom. There are also many fine adjustments you can make within these programs, able to customise the image output so that it either looks just like an in-camera JPEG of a chosen picture style, or like nothing you can produce in-camera.
Many users wonder, sometimes, why their raw pictures viewed in Adobe Bridge look different from in-camera JPEGs. Sometimes they look identical but then after working for a while and fine-tuning your preferences, you see big differences between the two if you shoot RAW+JPEG. This is in addition to differences which can happen if you set the camera to shoot in sRGB (useful for the JPEG) but your computer to save as AdobeRGB (superior in many ways for raw conversions intended to be printed).
In ACR/Bridge, you can choose as a Preference whether to build fast thumbnails or high quality, and whether to build full screen previews or accept whatever is embedded in the file. If you do not set the preference to build high quality previews and thumbs, what you see in the thumbnails is normally an embedded JPEG which is part of the raw file and an exact match to an in-camera JPEG even if you don’t save one of these. What you see in the larger preview pane will depend on your screen size, the camera, and the type of raw but for nearly all modern DSLRs on laptops the basic quality option will show the embedded JPEG and you will even be able to zoom it without interpreting the raw data.
If, on the other hand, you set your Bridge prefs to large size and high quality previews using a large screen such as an iMac 27″, and you have ACR/PS/CS5/Elements installed, Bridge will access the ACR engine behind the scenes and will render your raw files. It creates a ‘cache’ of full screen size JPEG files (which will eventually use a lot of disk space) which exactly reflect the settings for any given camera/ISO default. You have the choice, in Preferences, between having a single Default for each camera or a different Default for every single ISO increment on each camera. If you set the ISO specific Default, the conversion used to build the preview/thumb will be exactly the settings you have saved for that ISO. See below where I repeat this all again for emphasis.
The 100% and full screen fast forward keystrokes
Bridge/ACR will render the full sized 100% view of the raw using saved default settings if you used the Loupe (a small section only) or the very useful sequence of: press space bar = show the full screen preview; mouse-click with the cursor at any point on this to zoom in to 100%; scroll round using controls/mouse; magnify 200%, 400%, or 800% using scroll-wheel or Apple Magic Mouse finger-touch; return to Bridge browsing using space bar. Be warned that even with a fast machine, Bridge builds the sharpness of your enlarged view (normally 100%) in stages.
What you first see may look a bit soft, wait two seconds and it will get sharper, another two seconds and it will be transformed to pixel-perfect rendering. Never judge a Bridge/ACR 100% or loupe view the instant you access it. Bridge/ACR is clever enough for you to be able to go to the magnified view with one shot, and using your arrow keys move to exactly the same position in your other shots at the same view. You can, by this means, compare sharpness in a set of shots. Once each has rendered for that point in the shot, the cache makes sure you can go back and forth between images faster, they do not need to render again.
But it’s Bridge Camera Raw Preferences which hides the great feature I’m telling you about here – a tip which can enable to you use the lower, manual-only set ISO values of some Alpha cameras like the new 77 to ‘load’ different ‘raw’ films just by changing the ISO setting. Or indeed, other camera makes which have similar ISO control.
Different raw conversions can be made specific to exact ISO settings, so that if you select a given setting, its unique conversion will automatically be used and its effect will be shown in the preview and thumbnail created.
This would be a disaster for Auto ISO – but the Alpha 77 has six different ISO settings between 50 and 160 which are NEVER used by Auto ISO, and can safely be used for my tip here. Also, there’s really not a great deal of difference between the noise, sharpness, and dynamic range of ISO setting with this low range. They are all very good.
So, I have an Alpha 77 with ISO settings 50, 64, 80, 100, 125, 160 all of which are very low noise and good quality. In Bridge/ACR, I can decide that ISO 50 will be used the Vivid camera profile, strong contrast curve, a certain degree of capture sharpening, a certain black point and so on. I can adjust all this until I think that ISO 50 looks just like Velvia film. Then I save the new default.
Taking a frame set to ISO 64, I can make a default which I think looks like Kodachrome 64 perhaps using the Landscape profile. For 80, I might decide to make a fake infra-red process default with added grain, monochrome conversion and contrast effects. For ISO 100, a default which is standard and looks like a good neutral colour slide. For 125, maybe an FP4 in acutance developer printed on G4 paper mono; for 160, a Portrait profile combined with no sharpening, to imitate Vericolor Type S or Fujicolor 160N.
The examples below do not use different ISOs, I have used one raw file to show the differences, of course!
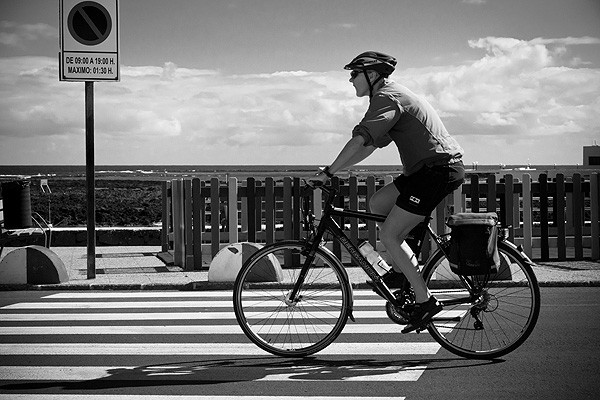
‘Standard’ – this is the colour, contrast and profile used when Adobe Standard is set as ‘Camera Raw Default’ in Bridge on the Alpha 77. This default includes WB As Shot, Exposure as shot (0), no Recovery, no Fill, Black point 5, Brightness 50, Contrast 25, Clarity/Saturation/Vibrance all at 0, Medium tone curve.
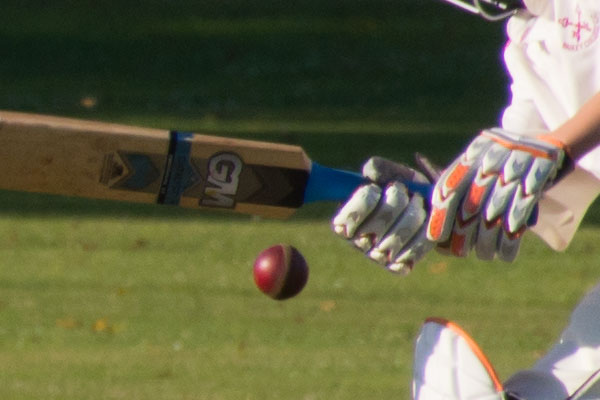
This is the same overall conversion, using a profile called ‘Neutral’ designed to be similar to the camera’s Neutral JPEG setting.
This is a profile called ‘Vivid’, again with no other adjustments.
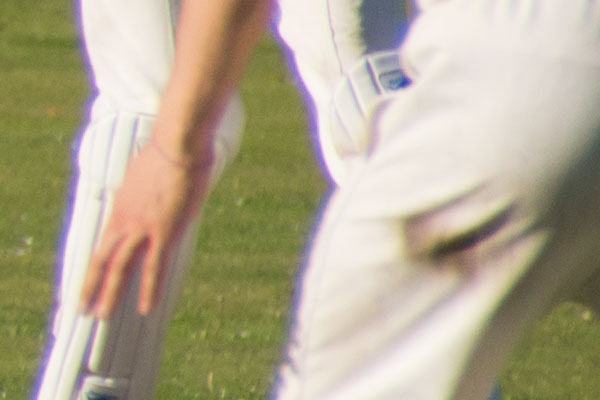
This is an interesting custom profile called ‘Positive Film’ which clearly has some major adjustments.
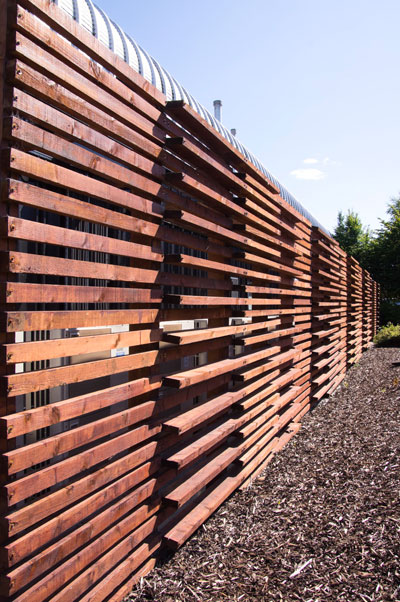
This is ‘Standard’ (not the Adobe Standard) but with multiple adjustments saved in the Default – Brightness to 75, Clarity to 25, Saturation and Vibrance both to 20, Strong contrast curve. This Default is a custom one which I prefer for many shots where good saturation and midtone brightness is needed. In fact, many Alpha 77 users advise changing the ACR default Brightness from 50 to 75 permanently as the 50 figure used by Adobe appears to make the images flat and dark.
This custom high contrast ‘red filtered’ mono conversion includes strong lens vignetting added (by moving correction sliders to zero) and a greyscale rendering controlled using the Hue/Saturation/Luminance control tab for colour balance. Blue, Aqua and Purple values have been lowered and Red and Orange values raised to imitate a camera filter on panchromatic film.
If you have not found and installed any third-party profiles, you can instead make detailed adjustments including contrast and saturation for much the same effects.
I am fully aware of the ‘well I can do all this in Photoshop‘ response, the point is that all these and other far more complex processes (including any of the raw conversion Presets found in popular styling packages by Marcus Bell, onOne and others) can be effectively assigned to one chosen ISO setting in the ‘protected from Auto’ range 50-160 on the Alpha 77.
Now, when I open my folder of raw of images in Bridge set to create High Quality thumbs and large previews, they can all get exactly my customised process treatment for the thumbnails depending on the ISO I have set. One image might appear with the b/w process above and the next with colour. I will be able to preselect a different Bridge preview and a different startpoint ACR process just by selecting a different ISO on the camera. I can leave ACR’s default settings in place from 200 and up, so I will never get Auto ISO producing strange differences from one frame to the next due to Bridge/ACR presets. Yes, I did once set some different conversions for specific ISOs in the Auto range and it really messed up by image selection – I found I had increased brightness for 320 but not for 400 (etc) so my exposures seemed to go all over the place when Auto ISO chanced to pick small changes from one shot to the next.
You can apply more NR and sharpening control to ISO 200 to 12800 as needed – and again, this will automatically be applied according to the ISO, to the preview and thumb as well as the opened raw for conversion. But it won’t look odd as the exposure, colour and contrast will remain constant.
Pros and cons
If you want to revert to a standard single process for all ISO settings, you’ll lose the customisation of Bridge/ACR but you can save each setting as a Camera Raw Default process (named) and restore the settings at any time. Or, you can just reserve one careful combo for a single ISO setting such as 80 and only set this when the specific result is wanted, leaving every other setting at factory default.
It only applies to one camera body at a time, you would need to set up the same defaults for every different similar body you use – and not all Alpha bodies offer the useful 1/3rd step ISO increments and low ISO range which make the idea practical. But, this is also an advantage, because if you process files from another camera of the same exact model it will be unaffected unless you set it up. Camera Raw Defaults can be set as specific to each serial numbered body, and each different ISO, so there is never any need for someone else’s raw files to be accidentally altered by your own personal setup.
Profiles
I use a set of Alpha profiles I have assembled from as many sources as possible, but mainly from Maurizio Piraccini’s development for every KM/Sony Alpha camera:
http://www.piraccini.net/2011/02/profili-colore-sony-a900-per-adobe-lr.html
These are also linked to via a Photoclubalpha Forum thread:
http://www.photoclubalpha.com/forum/viewtopic.php?f=6&p=66090#p66090
To read a Forum thread about ‘Deep’ profiles (which is mainly about noise levels, not about the image looks themselves, but includes instructions on how to install all similar profiles) go to:
http://www.photoclubalpha.com/forum/viewtopic.php?f=32&t=5786&p=60905
These threads contain links to profiles provided or sourced by Agorabasta as a forum contributor including some for most makes.
If you have any sources for other sets of created profiles, for any Alpha models, please add a Comment at the end of this post, and provide the link (crediting the source or the author if you have that information).
You read it here first – and you’ll never forget how this can be used. Lightroom offers the same functions and preferences. Other programs may follow suit. Now you can use your manual ISO settings for raw files just the same way you can apply picture styles to in-camera JPEGs, and get the results in ACR/Lightroom – no need to be restricted to Sony Image Data Converter to read tags.
– David Kilpatrick


