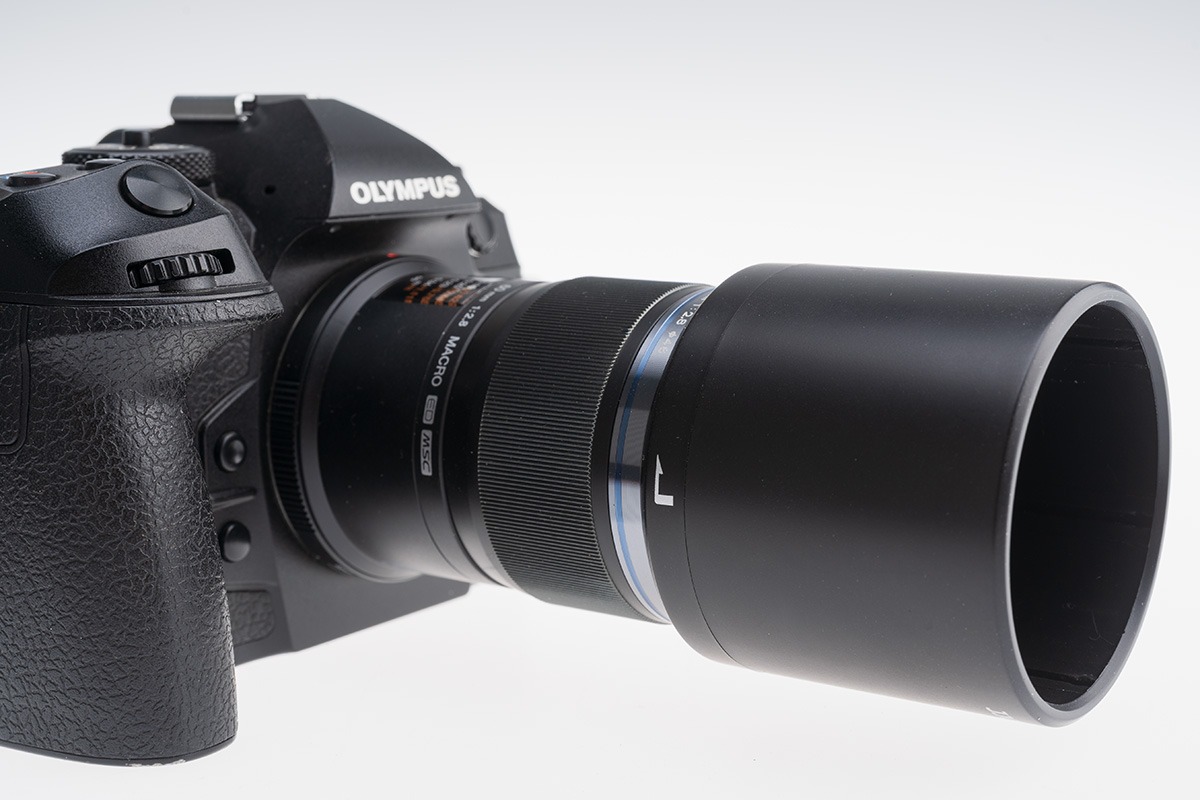
- Classic 2012-on OM-system M4:3 60mm F2.8 Macro on OM-1, £449 street price
- Less than 200g, 8cm 1:1 reproduction (from lens front)
- Make the most of the micro four-thirds system’s size advantage
Can a smaller sensor deliver the artistic and creative potential for narrow depth of field and use of bokeh? Absolutely. The Olympus family of mirrorless cameras has evolved into the OM system – we look at the 2012 60mm f/2.8 M.Zuiko Macro for creative close-up photography and explore the opportunities made available by cutting the size of your system.
What is the 60mm f/2.8 M.Zuiko Macro lens?
The OM-Systems 60mm f/2.8 M.Zuiko Macro is one the best lenses for close-up nature photography. Introduced in 2012, after 14 years it’s still an essential in any Olympus OM kit. True 1:1 focus at 8cm from the lens front is thanks to an internal focus system with no change in the barrel length. It weighs just 186g, takes 46mm filters and is only 82mm long. This makes it ideal as a field companion.
Although it was introduced 14 years ago at the time of writing, it has remained part of the OM-System lineup and is available new for £449 from Clifton Cameras (this link supports Cameracraft), from Amazon UK, or used from around £250 from reputable secondhand dealers such as London Camera Exchange or CeX.
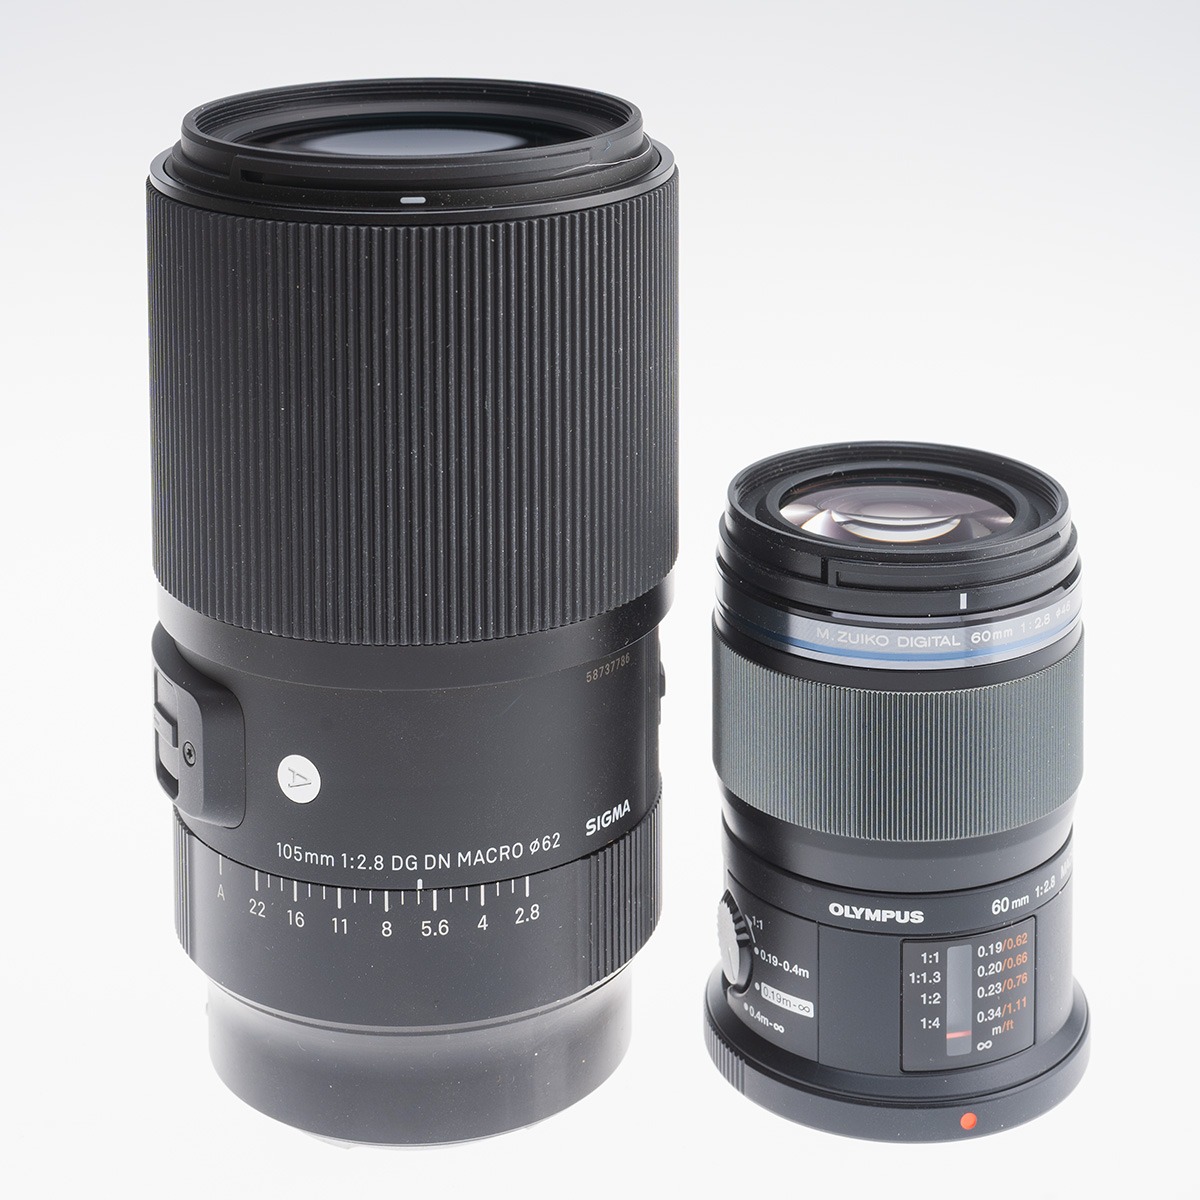
Here’s a shot of with it next to the full frame Sigma 105mm f/2.8 macro – the 60mm is equivalent to a 120mm – which says it all.
The size avoids touching or disturbing foliage. It’s also easy to hold a camera like the OM-1, currently the largest and heaviest OM-Systems body, one-handed. It’s easy to get low viewpoints using the tilt and twist rear screen when you can not put an eye to the viewfinder.
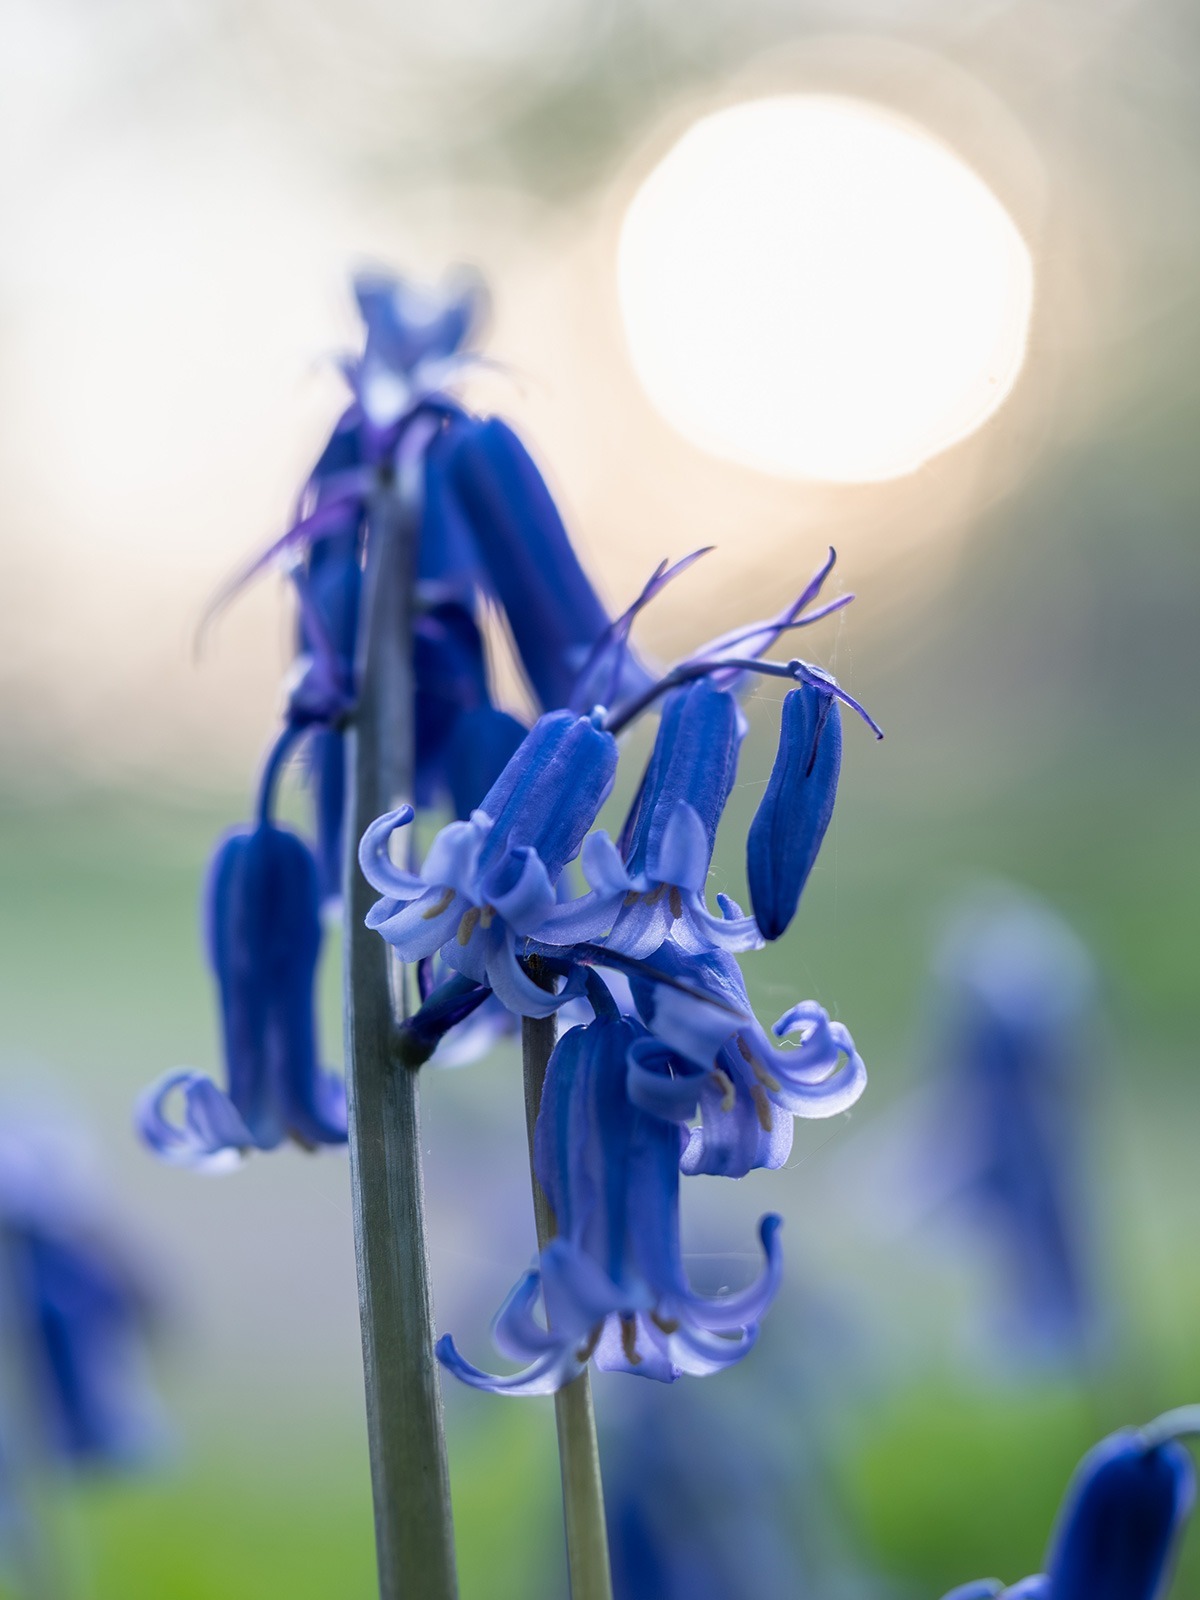
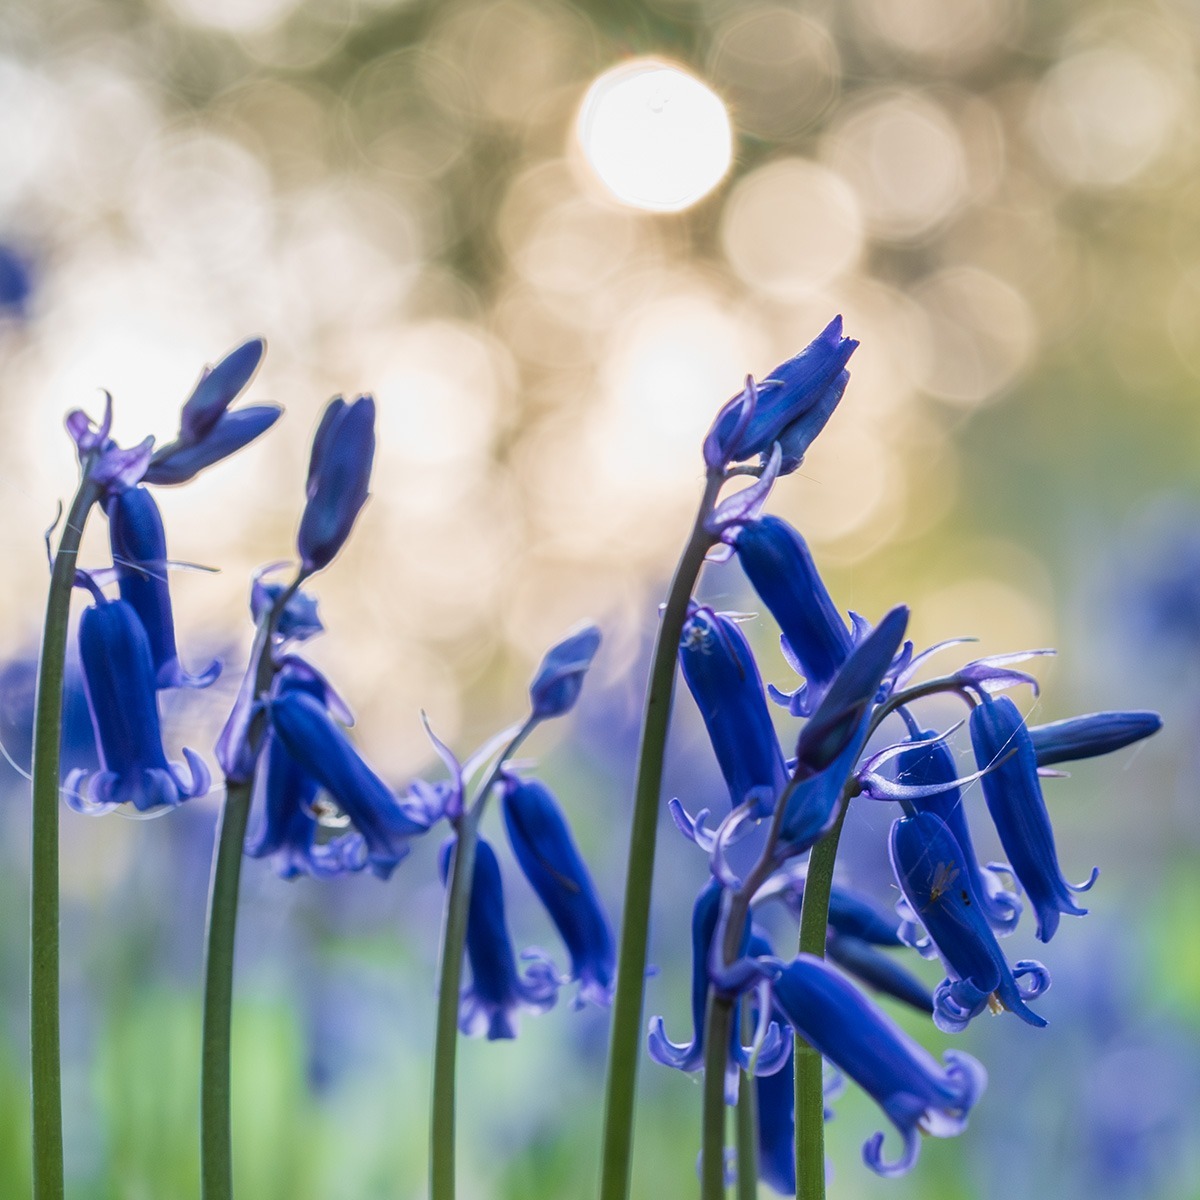
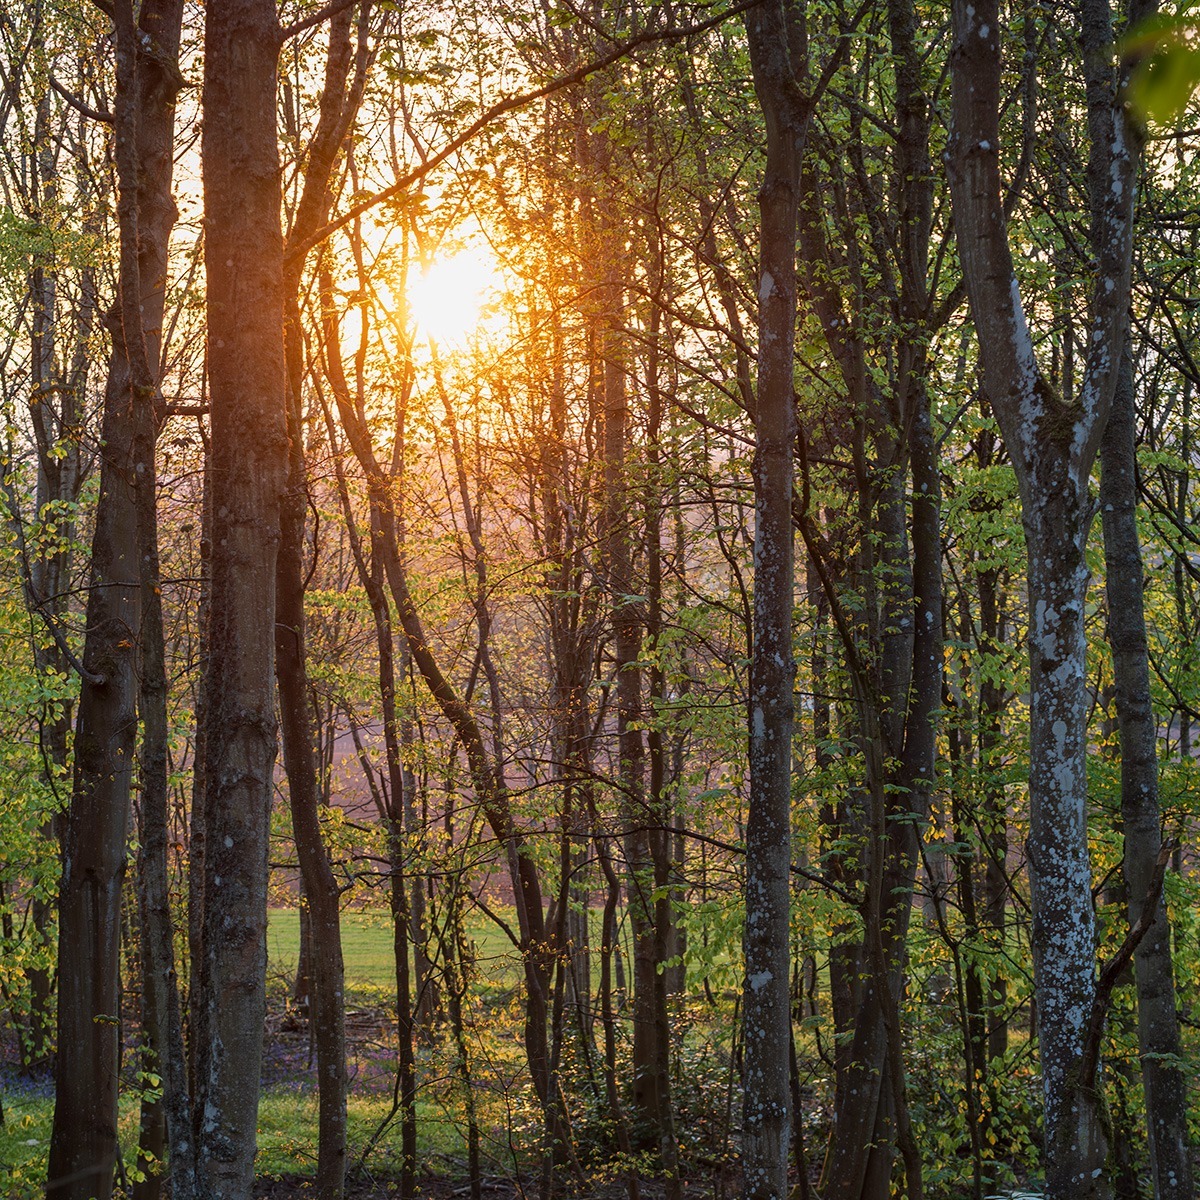
The f/2.8 aperture means if you do put anything very close to the front element it can dissolve into a blur. Here a bluebell adds an impressionistic glow. Depth of field is tiny wide open. The seven-blade aperture is still present at f/2.8 so the low sun coming through trees creates slightly less than perfect highlight circles. It’s still a lovely effect.
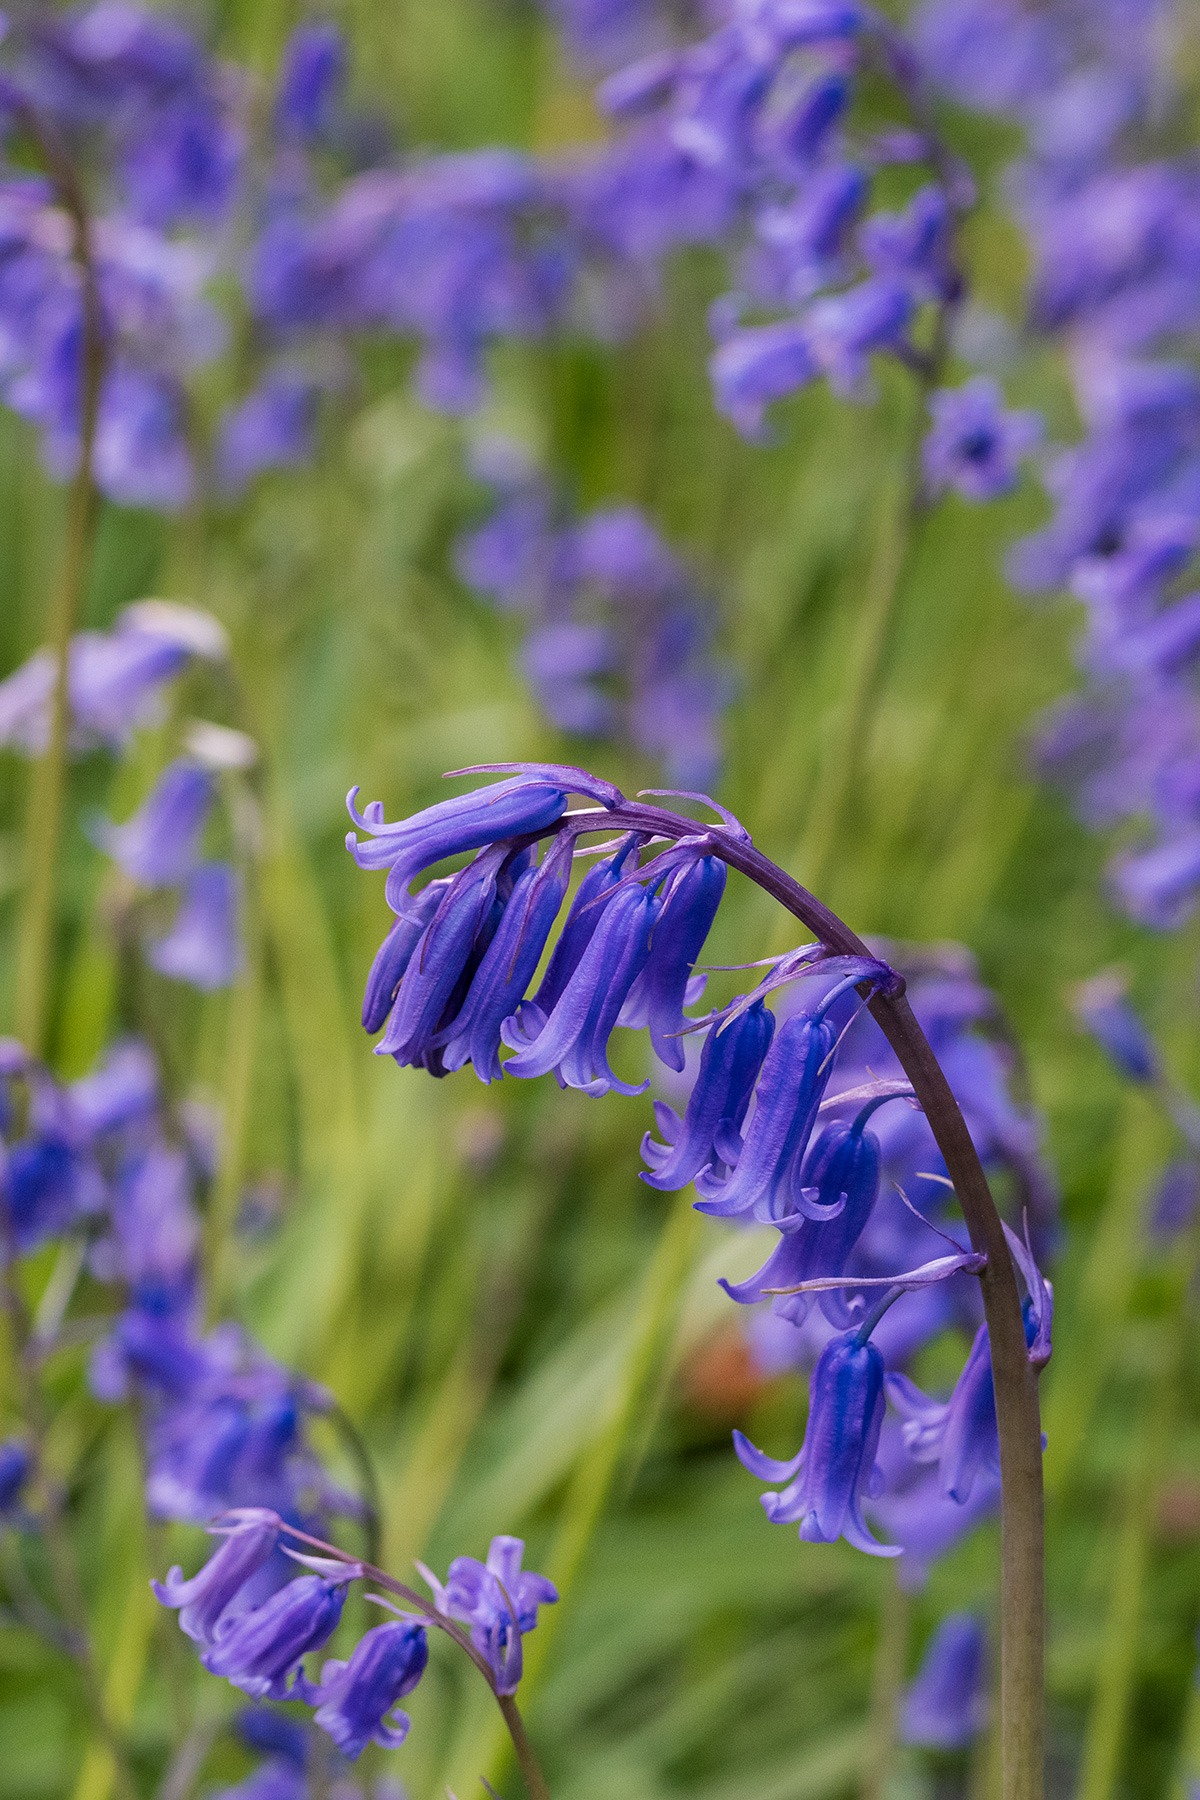
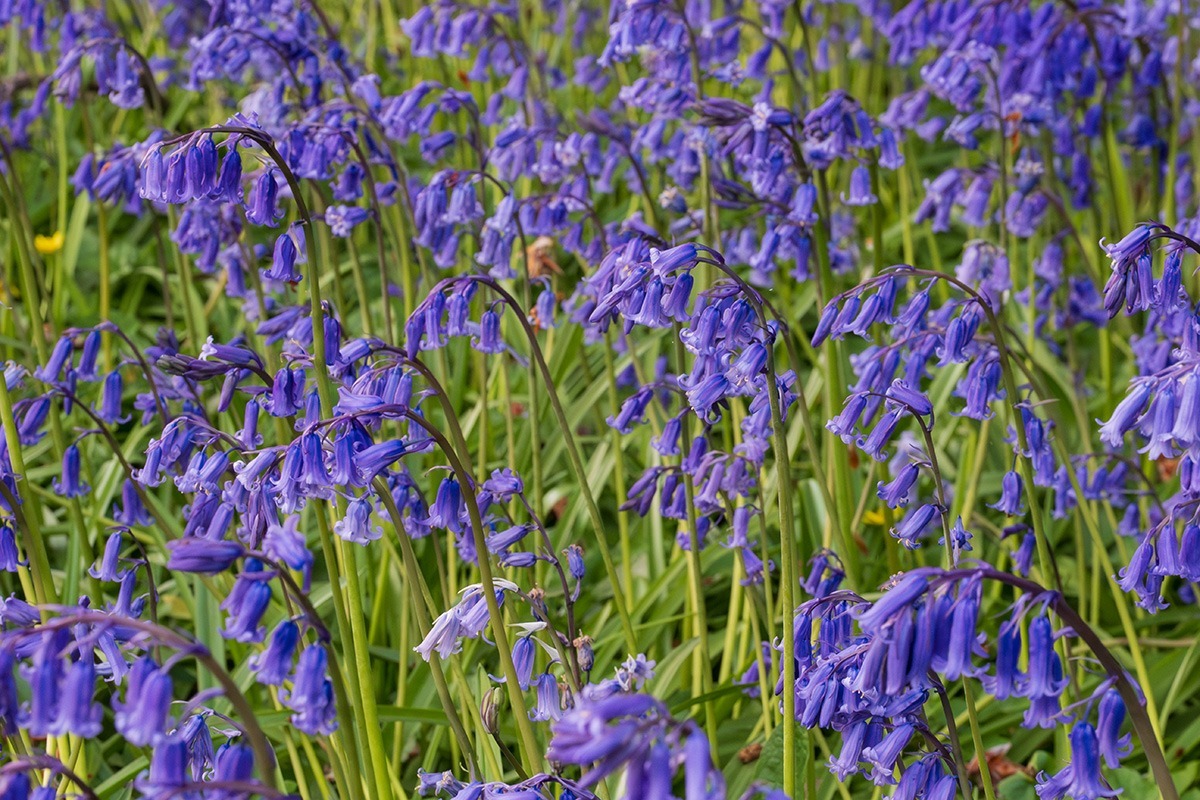
Shot against the light, the colour of bluebells is realistic. Most digital (and film) shots record too much reflected far red from these flowers making them slightly less pure blue, as the shot below taken at the same time with the light coming from the left hand side. Aperture for this was f/5 to balance keeping most of the main head sharp but still with distinction from the background.
These are true Scottish bluebells! They are not the Spanish-British hybrids and are a protected species, growing here in woodlands dating from the early 18th century (the big house and estate disappeared long ago). I was very careful not to tread on any. My garden has the invaders, and that’s also what most ‘wild’ ones are. They look very different. See – https://www.wildlifetrusts.org/wildlife/how-identify/spanish-or-native-bluebell
I set out with just this lens on the OM-1 walking to a spot where I had seen a large patch of bluebells on the edge of the wood open to the direction of sun, setting behind distant trees. As a subject, bluebells are best shot on a longer lens, which this 120mm-equivalent is. The narrow angle of view compresses them to fill the frame. At f/10, there’s still a distinct plane of focus with softer detail in front and beyond. This lens stops down all the way to f/22 in third-stop steps but using a smaller aperture like f/16 would have lost sharpness slightly where focused – the lens performs best from f/4 to f/5.6 – and even this was at ISO 5000 to keep 1/125s shutter speed. The OM-1 sensor-based stabilisation would allowed 1/30s or even 1/15th without camera shake affecting things, but flowers don’t keep still. At macro distances the vibration from a gentle breeze can blur them.
I also knew where the low sun would be coming from, and it was the backlit effect I was looking for. The side/front lit angle may also have influenced auto white balance, and when this colour is viewed in a mostly green setting, the blue can seem to have more magenta.
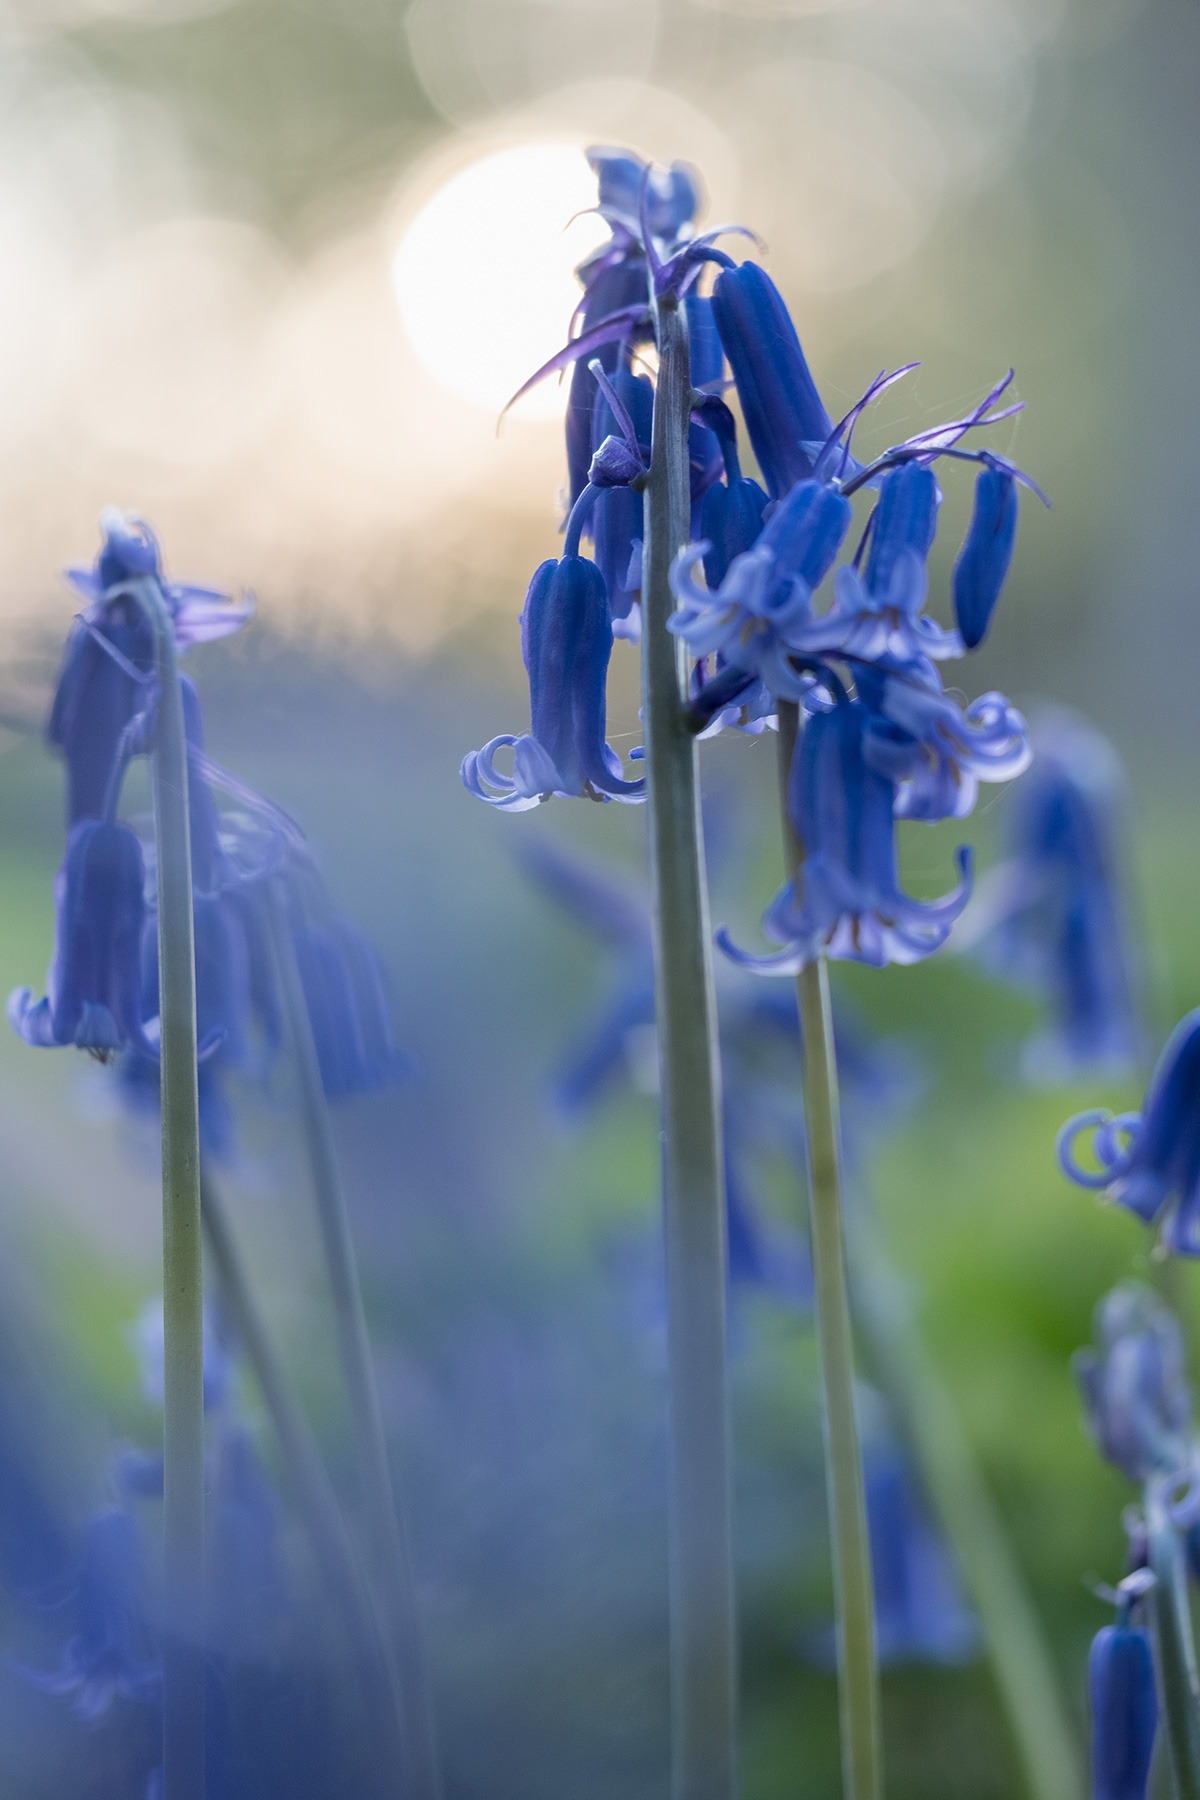
The multiple overlapping bokeh discs are caused by the distant trees. Here they are made smaller and more distinct by stopping down to f/5.6. Again, this blue is more realistic and very true to nature.
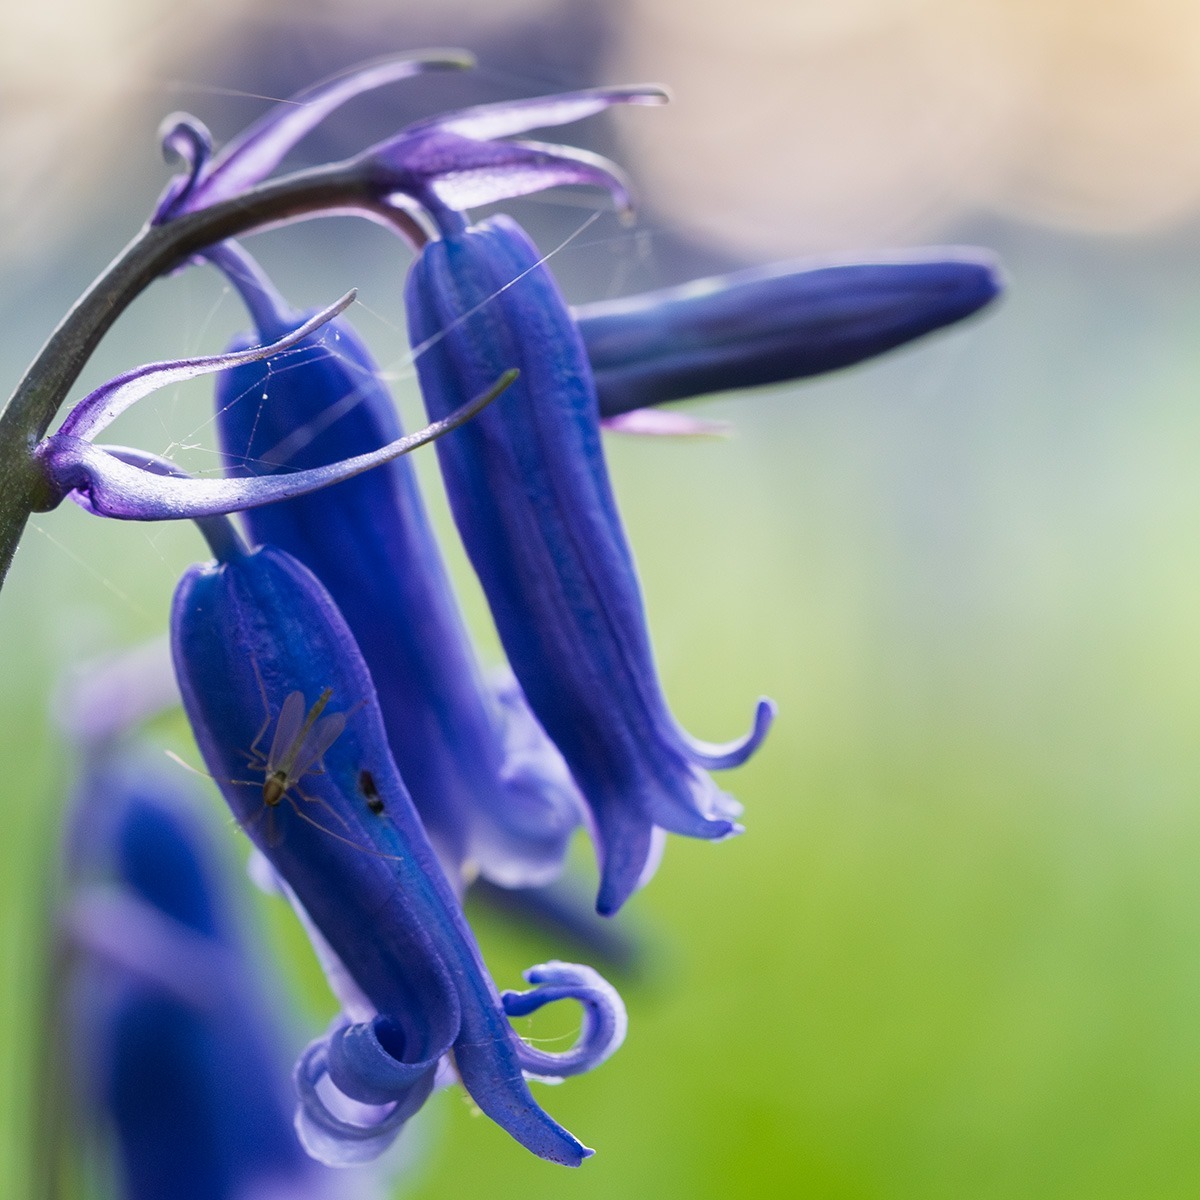
The 60mm macro enabled very close studies and even at f/2.8. You can see the fly and strands of spider web are well resolved, but the contrast of the fly and flower is low in this lighting.

For more distant shots, the focus range limiter on the lens was set to 40cm to infinity. It focuses very fast and silently but if allowed to range all the way from 1:1 focus may be missed. I had it set to the 19 to 40cm range when two roe deer does walked past just three or four metres away and that was a lost shot!
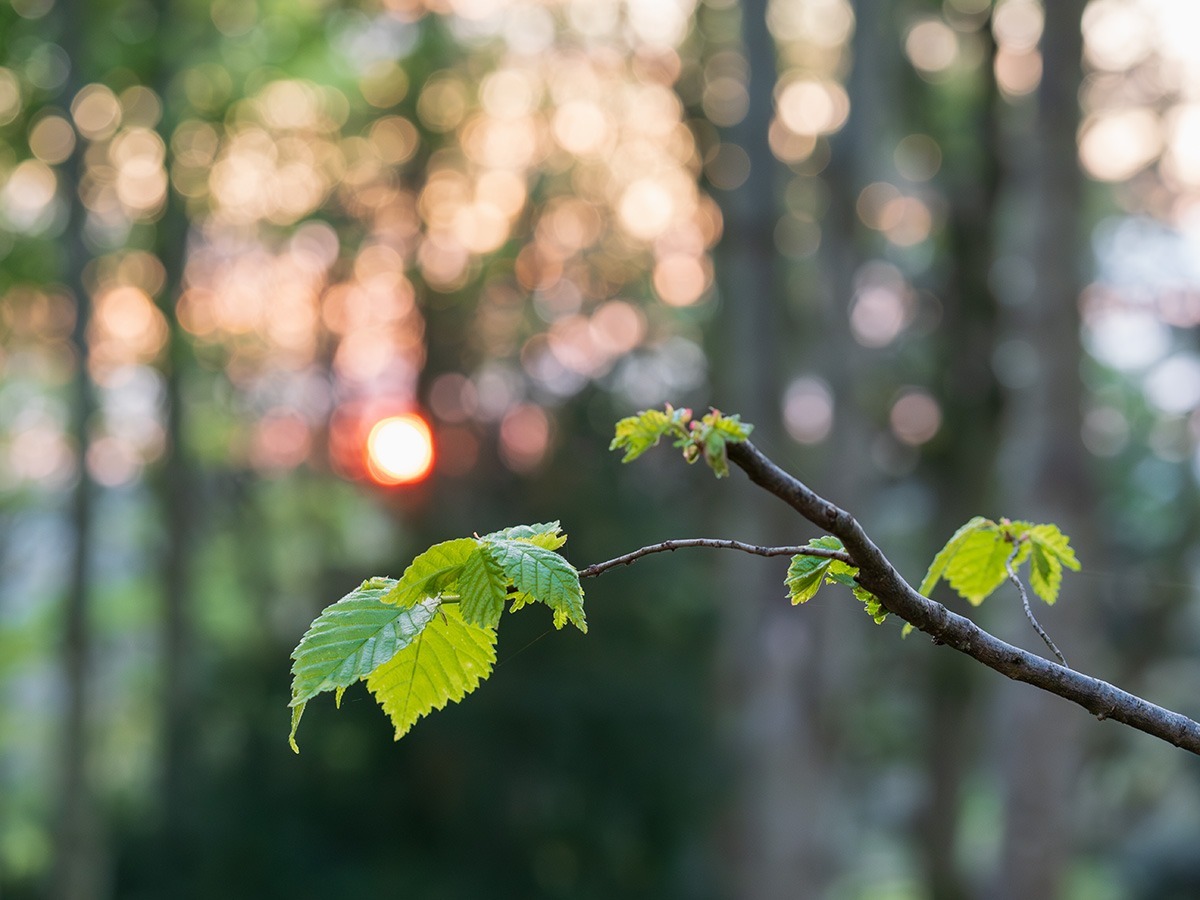
With this lens, the woodland at sunset continued to provide many opportunities. Young birch leaves here were taken at f/4, and in the rapidly falling light this needed ISO 2500. The small MicroFourThirds sensor – one quarter of the size of a full frame, half the size of APS-C – has reasonable noise levels but without shooting raw as I did for all these, and using Adobe’s Reduce Noise AI-powered conversion, the results would not be as smooth.
The 60mm focal length is also great for general landscape views. This is taken 12 minutes earlier and only needed ISO 320 at f/4. That only 1/3rd of a stop faster than the OM-1 base ISO of 200.
Where and when to find bluebells in the UK?
In many parts of the UK bluebells are still in bloom and there’s still time to get out into woodlands while the leaf cover on trees is not too far grown to let the light in. In southern Scotland they have just come into their best state and woodlands remain open to light, but that will not last long. Further north it’s a week or so later. May is a good month to catch the new bright green and light environment in woods. By June, most trees are in such full leaf that only a fraction of the light reaches the forest floor and in July the green of leaves begins to darken.
Get out now, even without a macro lens. Do not just look for subjects. Look for interesting light, which can mean staying out until sunset. Photography is all about light, the subject or scene is not enough on its own!
This lens hood, which retracts with a gentle push to sit back over the lens, is a low cost JJC from Amazon which I rate better than the OM-Systems original. It was used for all the pictures as the working distance of this lens does allow enough space.
None of the close shots are anywhere near the lens’s 1:1 which is the same framing as a 2:1, twice life size, view on a full frame camera.
– David Kilpatrick