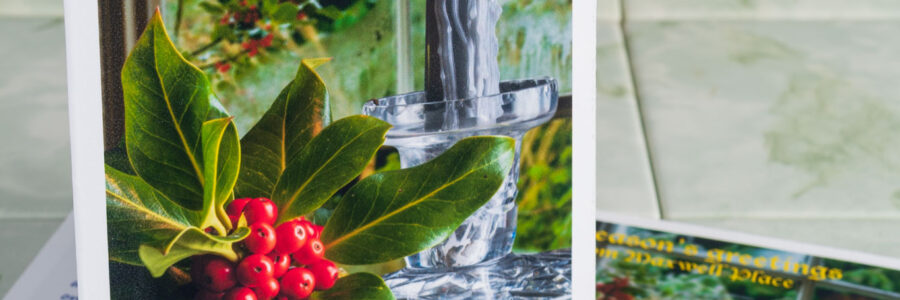
A seasonal montage for a Christmas card
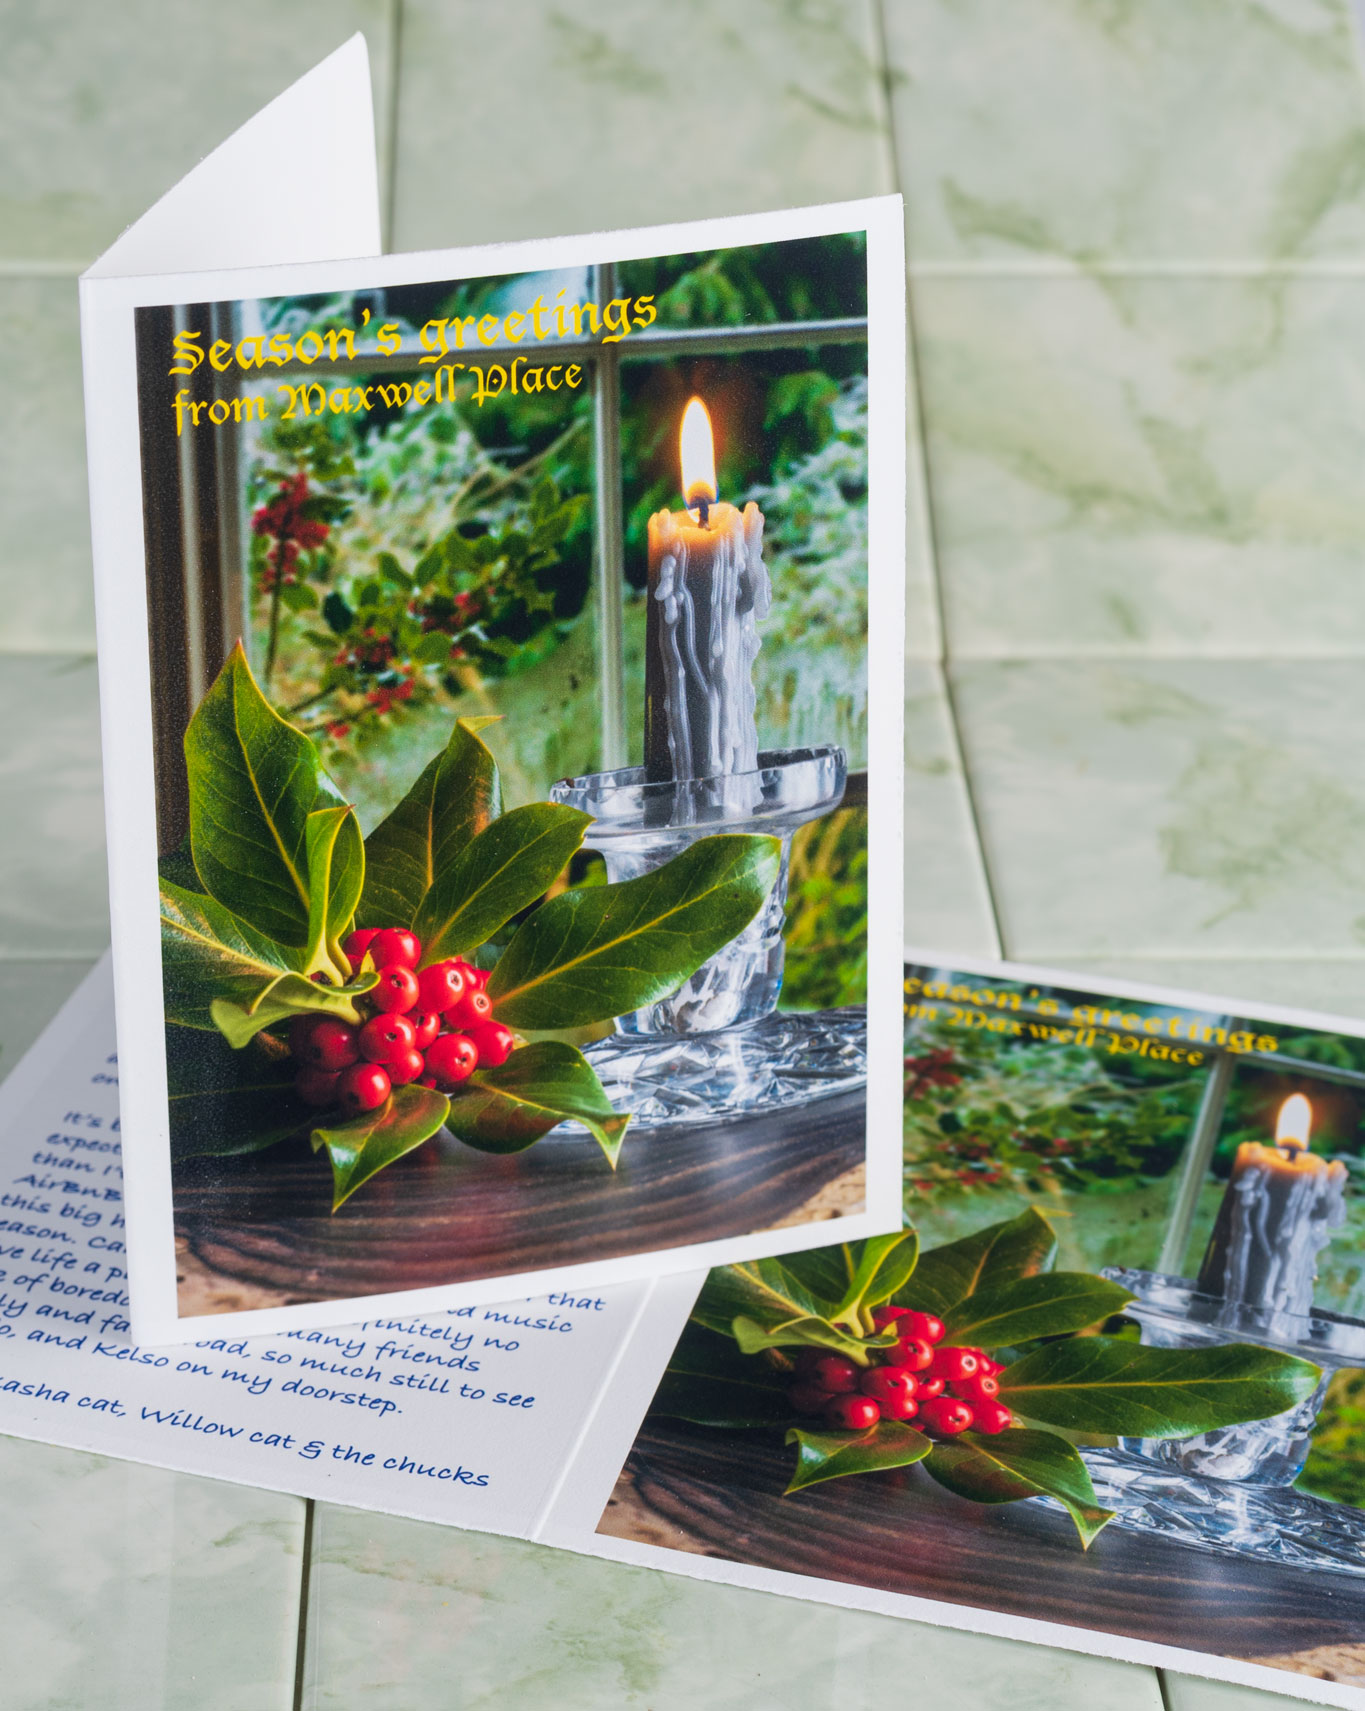
In early November, my local camera club held a non-studio table top photography evening, inviting members to bring three items along, set them up and see what photographs could be got. Lighting was either none (the room’s ceiling lights) or portable camera flash. A few backgrounds and reflectors were brought along too.
I took a candle in cut glass holder and a wooden base of polished cut teak, and some holly with berries from my garden, along with the new Tamron 90mm f/2.8 Di III VXD full frame macro lens for my Sony A7RV, and a tripod. For lighting, I brought two UYLED USB recharged photo-video light sticks with adjustable colour temperature and brightness.
This one of the frames taken. There was no black background, just a dark curtain about 2m away at the end of the room. For my set-up, the room lights were turned off, with the camera first focused and composed and locked to manual focus. ISO was set to 100, WB to Daylight, the aperture to f/16 for a long exposure moving the light sticks all round the subject to wrap the light. Aperture priority auto was used, with no EV correction for this example. A few auto exposures were made with +1 EV and the time ranged from 5s to 25s giving a choice of how much detail appeared in darker areas, and the colour of the candle flame. Moving the light sticks around gave a range of exposure times. The one I chose to work with later was the shortest exposure.
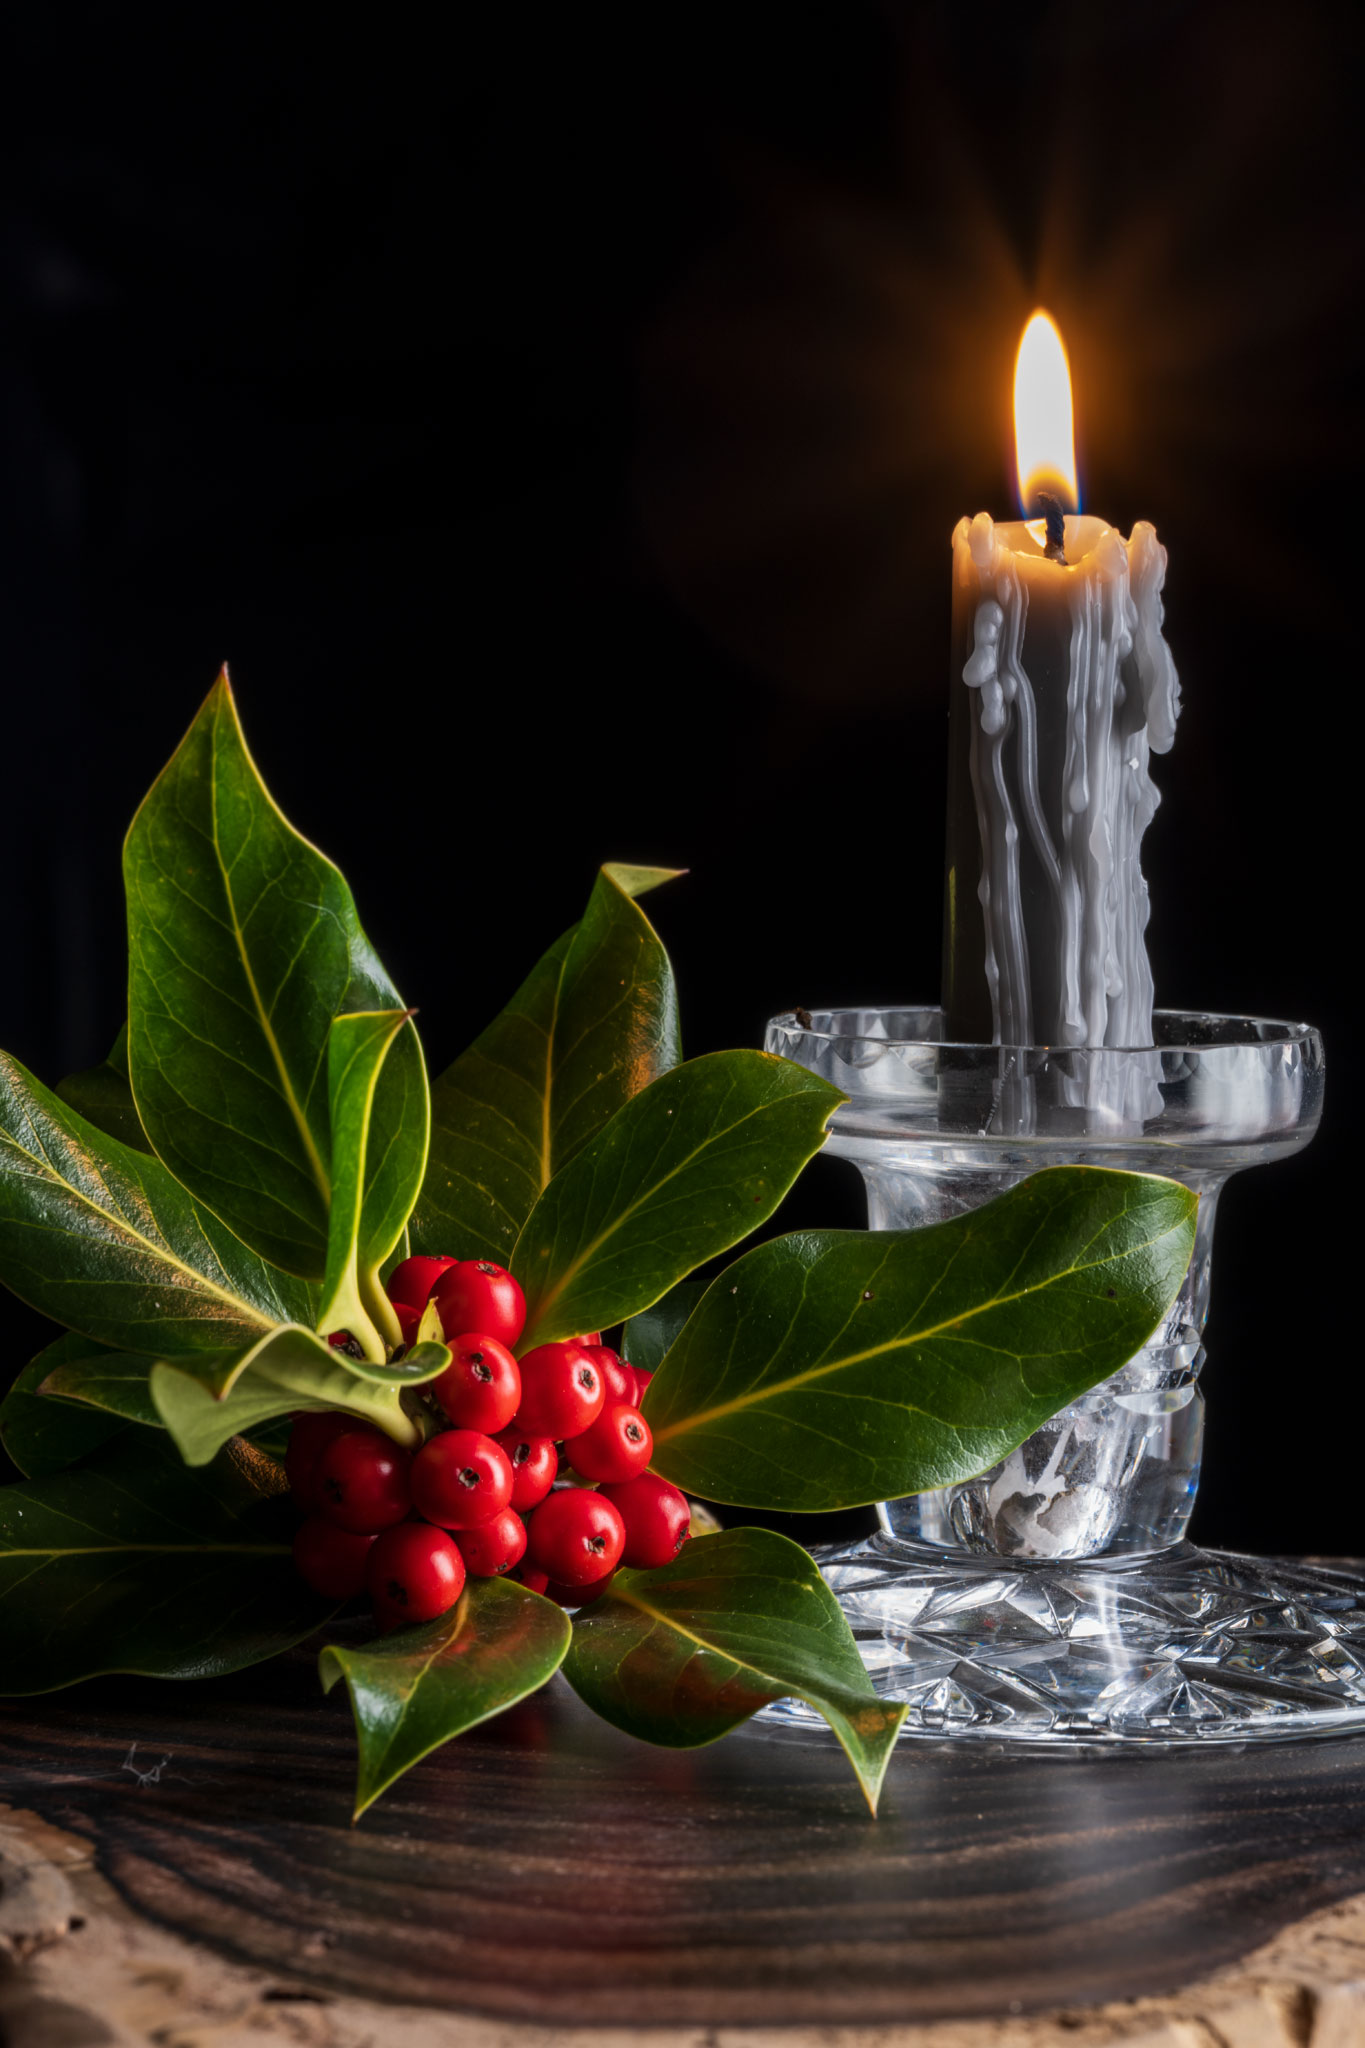
With so little light reaching the background, it’s effectively black. This could be used as a Christmas card with a message in the upper left black area, but a brighter exposure would be my choice for that. This rather more subdued shot was destined to be quickly combined with an old shot taken of my dining-room window in winter.
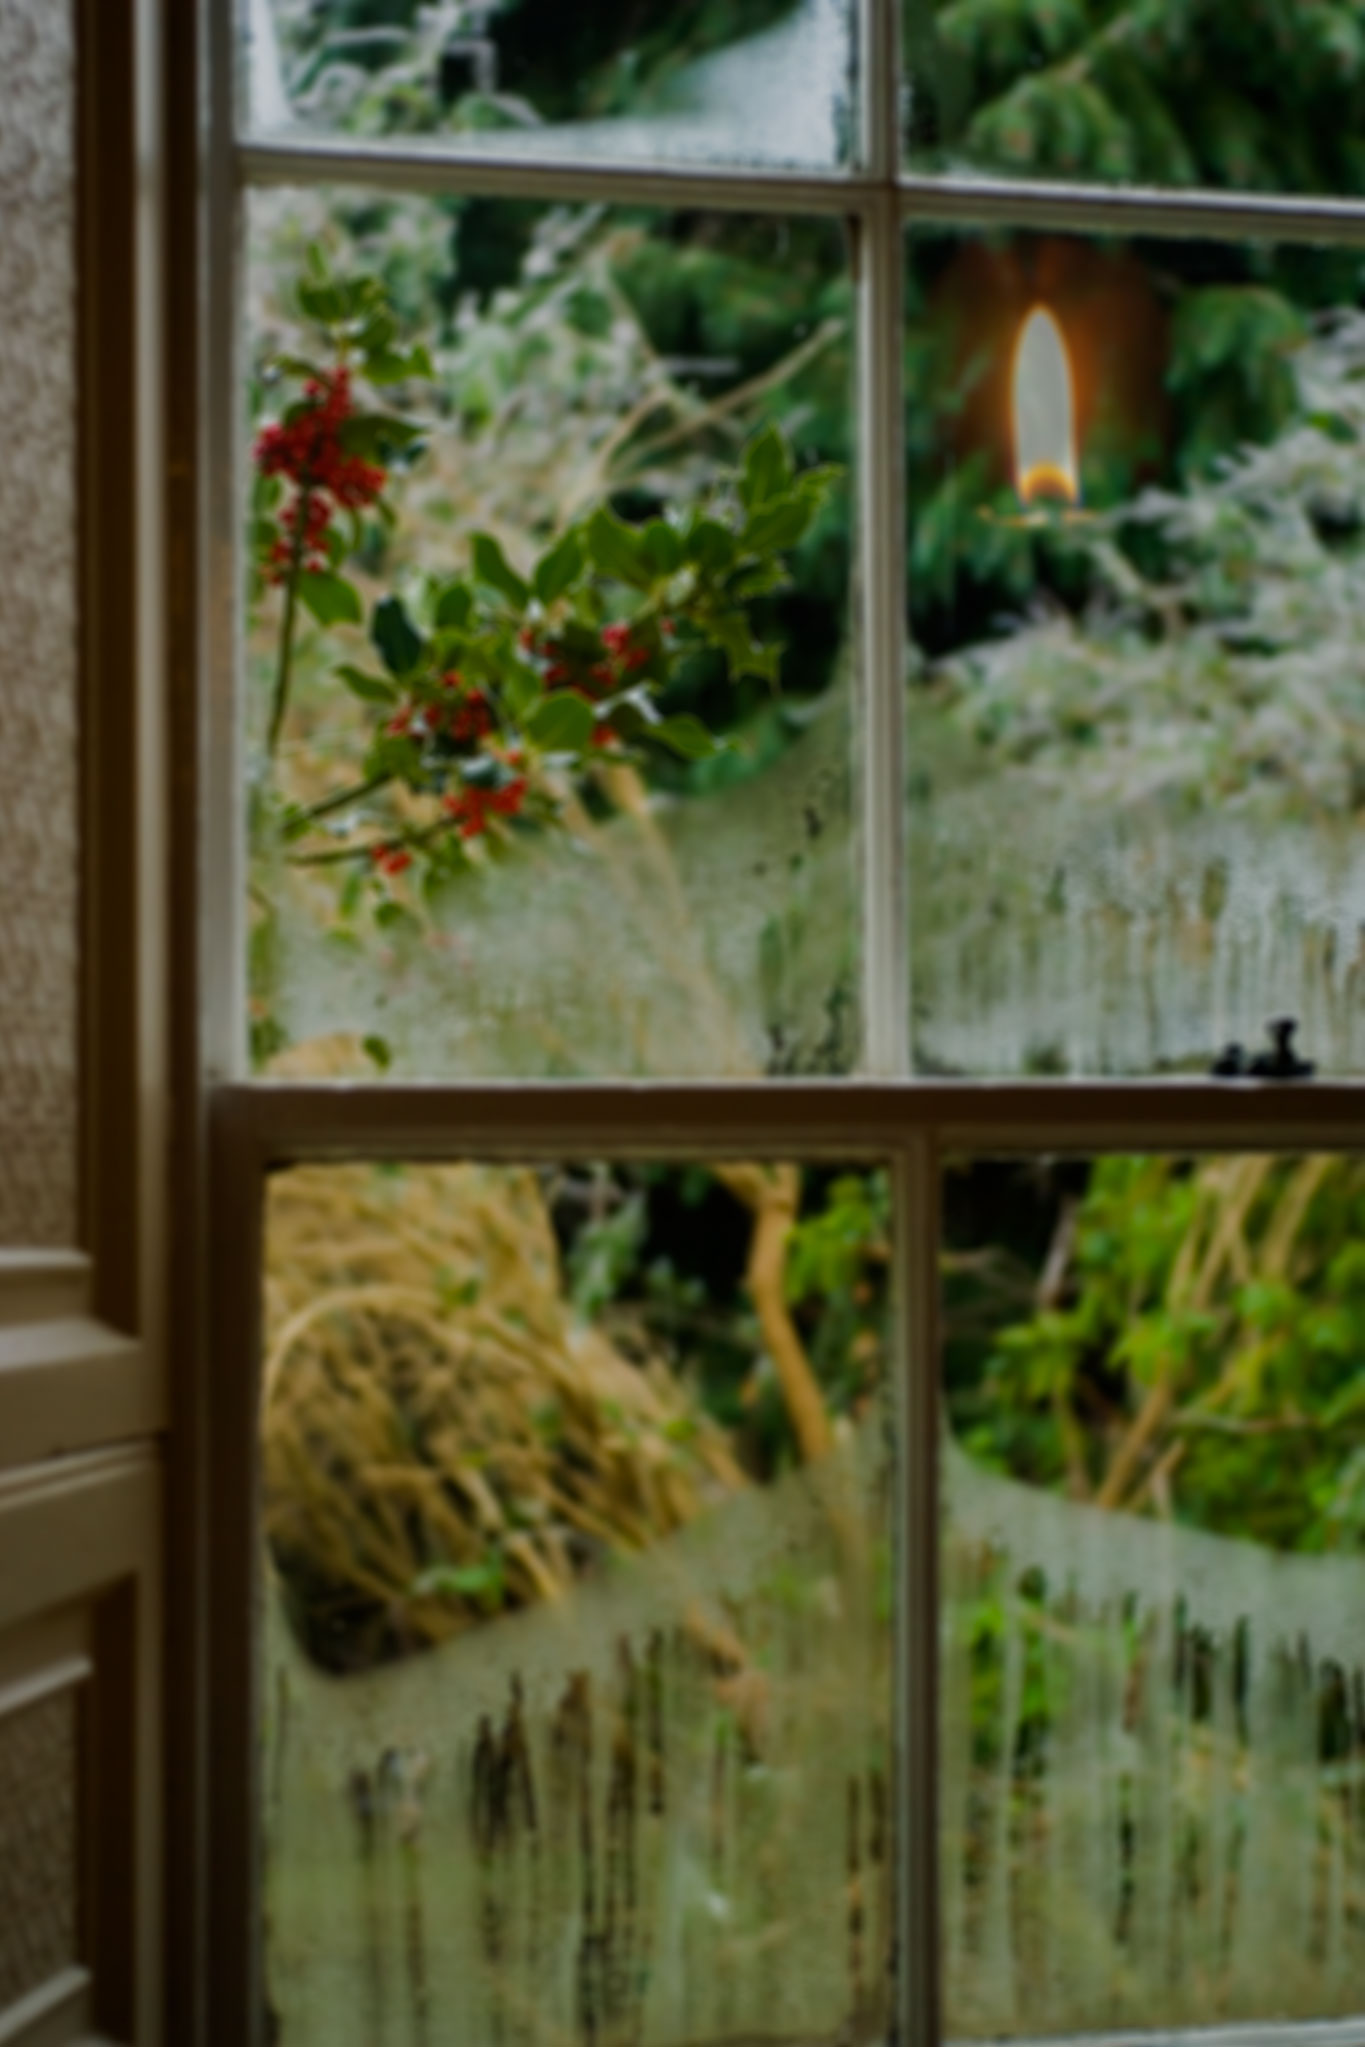
What may be seen straight off is the floating candle flame! That’s because where I wanted to cut the candle out in a Layer by making a quick mask using a Path, this would not work for the blended flame. The original window photo (Christmas 2006, Sony A100) is sharp, so was given brushed-in Lens Blur adjusted by eye to look right, before the flame was clone-brushed in using Lighten.
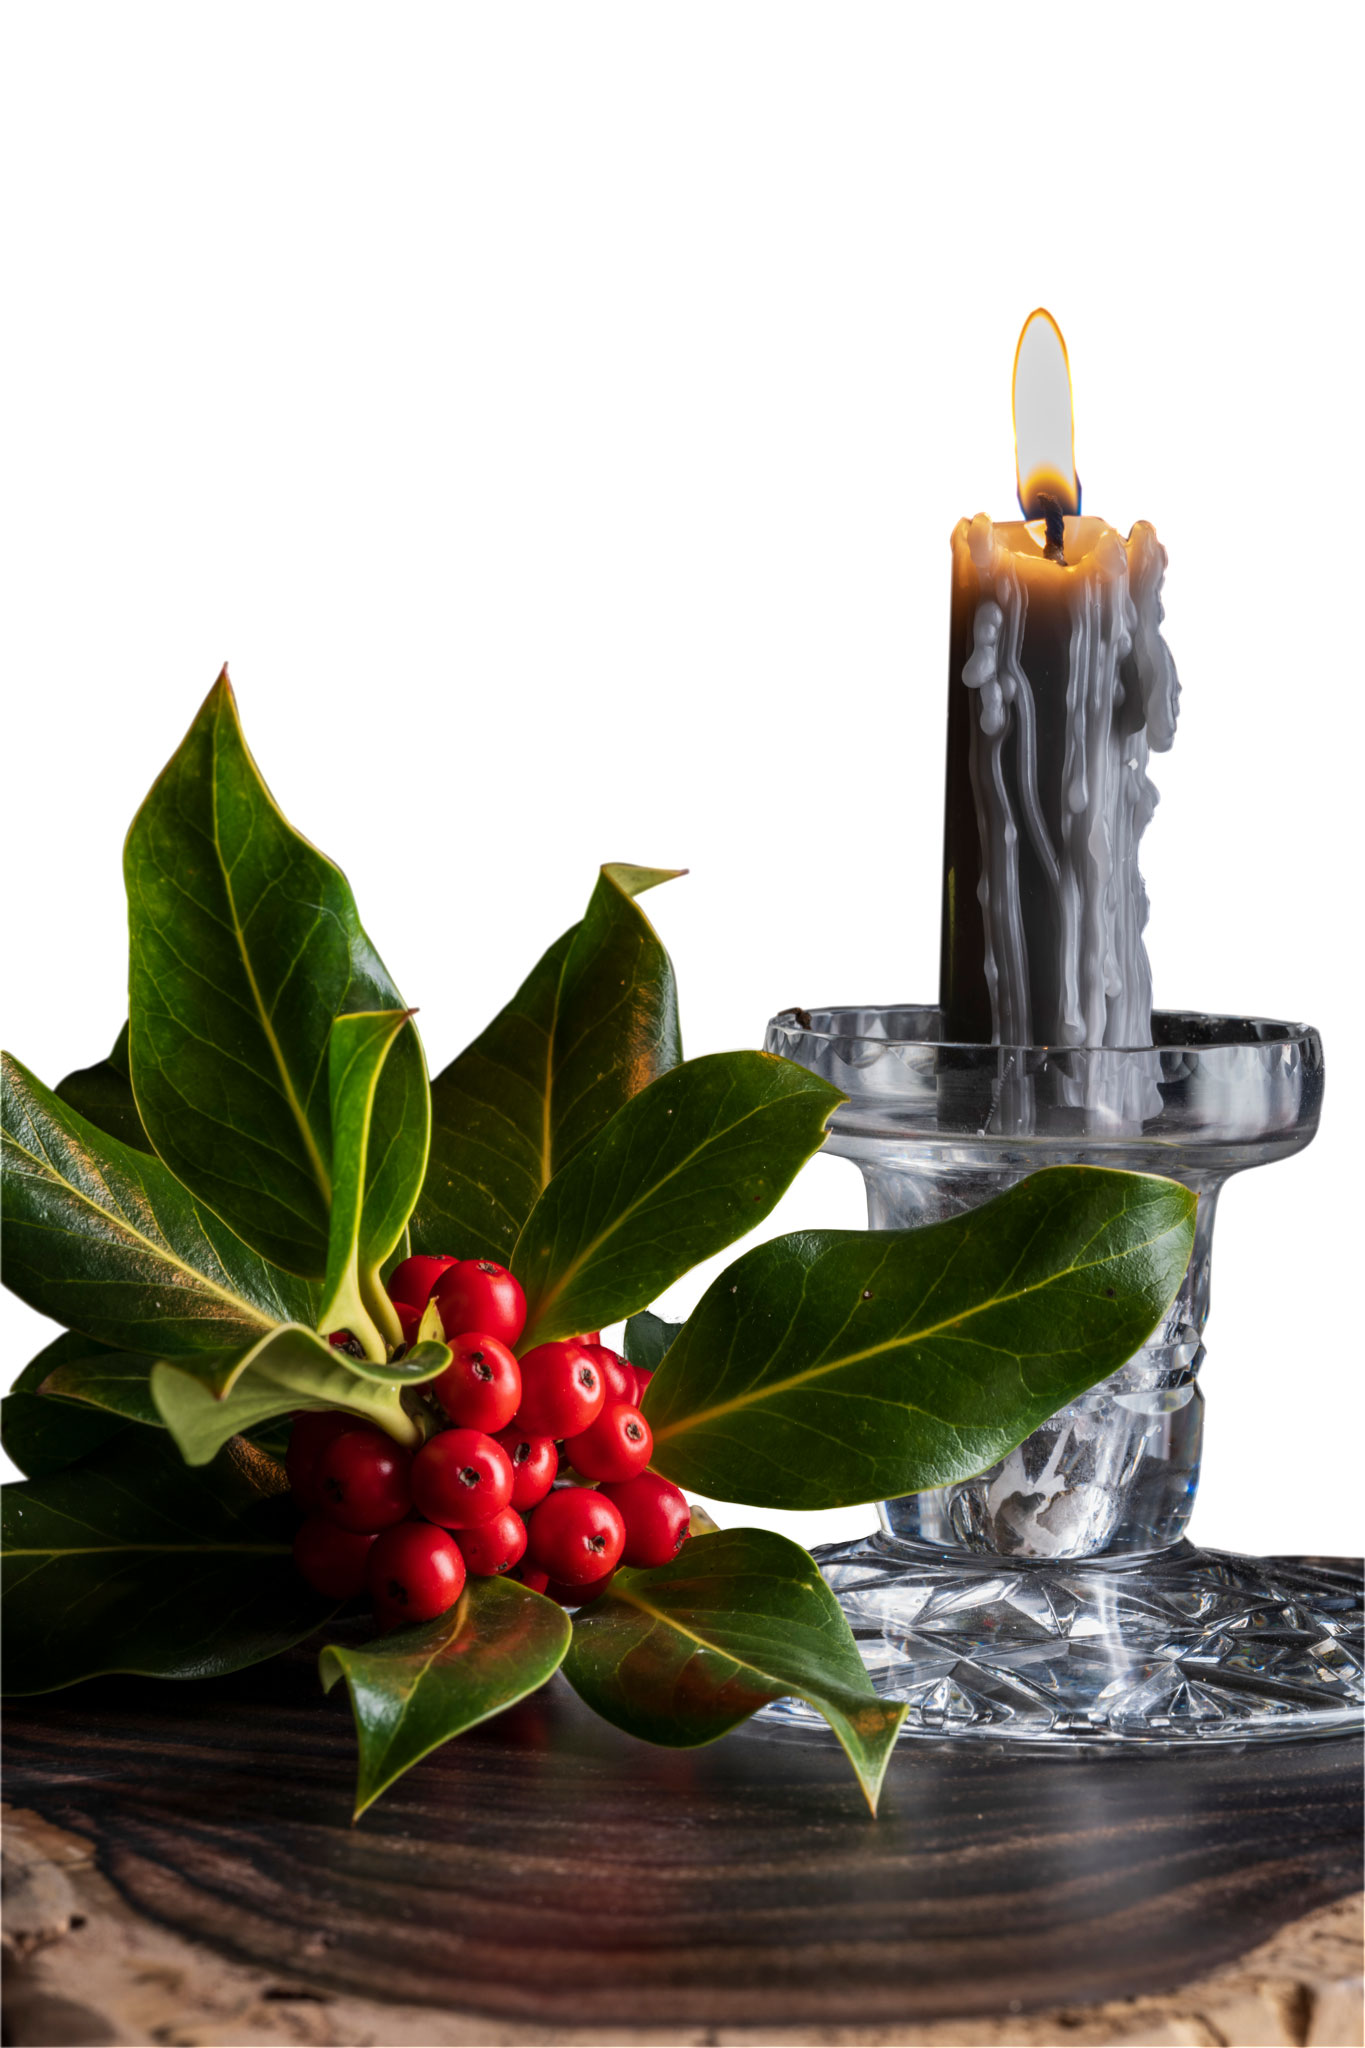
This is the Layer on top of that Background Layer, as masked. A fair amount of retouching for dust was also done, as the subject had been around for a year or so since the candle was last lit! For a ‘proper’ studio job, everything would have been scrupulously cleaned. A 61 megapixel sensor with a lens of the Tamron’s sharpness reveals even the smallest speck of dust or scratch on the glass. With the cutting out and masking, and tidying up, it took me about an hour before saving the Photoshop file as a .psd with its two Layers.
It doesn’t matter that the cut out round the flame looks rough, as the tones at its sharp edge are identical to the tones in the background image.
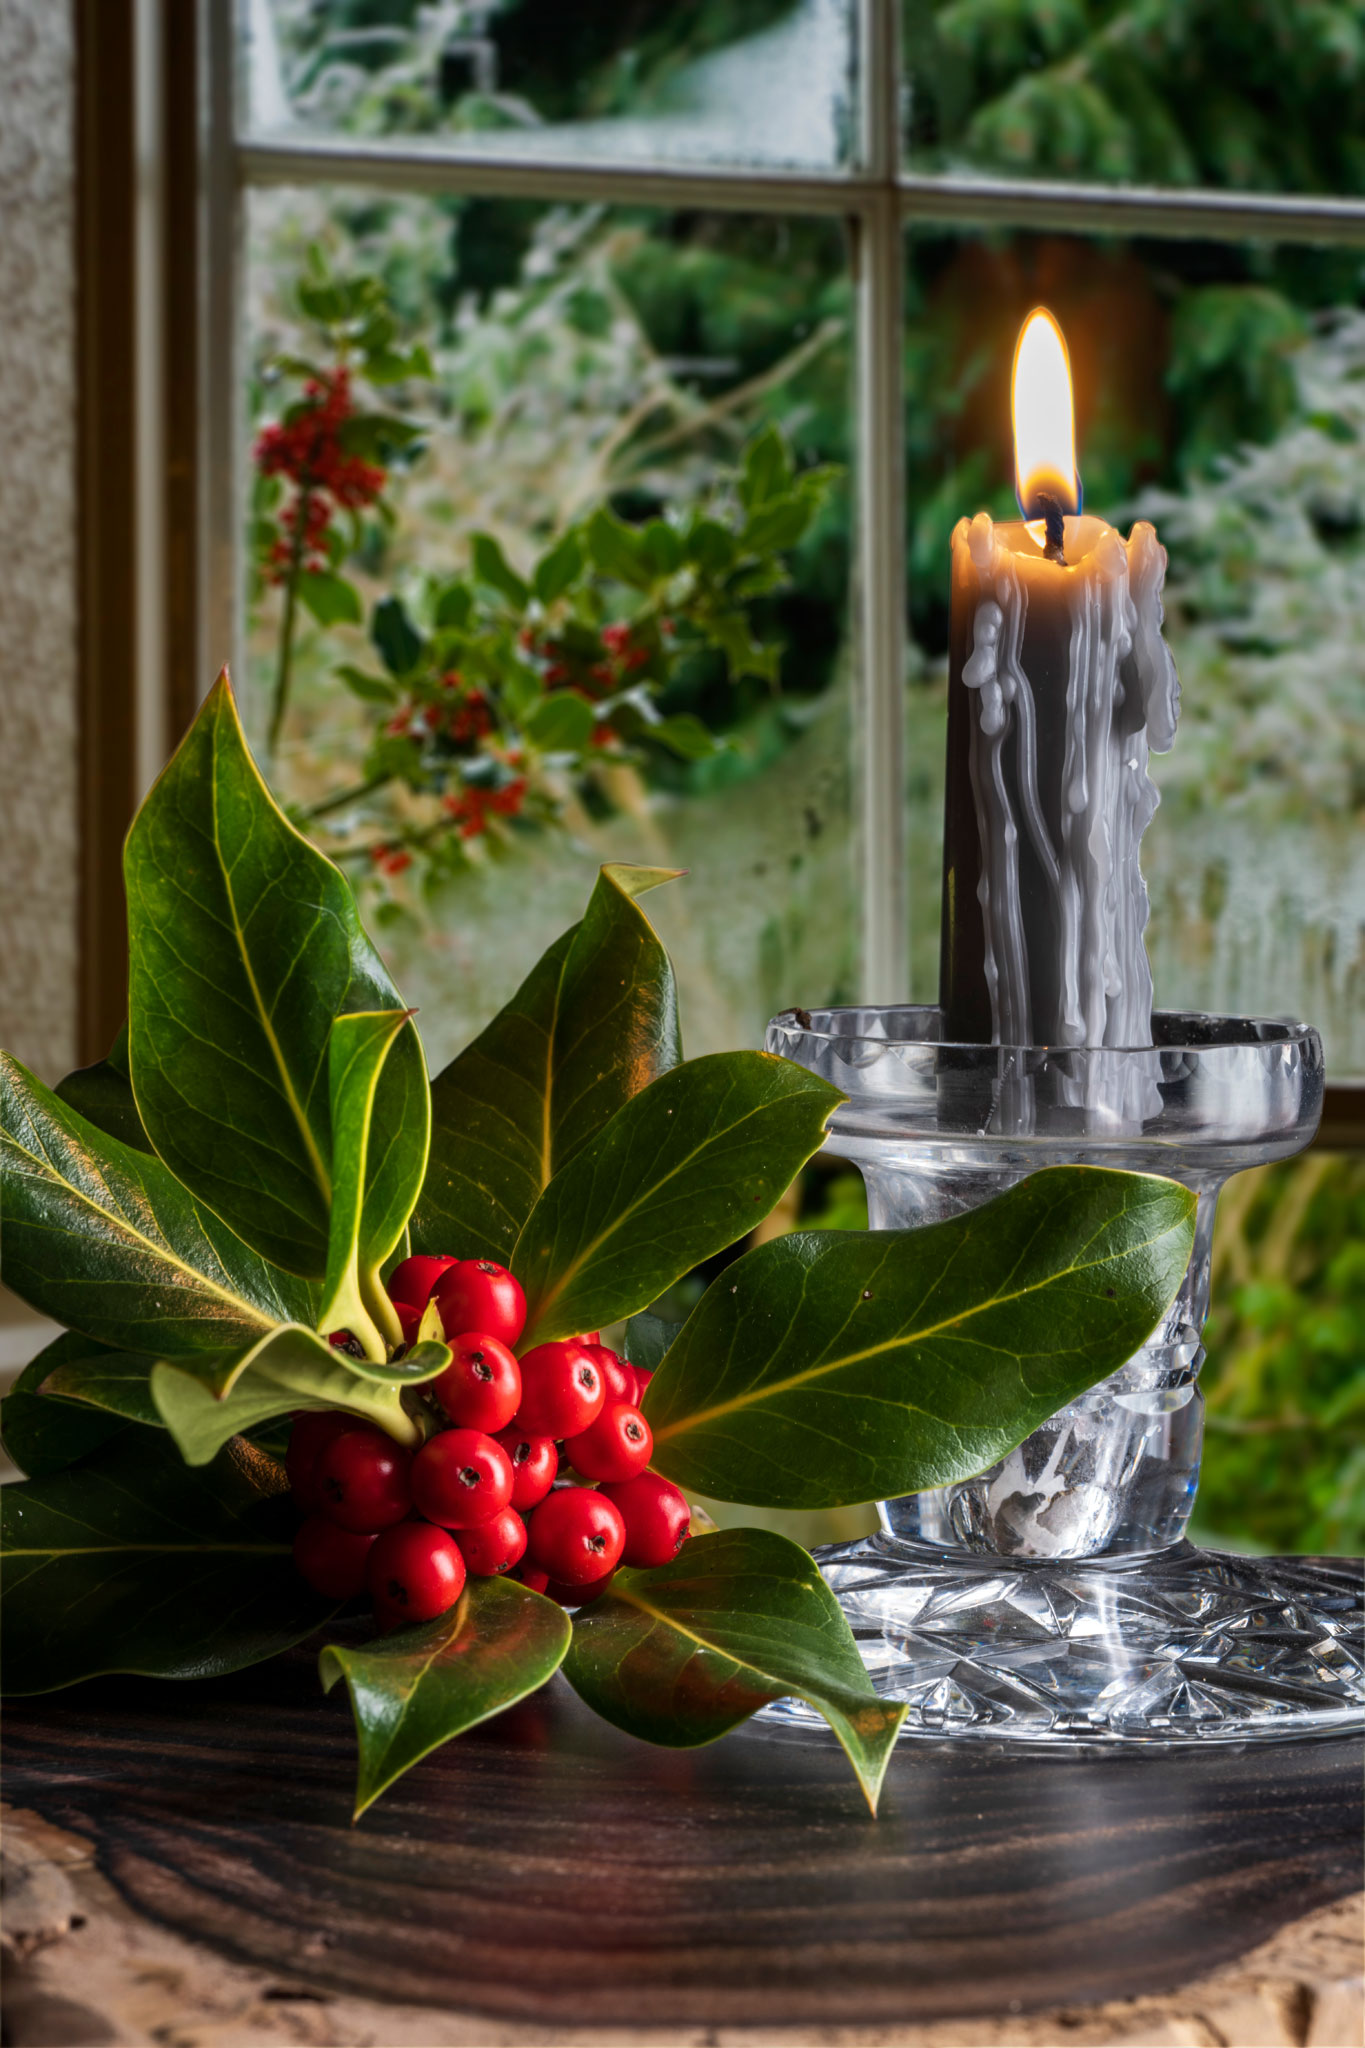
This is the result. It’s not entirely convincing as the glass did not have that garden view beyond it, and has a metallic look from the dark background. The candle was dark grey and I think if there had been a suitable red or green one attractively melted in the same way it would have been better. But it looks wintery!
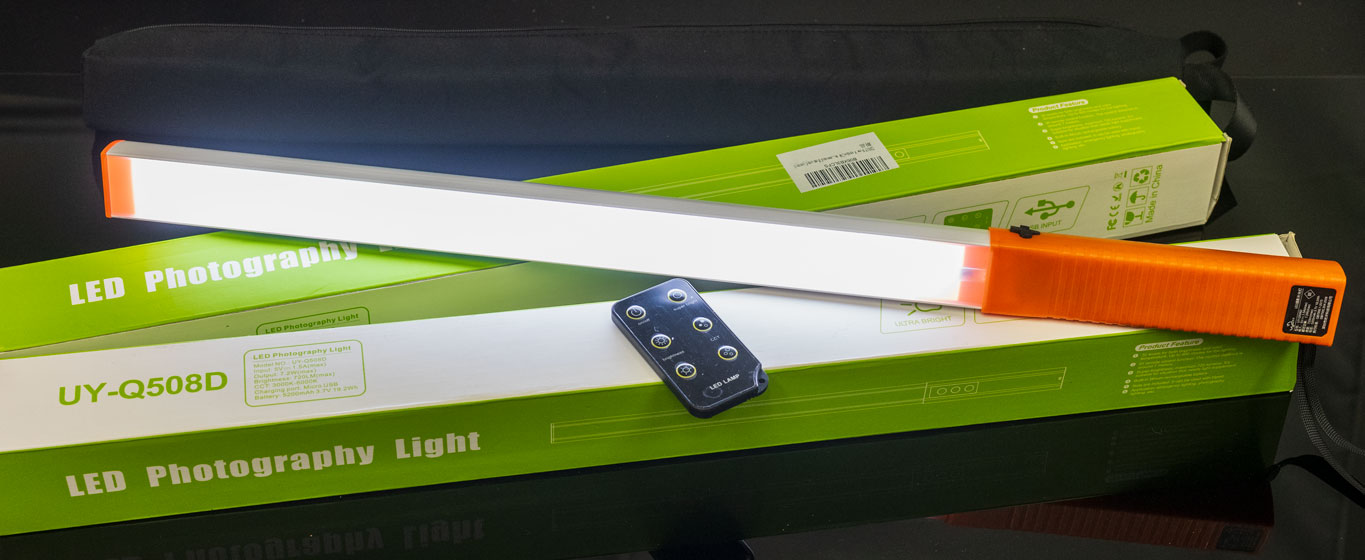
These are the LED sticks I used to wave all round the subject, either side and ahead of the camera position. They don’t seem to be made any more, as there’s a new version with full RGB colour change, otherwise similar with a tripod thread for mounting at the handle end, and the remote control for colour and dimming. The LUXCEO Q508A, below, is £49.99 on Amazon.
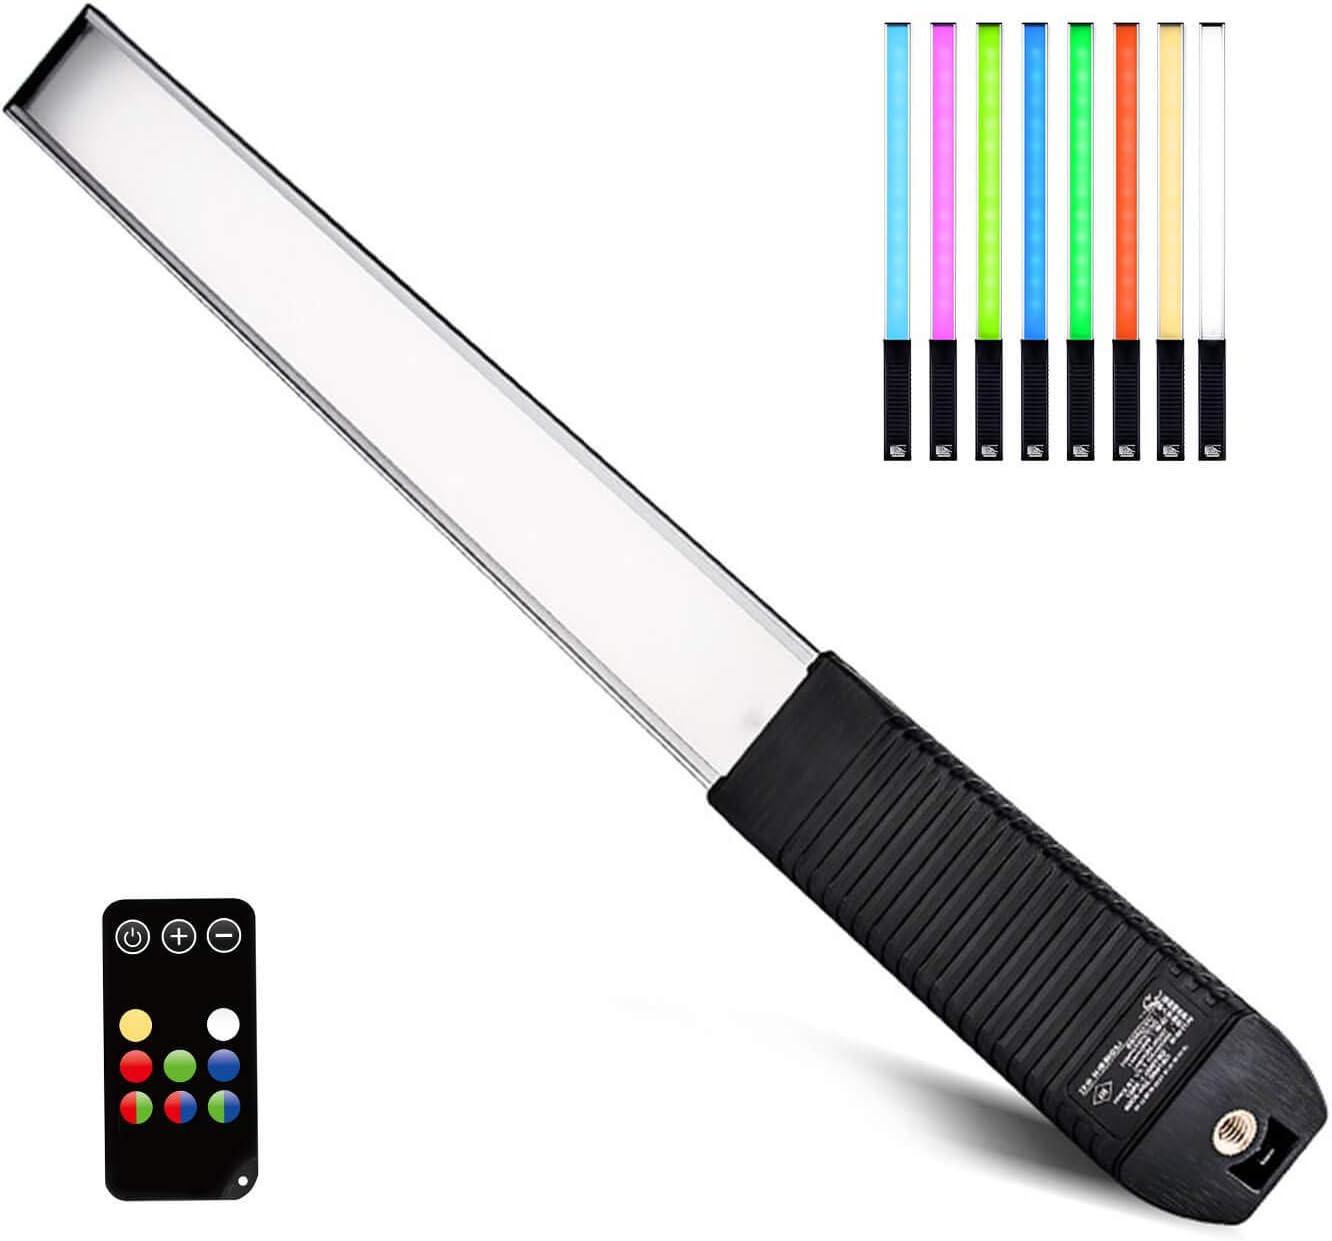
I’ve found my tungsten-to-daylight adjustable pair from 2018 very reliable! If a roomful of readers click any affiliate link in this article and decide to buy, I may be able to afford an RGB upgrade…
Here’s a studio shot from when I bought the light sticks, created by carefully moving one in a circle round the subject and keeping the distance and time as steady as possible. At least two circuits were made with the light at different heights, level with the subject and higher up.
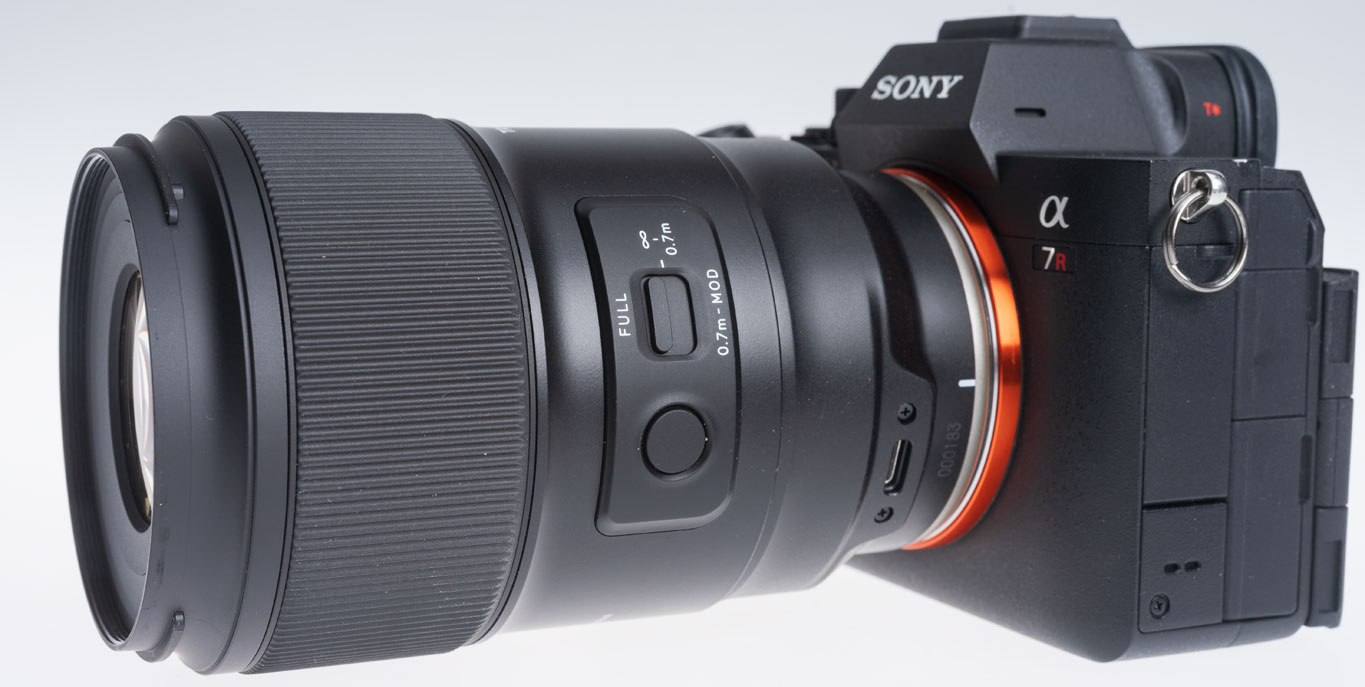
This is the new Tamron. I have a report to be published in Cameracraft due out on January 1st 2025, but in a month of using it I’ve also taken many more different images – more than the magazine can show. So I’ll be putting a page of photographs here with a link on the printed page. The lens costs under £600 in Sony FE/E mount or Nikon Z mount. Thanks for the loan of the review lens to Tamron UK – https://www.facebook.com/TamronUK
The Christmas card prints were made on 20-plus-year-old Lyson 300gsm double sided Smooth Fine Art paper – a box abandoned after I got an Epson P3800 pigment ink printer (which still runs thanks to Marrutt refill cartridges and inks). These original Lyson papers don’t handle pigment inks well. But they DO work with Epson Eco-Tank ET8550 dye-based inks, even if the black is pigment. In fact they work so well that ‘Printer Manages Colours’ and no colour management at all was needed. Set the printer to Matte paper, load the main tray with A4s halved to A5, use Velvet Fine Art as the paper setting and the cards were dry enough to crease on my Unibind Creaser directly off the output tray. The Lyson paper came from Marrutt too all those years ago for tests with their Quad Black inks. I never throw anything away!
– David Kilpatrick
