Capturing Autumn colour better

nopolariser-vs-polariserandprofile-web

Upper: unprofiled (Standard) raw conversion. Lower: using a tunsgten-light generated custom camera profile, combined with a polarising filter, gives a more vivid impression.

Most Alpha system users know that some – not all – cameras have a special JPEG mode for Autumn Colours. They’ll also know that if you shoot raw, with no JPEG in camera, only Sony software replicates this. The choice of picture looks or camera profiles in Lightroom and other programs ranges from none (one default) to good (a full basic range similar to Canon settings). However, you can go way beyond the default look your camera will produce from the Autumn colours we are seeing right now (UK) if you profile your camera using the X-Rite Color Checker Passport and the free downloadable software which goes with it. You can also use this software with any standard MacBeth Color Checker card.

You still need to create a .dng file from your original raw, as you also do for Adobe’s free camera profile generator. The X-Rite software creates much smaller profile files but they are no less effective.

Here’s my tip – normally, you calibrate by daylight and the Adobe Camera Profile (.dcp) includes automatic adjustment for tungsten. You can also take two test shots, one under each lighting condition. Experimenting with the X-Rite software, I found that if you only use tungsten to create your profile, all the daylight ‘landscape’ colours (especially green foliage and the sky) really pop out. The greatest change is in the sky blue, which can be very disappointing if you use Adobe Standard as your camera profile for raw conversion.

A7RIIprofiles

The zip file you can download from above contains some .dcp profiles for the A7R II which I’ve produced (the names are more or less self-explanatory). They should be unzipped and placed in the CameraProfiles folder of Camera Raw in Application Support>Adobe. You can find the software, instructions for PC and Mac, at:

http://xritephoto.com/ph_product_overview.aspx?ID=1257&Action=Support&SoftwareID=986

Using the stock Lightroom/ACR A7RII camera profiles you’ll find that the Landscape flavour tends, if anything, to make sky blue lighter. My tungsten-generated profile has most of the overall ‘snap’ of Landscape plus very much richer sky tones.

The second tip with Autumn/Fall colours is, of course, to use a polariser. I’d say this makes the single greatest difference to all Autumn colours even if you can’t see it clearly when composing. The individual leaves reflect light, and the polariser cuts through this to reveal the full colour. Because it also darkens the sky, the often fairly dark colours of Autumn trees come to life better. You don’t need to study the trees, just set the polariser for the best results with the sky. The leaves are at such random angles all positions tend to work equally well. It can however be worth trying a few different rotated positions of the polariser especially if there is also water in the shot. What deepens the sky may also reduce the strength of reflections in water. Experiment!

– David Kilpatrick

If you are considering buying a Color Checker, Color Checker Passport on Amazon can benefit this site.


Using the 10-18mm OSS zoom on full frame

The Sony E-mount (not FE) 10-18mm f/5 OSS lens can be used effectively on full frame for creative work and within limits for technically more demanding shots. Below, an uncropped A7R shot of the concourse at Abu Dhabi Airport, taken at 13mm setting, f/6.3 with my lens profile as provided below. Check the straight lines in the floor tiling, if you doubt that this lens would be of any use for architecture.

However, you don’t get this without a lens profile, and without due care to limit the focal length to a range of 13 to 16mm – not the full 10 to 18mm. Below, you could get this if you try 12mm straight out of camera…

uncorrected12mm

This is a pretty awful case of vignetting and distortion – as you would expect. It’s from an APS-C format wide angle zoom, the 10-18mm f/4 SEL OSS lens for NEX, used on the Alpha 7R full frame mirrorless body. Early in the launch period of this camera, various far more attractive images appeared on-line using subjects like roads, rail lines, beaches and even shop counters where the lines look straight – rather like that drainpipe – because of where they fall in the shot. As you can see, anything with a horizon near the long edge of the framewould have given a very different impression.

However, Adobe offers a free utility which enables you to make lens profiles to correct vignetting and distortion.

I created a lens profile for ACR/LR using full frame and the 10-18mm on the A7R. The vignetting is such that the profile creator really can’t handle it, and overcorrects the extreme corners as a result. I’ve done f/4, f/8, f/16 at 12, 14, 16 and 18mm focal lengths using an A2 chart; for a lens like this, a much greater working distance and an A0 chart would really be desirable. The link below is to a zip file of the Adobe Lens Profiles I produced – for A7 and A7R, with .lcpp files for final use, and .lcp files for different settings of the 10 18mm I found useful.

10-18AdobeLensProfiles

corrected-customprofile12mm

At 12mm you can probably see the vignetting artefacts in the corners, the magenta corner shift and incomplete correction of the horizon line. You’ll also be quick to spot that the 12mm coverage has been reduced to something much less, lens profiles always reduce the field of view (they can not do otherwise).

The profiler simply can’t handle the degree of sudden fall-off in illumination given by the 10-18mm used on full frame. Manual distortion corrections can actually do a better job. At other focal lengths, the profile I’ve made works well enough, and if the frame is cropped slightly (still exceeding the APS-C area the lens is designed for) it’s possible to get good results and wider angles.

I have sold my Sigma 12-24mm HSM II which was used with the A99, and also sold a Voigltander 15mm f/4.5 I bought to test (zero cost fortunately, as it made a small profit between Gumtree source and eBay destination). The Sigma was not only very difficult to focus using CD, its HSM motor won’t play with Sony CD.

My .lcp full-frame file can be downloaded from:

//www.photoclubalpha.com/AdobeCameraProfiles/ILCE-7R FF (E 10-18mm F4 OSS) – RAW.lcp.zip

Just for good measure, here is an uncropped A7R 13mm focal length shot of the church of Maila Dumpara in Kerala taken to use dramatic converging verticals – which fail terribly unless the lines are properly corrected, the last thing you want in a strong upward angle is lens distortion. It’s very stiff test of any lens to do this. I have left the vignetting uncorrected. I rather like it. Click either this or the Abu Dhabi photo and you’ll get a larger image, about 1000 x 1500 pixels.

Samples produced for a dPreview forum question

There’s been a lot of discussion on dPreview forums of which lenses work on full frame E-mount, as Sony saw fit to put a Disable APS-C crop option in the menus of the A7 and A7R (almost as if they wanted owners to experiment). They have made other welcome changes of a similar kind which I’ll cover in a full review of the camera – which I can not do yet as I have no FE mount lenses for it, and with the current choice and prices, I can see I may never use FE mount lenses on this camera.

So, to answer some questions on dPreview’s E-mount forum, I posted these images and comments.

Here is a ‘native’ uncorrected shot of a local building taken on the 10-14mm on A7R at 11mm, f/10, ISO 100:

View: original size

Here is the result of using the profile, doing a crop and some straighten of slight rotated tilt, and pulling the scale down (with the profile applied, the roof apex is clipped off at the top as the lens has so much distortion its 11mm probably becomes more like 15mm when corrected):

View: original size

I’ve used some clarity and local burn adjustments on the sky to treat the image more or less as I would (except that I wouldn’t actually photograph this building at this time of day, with blinds drawn, etc).

For me, the 10-18mm on A7R with our without the profile correction offers the same options as using assorted lenses on 5 x 4 sheet film. It never mattered whether a 47mm didn’t cover the entire film, you got an image circle and could use whatever part of it you want. At 10mm the image, with the profile used, has strong corner cut-off but the overall circle of usable image greatly exceeds APS-C provided you stop down (f7.1 seems just OK, f/10 is maybe optimum, I’d certainly try f/16 despite fears of detail loss).

View: original size

The red crop mark is square – my ‘Hasselblad SWC killer’, as the classic SWC had just a 38mm wide angle lens. You needed to get an Arcbody with 35mm Rodenstock to go any wider on 56 x 56mm film (6 x 6). With the A7R and 10-18mm at 10mm, you get the equivalent of a 24mm lens. Not a 24mm fisheye on 6 x 4.5 like the widest ever offered by Mamiya… a 24mm rectilinear on 6 x 6.

The yellow crop mark represents a significantly larger area than APS-C (which is actually just a little under the 24 x 24mm square in width). It is shifted vertically, as if the lens was being used as a shift lens. If only the APS-C area is considered, its approximately 16 x 24mm area can be positioned right to the top of the frame, equalling a 4mm rise, or the equivalent of using a 6mm rise on a full-frame PC lens (most actually go to 11 or 12mm rise). There is only one lens made which can compete with this, and that’s the Canon 17mm f/4 TS. Admittedly this is a superb lens and when stopped down to f/11 and used on the 6D (Canon’s most shift-friendly sensor) will blow this result away for clean rendering of detail toward the frame edges.

And then, you can still use the 10-18mm in APS-C crop mode as a snapshot wide angle with pretty much perfect correction (Adobe’s own Sony profile for APS-C), for videos too.

– David Kilpatrick

Using Adobe Bridge/ACR for ‘film looks’ controlled by your Alpha

It’s now easy enough to find camera profiles – image looks created by independent photographers, as Adobe and Sony do not provide any – which make a big difference to raw processing using Adobe Camera Raw or Lightroom. There are also many fine adjustments you can make within these programs, able to customise the image output so that it either looks just like an in-camera JPEG of a chosen picture style, or like nothing you can produce in-camera.

Many users wonder, sometimes, why their raw pictures viewed in Adobe Bridge look different from in-camera JPEGs. Sometimes they look identical but then after working for a while and fine-tuning your preferences, you see big differences between the two if you shoot RAW+JPEG. This is in addition to differences which can happen if you set the camera to shoot in sRGB (useful for the JPEG) but your computer to save as AdobeRGB (superior in many ways for raw conversions intended to be printed).

In ACR/Bridge, you can choose as a Preference whether to build fast thumbnails or high quality, and whether to build full screen previews or accept whatever is embedded in the file. If you do not set the preference to build high quality previews and thumbs, what you see in the thumbnails is normally an embedded JPEG which is part of the raw file and an exact match to an in-camera JPEG even if you don’t save one of these. What you see in the larger preview pane will depend on your screen size, the camera, and the type of raw but for nearly all modern DSLRs on laptops the basic quality option will show the embedded JPEG and you will even be able to zoom it without interpreting the raw data.

If, on the other hand, you set your Bridge prefs to large size and high quality previews using a large screen such as an iMac 27″, and you have ACR/PS/CS5/Elements installed, Bridge will access the ACR engine behind the scenes and will render your raw files. It creates a ‘cache’ of full screen size JPEG files (which will eventually use a lot of disk space) which exactly reflect the settings for any given camera/ISO default. You have the choice, in Preferences, between having a single Default for each camera or a different Default for every single ISO increment on each camera. If you set the ISO specific Default, the conversion used to build the preview/thumb will be exactly the settings you have saved for that ISO. See below where I repeat this all again for emphasis.

The 100% and full screen fast forward keystrokes

Bridge/ACR will render the full sized 100% view of the raw using saved default settings if you used the Loupe (a small section only) or the very useful sequence of: press space bar = show the full screen preview; mouse-click with the cursor at any point on this to zoom in to 100%; scroll round using controls/mouse; magnify 200%, 400%, or 800% using scroll-wheel or Apple Magic Mouse finger-touch; return to Bridge browsing using space bar. Be warned that even with a fast machine, Bridge builds the sharpness of your enlarged view (normally 100%) in stages.

What you first see may look a bit soft, wait two seconds and it will get sharper, another two seconds and it will be transformed to pixel-perfect rendering. Never judge a Bridge/ACR 100% or loupe view the instant you access it. Bridge/ACR is clever enough for you to be able to go to the magnified view with one shot, and using your arrow keys move to exactly the same position in your other shots at the same view. You can, by this means, compare sharpness in a set of shots. Once each has rendered for that point in the shot, the cache makes sure you can go back and forth between images faster, they do not need to render again.

But it’s Bridge Camera Raw Preferences which hides the great feature I’m telling you about here – a tip which can enable to you use the lower, manual-only set ISO values of some Alpha cameras like the new 77 to ‘load’ different ‘raw’ films just by changing the ISO setting. Or indeed, other camera makes which have similar ISO control.

Different raw conversions can be made specific to exact ISO settings, so that if you select a given setting, its unique conversion will automatically be used and its effect will be shown in the preview and thumbnail created.

This would be a disaster for Auto ISO – but the Alpha 77 has six different ISO settings between 50 and 160 which are NEVER used by Auto ISO, and can safely be used for my tip here. Also, there’s really not a great deal of difference between the noise, sharpness, and dynamic range of ISO setting with this low range. They are all very good.

ISO-specific default magic

So, I have an Alpha 77 with ISO settings 50, 64, 80, 100, 125, 160 all of which are very low noise and good quality. In Bridge/ACR, I can decide that ISO 50 will be used the Vivid camera profile, strong contrast curve, a certain degree of capture sharpening, a certain black point and so on. I can adjust all this until I think that ISO 50 looks just like Velvia film. Then I save the new default.

Taking a frame set to ISO 64, I can make a default which I think looks like Kodachrome 64 perhaps using the Landscape profile. For 80, I might decide to make a fake infra-red process default with added grain, monochrome conversion and contrast effects. For ISO 100, a default which is standard and looks like a good neutral colour slide. For 125, maybe an FP4 in acutance developer printed on G4 paper mono; for 160, a Portrait profile combined with no sharpening, to imitate Vericolor Type S or Fujicolor 160N.

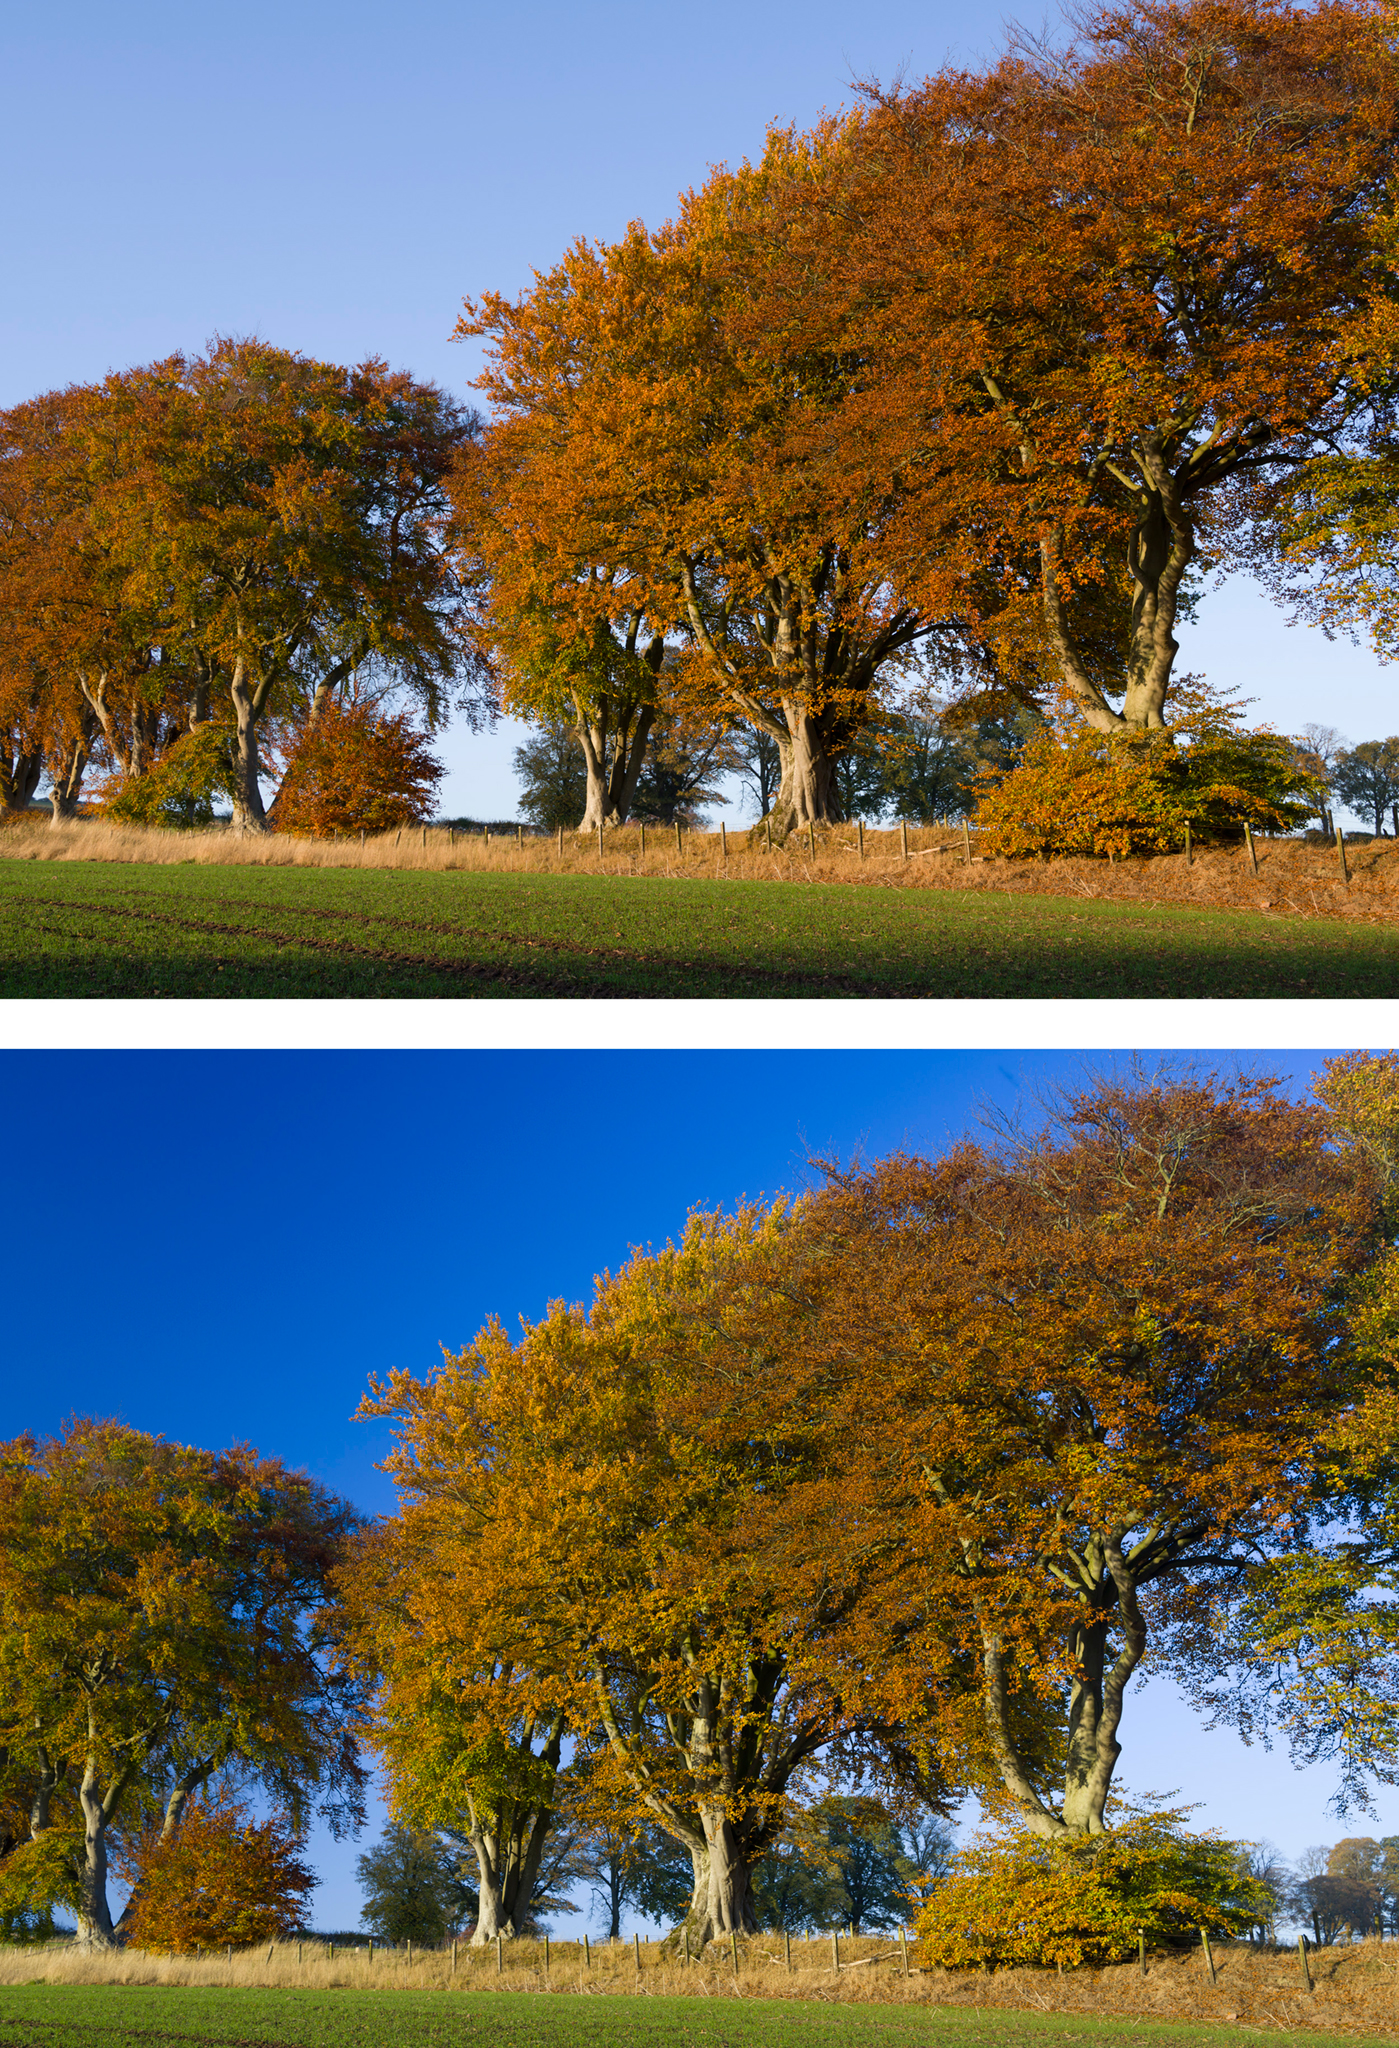
The examples below do not use different ISOs, I have used one raw file to show the differences, of course!

‘Standard’ – this is the colour, contrast and profile used when Adobe Standard is set as ‘Camera Raw Default’ in Bridge on the Alpha 77. This default includes WB As Shot, Exposure as shot (0), no Recovery, no Fill, Black point 5, Brightness 50, Contrast 25, Clarity/Saturation/Vibrance all at 0, Medium tone curve.

This is the same overall conversion, using a profile called ‘Neutral’ designed to be similar to the camera’s Neutral JPEG setting.

This is a profile called ‘Vivid’, again with no other adjustments.

This is an interesting custom profile called ‘Positive Film’ which clearly has some major adjustments.

This is ‘Standard’ (not the Adobe Standard) but with multiple adjustments saved in the Default – Brightness to 75, Clarity to 25, Saturation and Vibrance both to 20, Strong contrast curve. This Default is a custom one which I prefer for many shots where good saturation and midtone brightness is needed. In fact, many Alpha 77 users advise changing the ACR default Brightness from 50 to 75 permanently as the 50 figure used by Adobe appears to make the images flat and dark.

This custom high contrast ‘red filtered’ mono conversion includes strong lens vignetting added (by moving correction sliders to zero) and a greyscale rendering controlled using the Hue/Saturation/Luminance control tab for colour balance. Blue, Aqua and Purple values have been lowered and Red and Orange values raised to imitate a camera filter on panchromatic film.

If you have not found and installed any third-party profiles, you can instead make detailed adjustments including contrast and saturation for much the same effects.

I am fully aware of the ‘well I can do all this in Photoshop‘ response, the point is that all these and other far more complex processes (including any of the raw conversion Presets found in popular styling packages by Marcus Bell, onOne and others) can be effectively assigned to one chosen ISO setting in the ‘protected from Auto’ range 50-160 on the Alpha 77.

Now, when I open my folder of raw of images in Bridge set to create High Quality thumbs and large previews, they can all get exactly my customised process treatment for the thumbnails depending on the ISO I have set. One image might appear with the b/w process above and the next with colour. I will be able to preselect a different Bridge preview and a different startpoint ACR process just by selecting a different ISO on the camera. I can leave ACR’s default settings in place from 200 and up, so I will never get Auto ISO producing strange differences from one frame to the next due to Bridge/ACR presets. Yes, I did once set some different conversions for specific ISOs in the Auto range and it really messed up by image selection – I found I had increased brightness for 320 but not for 400 (etc) so my exposures seemed to go all over the place when Auto ISO chanced to pick small changes from one shot to the next.

You can apply more NR and sharpening control to ISO 200 to 12800 as needed – and again, this will automatically be applied according to the ISO, to the preview and thumb as well as the opened raw for conversion. But it won’t look odd as the exposure, colour and contrast will remain constant.

Pros and cons

If you want to revert to a standard single process for all ISO settings, you’ll lose the customisation of Bridge/ACR but you can save each setting as a Camera Raw Default process (named) and restore the settings at any time. Or, you can just reserve one careful combo for a single ISO setting such as 80 and only set this when the specific result is wanted, leaving every other setting at factory default.

It only applies to one camera body at a time, you would need to set up the same defaults for every different similar body you use – and not all Alpha bodies offer the useful 1/3rd step ISO increments and low ISO range which make the idea practical. But, this is also an advantage, because if you process files from another camera of the same exact model it will be unaffected unless you set it up. Camera Raw Defaults can be set as specific to each serial numbered body, and each different ISO, so there is never any need for someone else’s raw files to be accidentally altered by your own personal setup.

Profiles

I use a set of Alpha profiles I have assembled from as many sources as possible, but mainly from Maurizio Piraccini’s development for every KM/Sony Alpha camera:

http://www.piraccini.net/2011/02/profili-colore-sony-a900-per-adobe-lr.html

These are also linked to via a Photoclubalpha Forum thread:

http://www.photoclubalpha.com/forum/viewtopic.php?f=6&p=66090#p66090

To read a Forum thread about ‘Deep’ profiles (which is mainly about noise levels, not about the image looks themselves, but includes instructions on how to install all similar profiles) go to:

http://www.photoclubalpha.com/forum/viewtopic.php?f=32&t=5786&p=60905

These threads contain links to profiles provided or sourced by Agorabasta as a forum contributor including some for most makes.

If you have any sources for other sets of created profiles, for any Alpha models, please add a Comment at the end of this post, and provide the link (crediting the source or the author if you have that information).

You read it here first – and you’ll never forget how this can be used. Lightroom offers the same functions and preferences. Other programs may follow suit. Now you can use your manual ISO settings for raw files just the same way you can apply picture styles to in-camera JPEGs, and get the results in ACR/Lightroom – no need to be restricted to Sony Image Data Converter to read tags.

– David Kilpatrick

Adobe ACR6.2/LR3.2 Lens Profile – Nikkor AF-S 85mm f/1.4G

I have been using the new Nikkor AF-s 85mm f/1.4G lens, arrived yesterday. I have produced both raw and JPEG profiles for the lens on the D3X – these can also be used on the D3, D3S and D700 (profiles tend to be fairly portable between bodies, if done on the highest resolution option).

Download link:

http://www.dphotoexpert.com/Resources/NikkorAFS85mmprofiles.zip

Submitted to Adobe. This profile was made at 4m distance, and maps the lens at f/1.4, f/2.8, f/5.6 and f/11.

Very little correction is applied as the lens is already very good, but there is a small adjustment to distortion and vignetting, and some cleaning up of visible CA. It is still a good idea to enable de-fringe as well.

– DK

NEX, A33, A55 support – new ACR 6.2/LR3.2 final

The final release of Adobe Camera Raw 6.2, DNG Converter 6.2 and Lightroom 3.2 includes raw conversion support for the Alpha 33 and 55 models as well as the NEX-5 and NEX-3, Alpha 290 and 390 which were included in the Release Candidate versions. These August 30th releases are final version, RC versions are a form of beta test.
The bad news is that anyone using the LR3.2 RC as a temporary free solution for getting full profile correction without investing in Photoshop CS5 will lose their freebie. But Lightroom is eminently affordable, and it can function as a raw conversion front-end for any earlier Photoshop or Elements version. On its own, it is a mere 10MB of program data fatter than Adobe Camera Raw as a plug-in and runs with great efficiency on modestly specified laptops (etc). It’s a lean, keenly priced solution which offers many further benefits as a DAM (Digital Asset Management) library such as keywording, copyright control, metadata editing, version stacking and multiple catalogues.
http://www.adobe.com/support/downloads/new.jsp
I am informed that support is included for the 16mm lens on NEX (profile) but I can’t tell whether it is the profile I supplied to Adobe Labs, or a new one, because my profile has remained unchanged on my system – same names, same modification date. And there’s no NEX-3 version which might be expected if they had created new profiles. So it looks as if it could be worth sending profiles into Adobe after creating them.
It’s fantastic news that Adobe has released ACR for the new Alpha 55 16 megapixel sensor before the cameras even hits the street – mine is on order, waiting! Not so great for Nikon users; no D3100 raw conversion in this release. But Canon users get the 60D (despite Adobe missing it out from their front page list). Adobe did this Sony friendly pre-release once before, for the Alpha 100, getting the conversion into place before the camera went on sale.
The bad news is that the Alpha 580 and 560 models are not in the list alongside the fixed mirror pellucid, transflective (anything but Translucent, please…) cameras.
The instruction manual for the Alpha 33 and 55:
http://esupport.sony.com/US/perl/model-documents.pl?mdl=SLT-A33&region_id=1
is already on-line and shows a March 2010 publication date, which means that Sony has had these new cameras in existence since the beginning of the year, certainly well before PMA when mockups were shown. It’s likely that Adobe’s Thomas Knoll has been using one from the first bug-free pre-production model onwards!
Now all we need is the revised lens series with SAM or SSM motors fitted into the 16-80mm CZ, 16-105mm Sony, 18-200mm and 18-250mm Sony; the 11-18mm wideangle replacement, the 75-300mm SAL replacement, and a few other goodies. Hopefully all Zeiss glass gets SSM where possible. That 16-80mm CZ is four years old now as a design. A tweak to the maximum aperture, or the zoom range, would revive interest.
– David Kilpatrick

ACR/LR Profile for A900+MinRS 24-85mm

Although it’s far from a perfect lens, this small 1999 Minolta RS optic is my favourite for general travel and everyday use on the Alpha 900. It is a convenient size and weight, performs well when stopped down a little, and has exactly the range and minimum focus I need.

Mouseover image to see effect of this profile used on a shot taken at 70mm focal length.
The profile created for ACR6/LR3 is at four focal lengths – 24, 35, 55, 85 – and two apertures, wide open and f/9. The chart distance ranges from about 120cm to about 4m.
To download:
http://www.photoclubalpha.com/DSLR-A900 (24-85mm F3.5-4.5) – RAW.lcp
Right click and save. Correction of CA and distortion is pretty good, and this profile identifies itself correctly as a Minolta lens. It should be placed in the Sony directory of Adobe Application Support>Camera Raw>Lens Profiles.
– David Kilpatrick


Adobe Lens Profile for 16mm f/2.8 NEX

I have made a simple (f/2.8 and f/8 chart set) Adobe Lens Profile for the 16mm f/2.8 NEX E-series pancake lens. It seems to work well for closer distances, because that’s how it had to be made; CA is reasonably well corrected, vignetting is eliminated, and distortion of closer lines – maybe if you are looking through a door frame, etc – is very accurate. The profile was created using NEX-5 and 16mm.
You can get this profile here:
http://www.photoclubalpha.com/Sony NEX-5 (Sony E 16mm F2.8) – RAW.lcp
Right click to download/save the target file, and install this in:
Library>Application Support>Adobe>Camera Raw>Lens Profiles>Sony

Uncorrected 16mm shot

Using Adobe Camera Raw 6.2 RC with the profile active at default settings
JPEG profile added (17/08/10)
I have now added a JPEG profile from the same set of images as the raw – this is lucky, I didn’t think people would need a JPEG profile but happened to have the camera set to RAW+JPEG when the test shots were made, and this has been requested for those using HDR or other JPEG-only modes.
http://www.photoclubalpha.com/NEX-5 16mm JPEG.lcp

Above: HDR three-shot with 16mm, straight JPEG

HDR shot opened in Camera Raw without adjustments, but with the Profile enabled
Using the profiles
A full Adobe Profile is undertaken at several focus distances, apertures and zoom settings (or for prime lenses, just at a range of distances and apertures). The largest chart I can print is A2+ using the Epson 3800, and with a 24mm equivalent lens, this means having the camera surprisingly close to the target. The profile is therefore only 100% correct for subjects at 115cm from the camera, which corresponds to the 4X minimum focus distance suggested by Adobe.
I have found from using the 16mm that its optimum aperture for central sharpness is probably f/5.6, and that chromatic aberration and vignetting do not improve at stops smaller than f/8. There is a slight improvement in detail sharpness in the extreme corners at f/11 and f/16, but this is due to extra depth of field helping to cover a curved focus field. I therefore made test sets at f/2.8 and f/8 for this profile.
The geometric distortion is most visible with closer subjects such as the subject above (The Slave Girl, a bronze c. 1870 by John Bell, at Cragside House in Northumberland). This is a hand-held exposure of 1/4 at f/8, and is perfectly sharp despite the lack of stabilisation; every word of the interpretation can be read at 100%. I have found most shots are perfectly sharp with the 16mm given reasonable care, as you would take with a Leica, to breathe correctly and make a shake-free exposure. This is not the case with SLRs where the mirror action nearly always causes shake.
For more distant subjects, the 100% default setting of the ACR/LR Lens Correction panel can be reduced and where there are few straight lens removed entirely to secure the maximum field of view. Similarly, the vignetting correction can be reduced or removed entirely as the natural darkening towards the corners with this lens is attractive.
Although this profile is named to match perfectly the naming convention used by Adobe for the 18-55mm, I find that ACR 6.2 can not be relied on to use it for Auto as a default (if you work with more than one lens, Adobe Lens Correction soon proves unpredictable in this anyway). If you select Auto, then select Sony, the lens profile will be selected but the Auto button changes to Custom. If you then save new Lens Correction Defaults, or Camera Raw Defaults, ACR will attempt to force this profile on the 18-55mm and the reverse will also happen. So it’s necessary to check which profile is selected. Using ‘Previous Conversion’ for shots taken on the same lens is a quick way to get there.
The additional Manual Controls can be used on top of the profile (the second tab of the interface). The most useful are the geometric distortion (camera angle) corrections. The Chromatic Aberration/Colour Fringe controls can be fine tuned as the correction for CA while very effective relates only to the tested focus distance. CA may change with focus but my particular lens doesn’t seem to suffer from this. All that is necessary is to enable Defringe All edges as a default, and this will remove any hint of colour remaining. As a tip, setting Colour Noise Reduction to a high value can help remove CA and purple fringes in many shots processed through ACR/LR. The colour NR detects 1-2 pixel fringes just the same way it detects individual pixels, and neutralises much as it does noise.
– David Kilpatrick


Lightroom 2 tackles all Alpha RAWs

The latest release of Adobe Lightroom, v2, handles all Sony Alpha and earlier KM digital camera raw formats including the Alpha 700, 200, 300 and 350. It is also updated, along with the final release of Adobe Camera Raw 4.5, to handle Nikon D700. Because Canon appears to have left their filetype identical to the A400, their new 1000D was recognised immediately by ACR even in 4.5 beta version. Continue reading »